All door styles are designed for use with 4" walls. If you stamp a door directly into a 6" wall, you will get a notification warning you that this the door is invalid.
However, you can still specify in that have 6" walls using one of the following strategies:
oStamp a door into a 4" wall adjacent to a 6" wall.
oTurn a 4" wall segment into a door style.
If the door connects directly to the 6" wall without a 4" wall in between, you will need to use an Inline Junctions to connect the door to the 6" wall.
Caution: If you connect a Barn door to a 6" wall, use a This Way or That way Inline Junction. The Barn door track must be flush with one side of the 6" wall. With Centered Inline Junctions, you cannot achieve the right configuration.
Before working with Junctions, take the following steps:
oTurn off Confirm.
oAdjust the Snap Strength to 0.5.
1.Use Edgewall or the draw tool to add 6" and 4" walls to your layout.
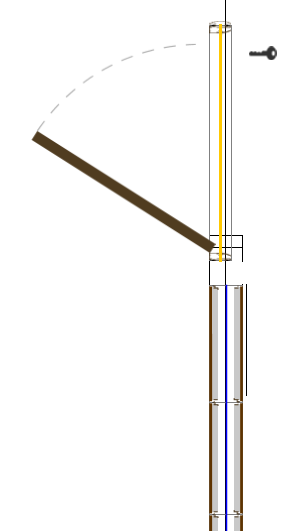
2.Draw a 4" wall where you will place your door.
3.Follow these steps to turn your 4" wall segment into a door.
4.Extend the 6" wall close to door segment without snapping it to the door.
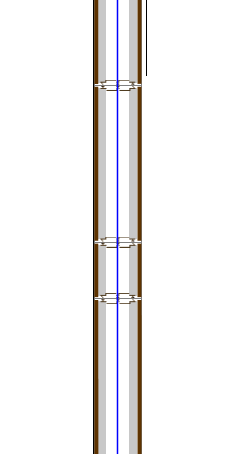
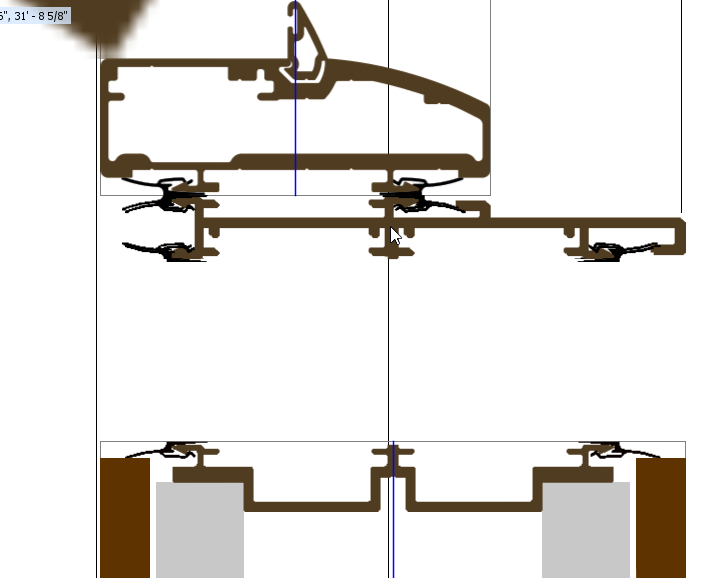
5.Zoom in close on the location for the Inline Junction.
6.In the Product Palette, open the DIRTT/Walls Junctions/Inline folder.
7.Select the junction that fits your 6" wall and door configuration.

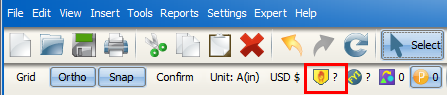
8.If you want to turn off Action Required Notifications for a clearer view, click the icon on the secondary toolbar.
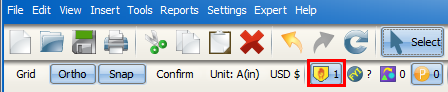
Action Required Notifications disappear from ICE 2D.
Caution: Remember to turn your Notifications on after you change align the wall so that you can confirm that you fixed the angle of the wall.Select the junction that fits your 6" wall and door configuration.
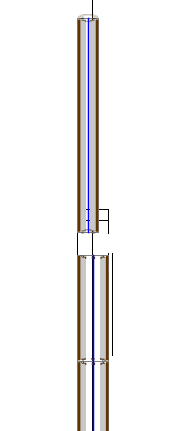
9.If you want to rotate the Junction, press the "." key.
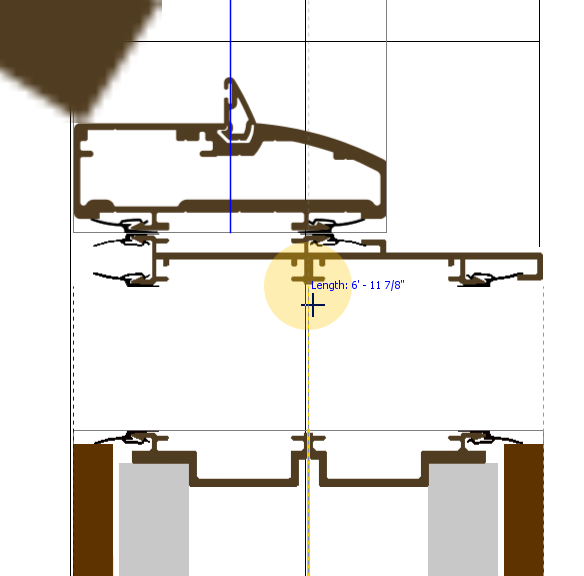
10.Line the Junction up with the end of the door that is facing the 6" wall, and click to place it.
11.Right-click to exit out of the Junction.
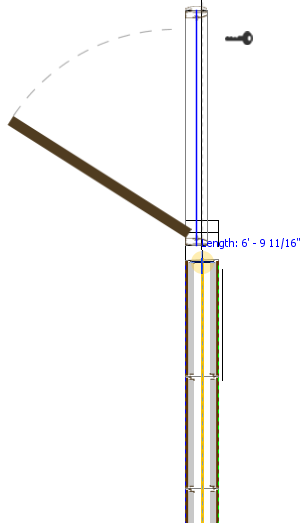
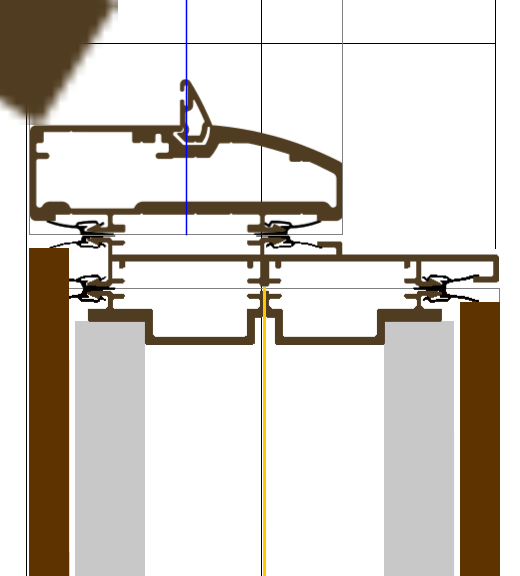
12.Extend the 6" wall so that it snaps to the Junction.
13.If you turned the Action Required Notifications off, click on the icon on the secondary toolbar to turn them back on.
14.Confirm that the Inline Junction is properly connected to the door and the 6" wall and that no new notifications appear.

If Notification 635 appears, indicating that the Junction is not properly connected, you can use the Align tool to reconnect the 6" wall and the door to the Inline Junction.
Related Links:
•Creating a Run of 6" Walls, 4" Walls, and Doors
•Using the Align Tool with an Inline Run
•Aligning a Wall to a Junction
Topic last updated on 3/16/2023.