If your 4" and 6" walls are not aligned for the Inline Junction that you want to use, you can use the Align tool.
To determine if your walls are correctly aligned for Inline Junctions, consider which Inline Junctions you plan to use. Centered Inline Junctions align and connect 4" and 6" walls at the i-Line. If you plan to use Centered Inline Junctions, your 4" and 6" wall i-Lines should align. This Way and That Way Inline Junctions connect and align 4" and 6" walls so that the one side of the 4" wall is flush with the face of the 6" wall. If you plan to use a This Way or That Way Intersection, the faces of the 4" and 6" wall should be aligned on the right side.
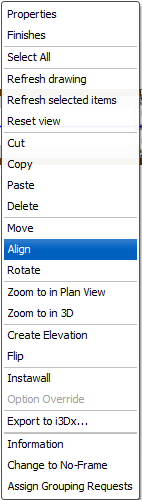
1.Select the i-Line that you want to move.

2.Right-click and choose Align.
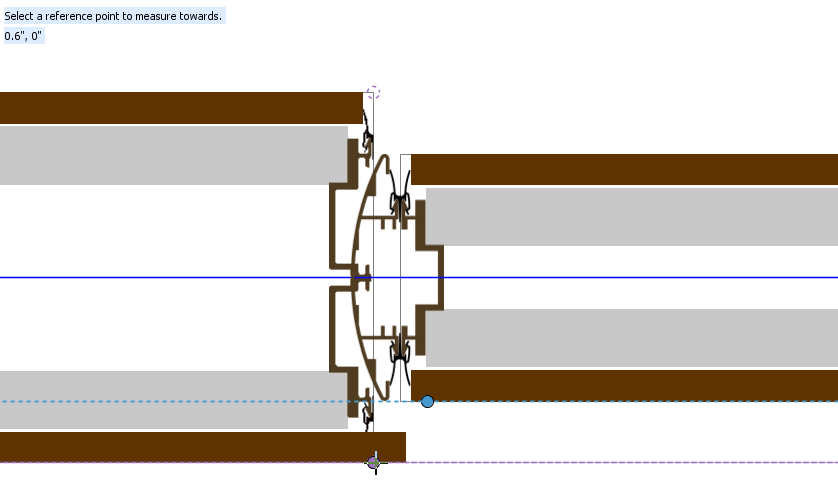
3.Select the target point on the wall that you want to move.
You will use the target point to move your wall.

4.Select a reference point on a the adjacent wall, Junction or intersection.
The reference point gives you a point to move your wall to.
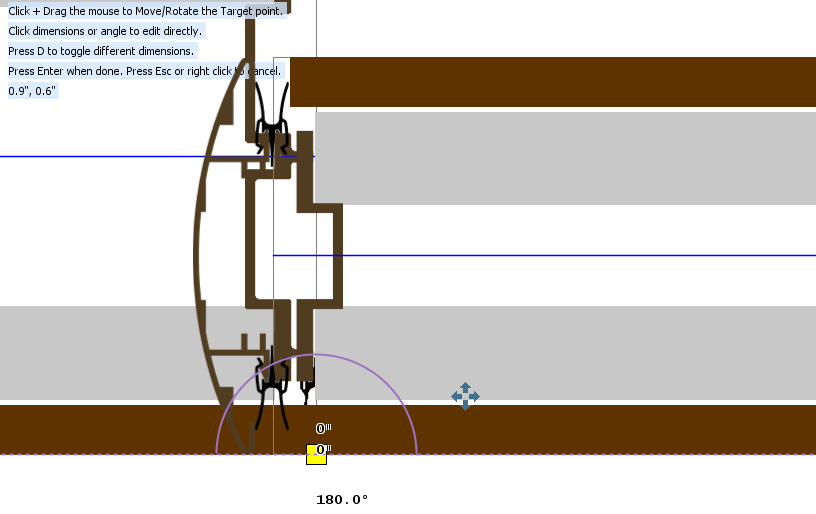
5.Move the target point on the wall to the reference point on the Junction:
oDrag and drop the target point to the reference point.
oClick a dimension, enter a new value in Confirm Dimension, and click OK.
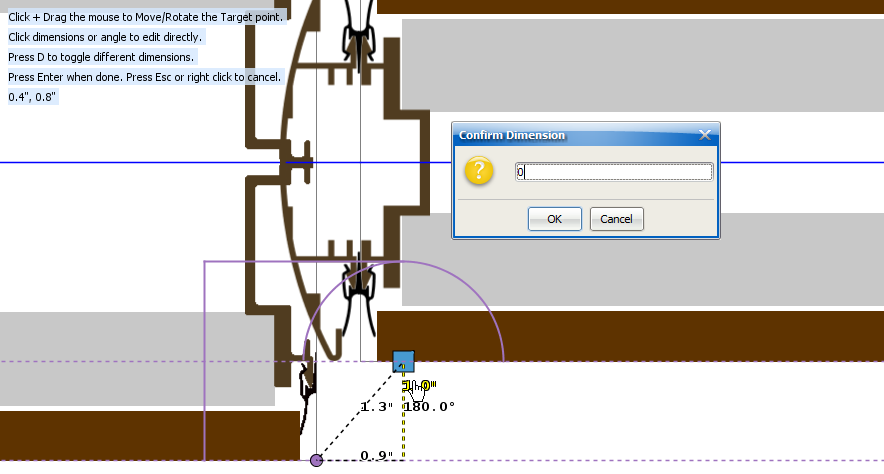
6.Press Enter.
Your wall moves to the new location that you selected.

Related Links:
•Creating a Run of 4" and 6" Walls
Topic last updated on 3/16/2023.