You can use Junctions to connect 2", 4", and 6" walls where three or four walls connect. After you import your DXF/DWG base plan, add your walls following the standard work flow. You can use the drawing tool, Edgewall, Center Wall, and Instawall to add walls with multiple thicknesses.
After you add walls, you can adjust them so that they are ready to extend and snap to Junctions. For example, you may need to pull back some wall ends so that you can stamp in a Junctions. Then, you can open the Product Palette and select the appropriate 3-way or 4-way Junction. Before you stamp the Junction into ICE, you can rotate it 180 degrees to correctly position it. Then, you can stamp the Junctions into your layout. As you stamp Junctions between walls, the i-Lines extend and snap to the Junction.
To Add a 3-way or 4-way Junction
Before working with Junctions, take the following steps:
oTurn off Confirm.
oAdjust the Snap Strength to 0.5.
1.Import your DXF/DWG base plan, and add 2", 4". and 6" walls following the standard practice.
As you add walls, ICE may automatically adds connections. If the i-Lines in your walls intersect at a common point, these connections will be valid. However, when you connect three or four walls with multiple thicknesses, and the i-Lines don't intersect, ICE may add connections that are invalid or not in line with your design intent.
2.Check the automatic connections to confirm that they are valid.
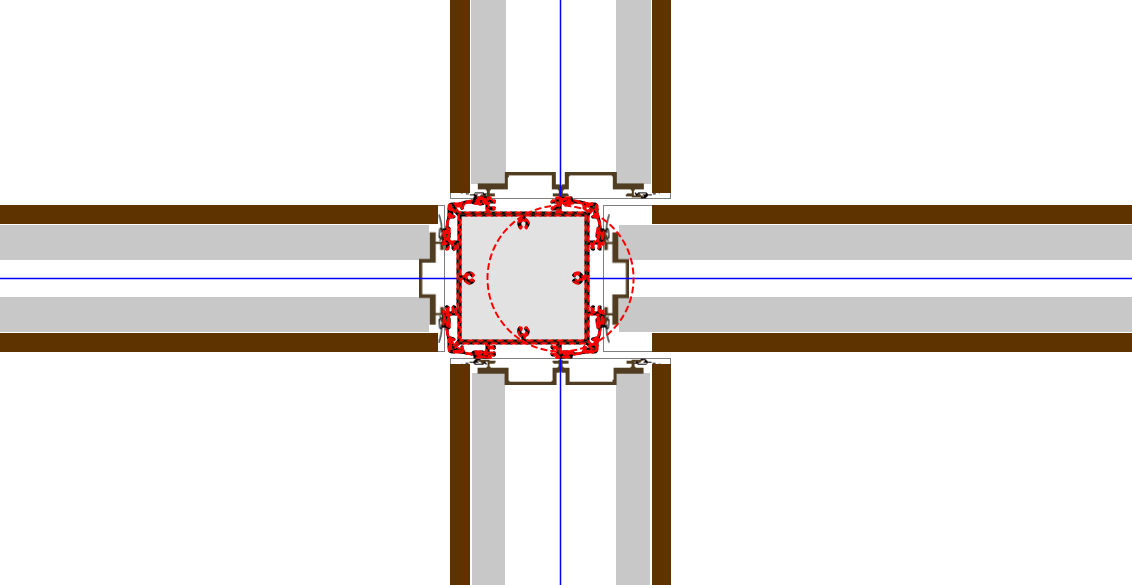
For example, in this image, a 6" and 4" wall intersect to form a +, and the intersection is valid. You would not use a Junction:
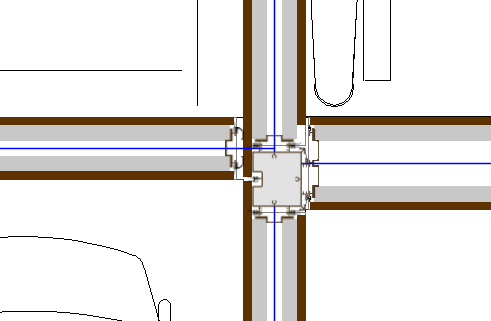
In this example, the automatic connection is not valid. You would want to pull the walls back, and add a 4-way Junction:
3.If walls connect in a spot where you need to use a Junction, pull back the walls so that they are no longer connected.
The walls should still be close to each other without snapping. When you stamp in the Junction, you will want the i-Lines to be close enough to extend and snap to it:
4.Open the Junctions folder in the Product Palette, and select a Junction that will connect your specific wall configuration.
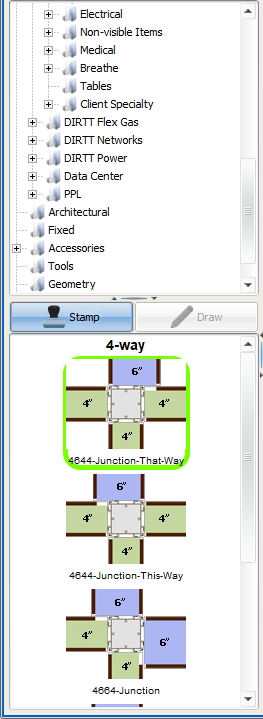
When you place the Junction, you can use the "." key to rotate it 180 degrees. Therefore, if you cannot find an exact match for your wall configuration, choose a Junction that you can rotate to make a fit.
 ....
....
5.If you need to rotate your Junction before you place it, press the "." key until you achieve the correct orientation.
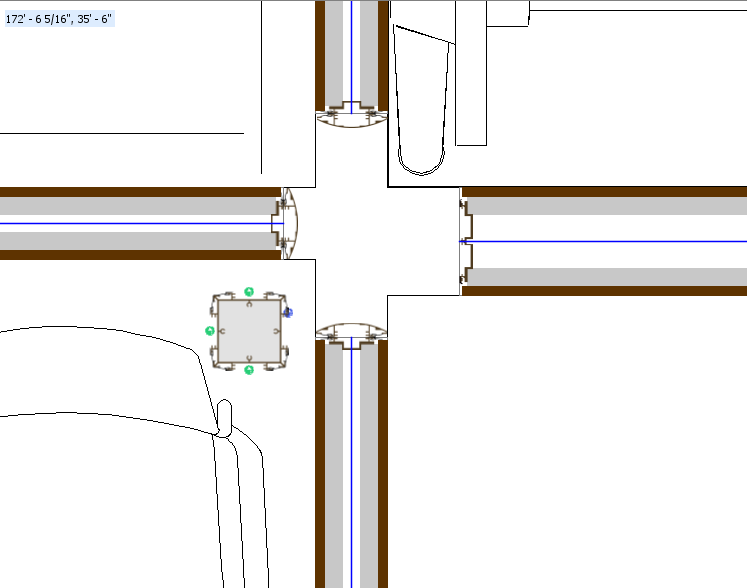
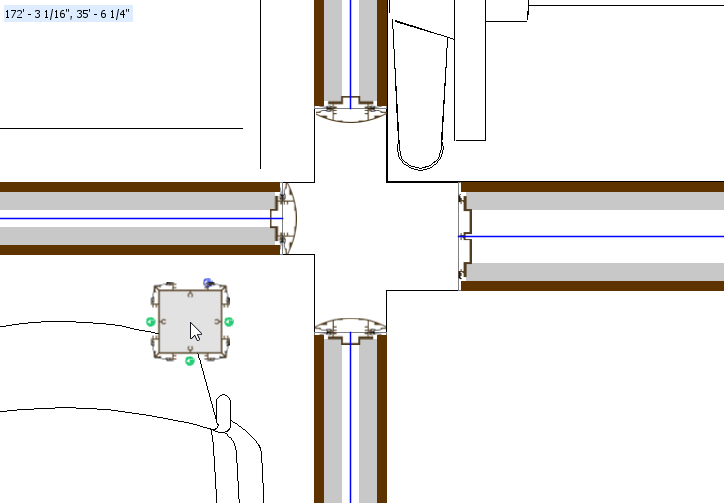
6.Move your Junction into position between the i-Lines.
You see a preview of the i-Lines extending and snapping to the Junction, as shown in the image below:
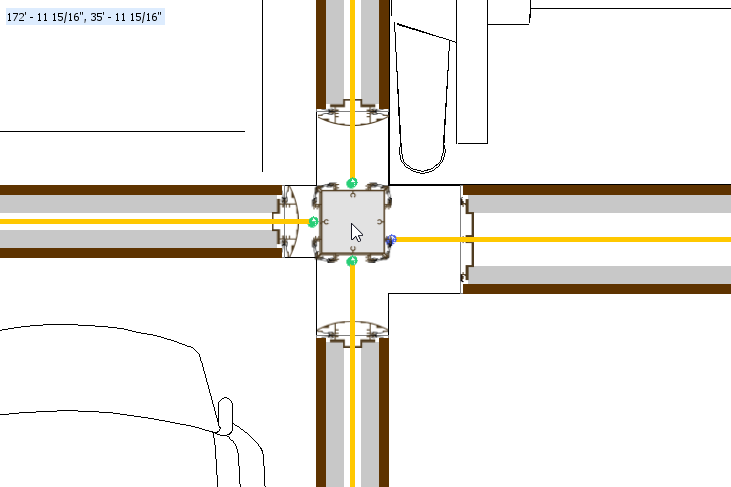
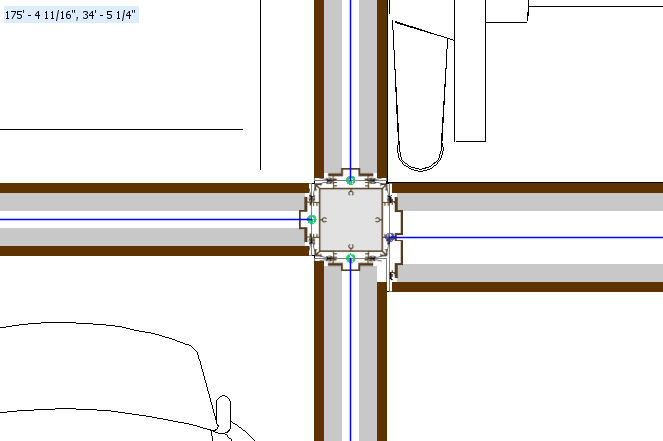
7.To stamp the Junction into your layout, click in ICE 2D plan view.
The i-Lines extend and snap to the Junction.
8.If you want to add other 3-way and 4-way Junctions, repeat steps 3-7.
Related Links:
•Product Release: 6" Face Tiled Wall
Topic last updated on 3/16/2023.