If you add your walls to your layout, using the DXF/DWG lines in your base plan to align them, and then stamp Junctions into your layout, the i-Lines in your walls will extend and snap to the Junction. If you follow this work flow, your Junctions should be aligned. However, in some cases your Junctions may become misaligned.
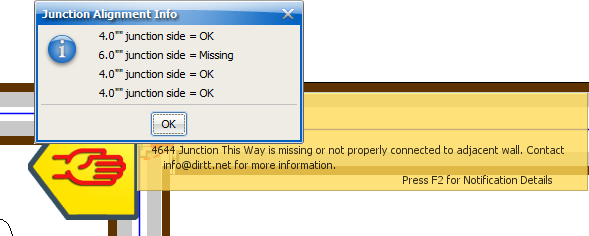
If you stamp a Junction into your layout, and then snap walls to it, your walls may not be properly aligned with the Junction snap points. Additionally, if you modify a layout that includes Junctions, including move and copy/paste, you may have to realign your walls and Junctions. To realign Junctions and walls, you can use the Align tool. If you have already snapped your i-Lines to a Junction, and the i-Lines are not properly aligned or connected, Notification 635 appears.
1.Open the Junction Alignment Info dialog to see which walls are misaligned.
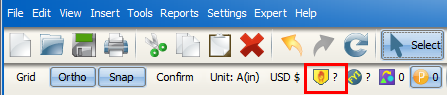
2.If you want to turn off Action Required Notifications for a clearer view, click the icon on the secondary toolbar.
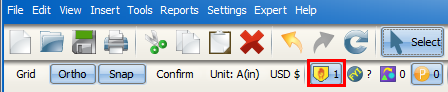
Action Required Notifications disappear from ICE 2D.
Caution: Remember to turn your Notifications on after you change align the wall so that you can confirm that you fixed the angle of the wall.
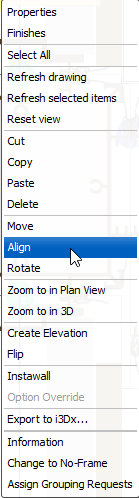
3.Select the wall that you want to re-align.
4.Right-click and choose Align.
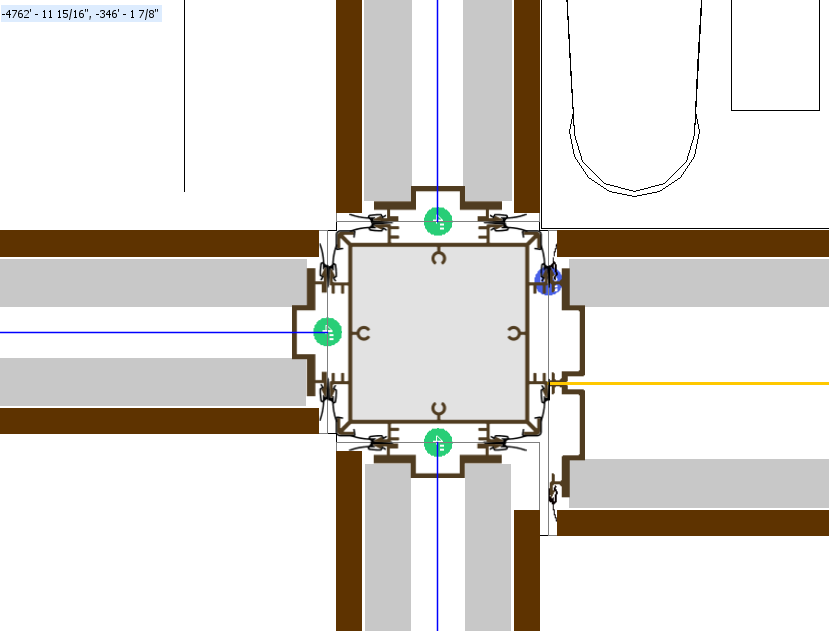
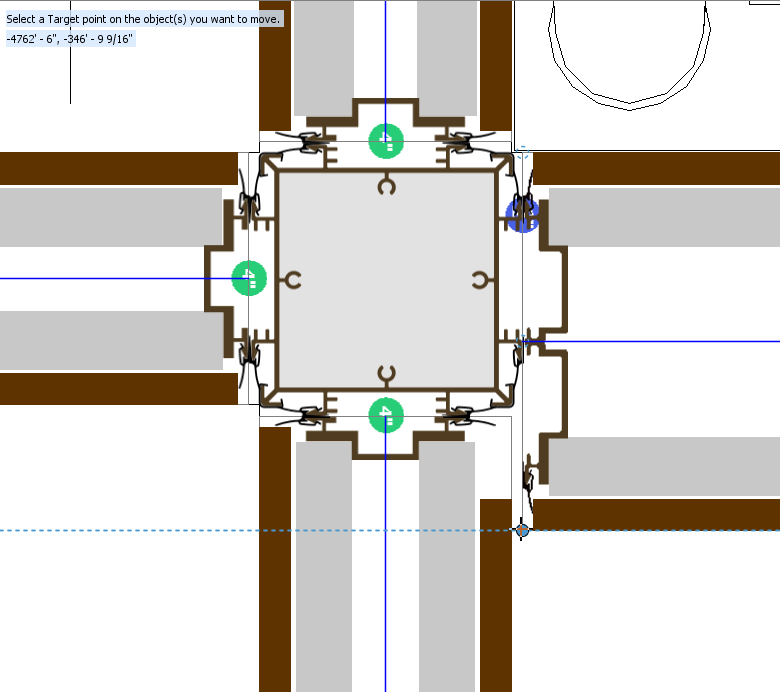
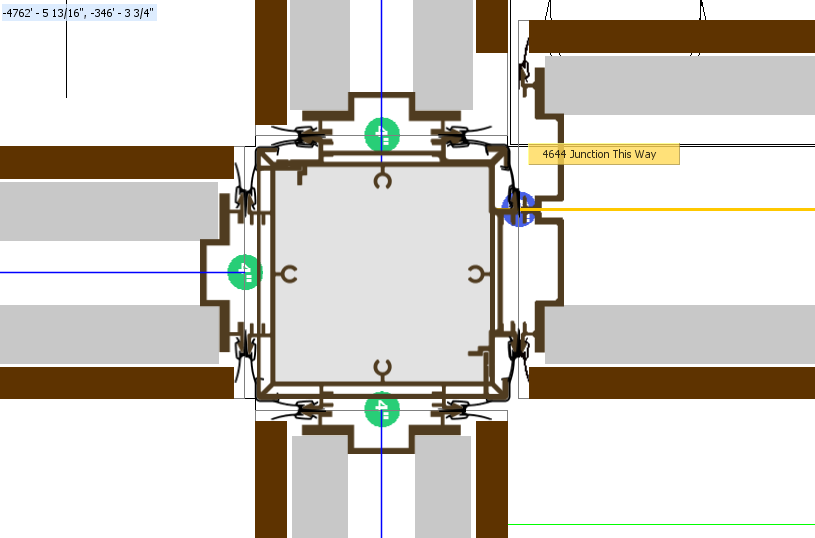
Assistance text appears in the top-left corner of ICE 2D, asking you to select a target point. Available target points are outlined blue. When you hover your mouse over a possible target point, it becomes a solid blue circle.
5.Select the target point on the wall that you want to move.
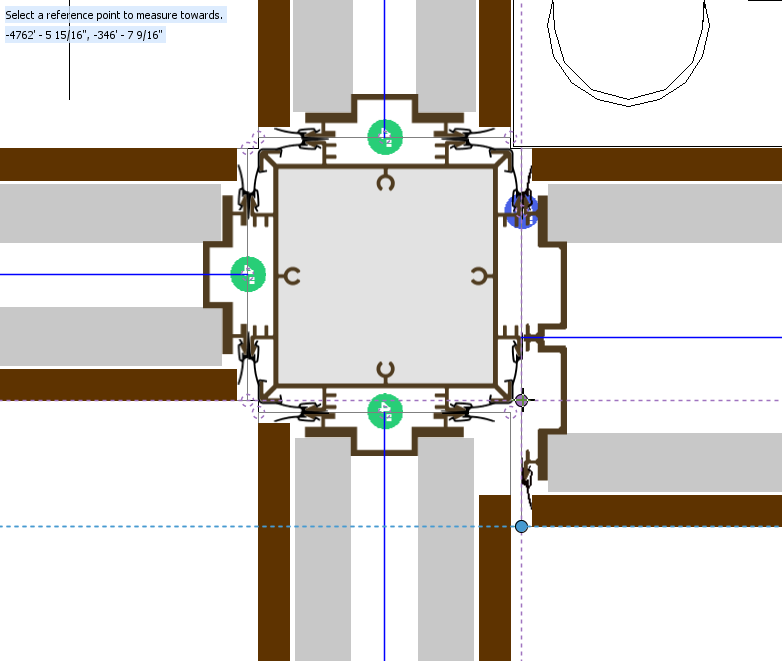
The assistance text in the top-left corner of ICE 2D updates, asking you to select a reference. Available reference points are outlined in purple circles. When you hover your mouse over a possible reference point, it becomes a solid purple circle.
6.Select a reference point on the Junction.
7.If you want to move the wall:
oDrag and drop the target point to the reference point.
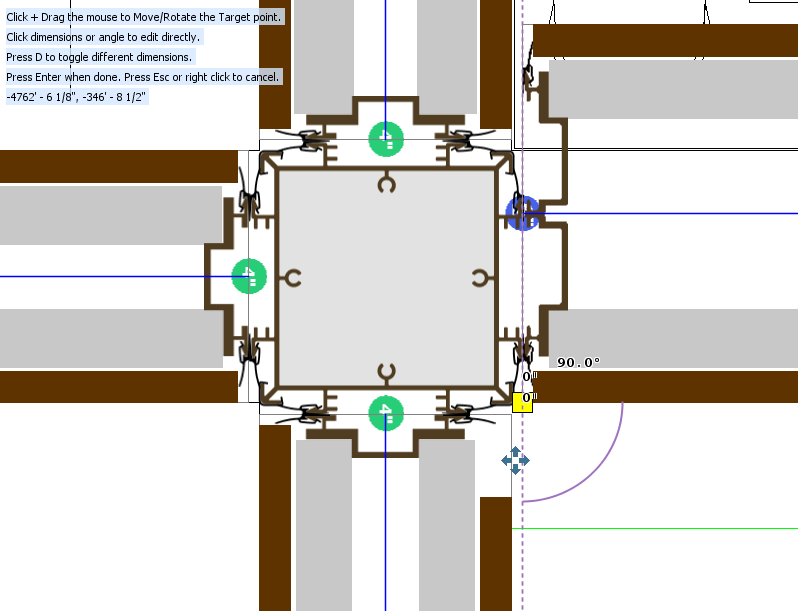
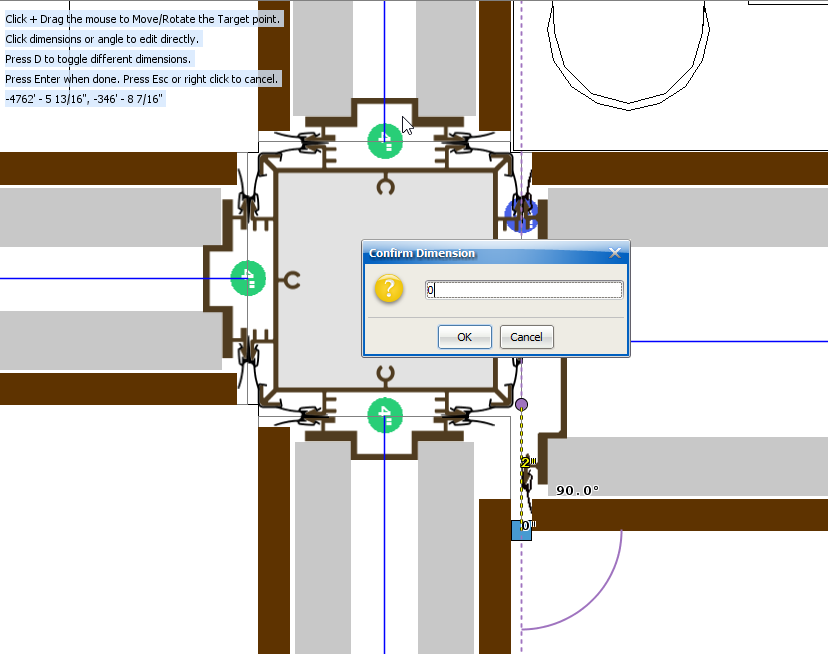
oClick a dimension, enter a new value in Confirm Dimension, and click OK.
You see a preview of your updated wall alignment.
8.Press Enter.
The wall moves to line up with Junction.
9.To align other walls to the Junction, repeat steps 3-8.
10. If you turned the Action Required Notifications off, click on the icon on the secondary toolbar to turn them back on.
11.Confirm that Notification 635 is gone and that no other notifications appear.
Related Links:
•Viewing Junction Alignment Info
Topic last updated on 3/16/2023.