After you create a Ceiling Thief style in the Style Manager, you must save the style. Once you save the style, it appears in the ICE Product Palette in the folder that you chose.
To Save a Ceiling Thief Style
1.In the Style Manager, to save your style, click Save in ICE.
The Save Styles dialog box opens.
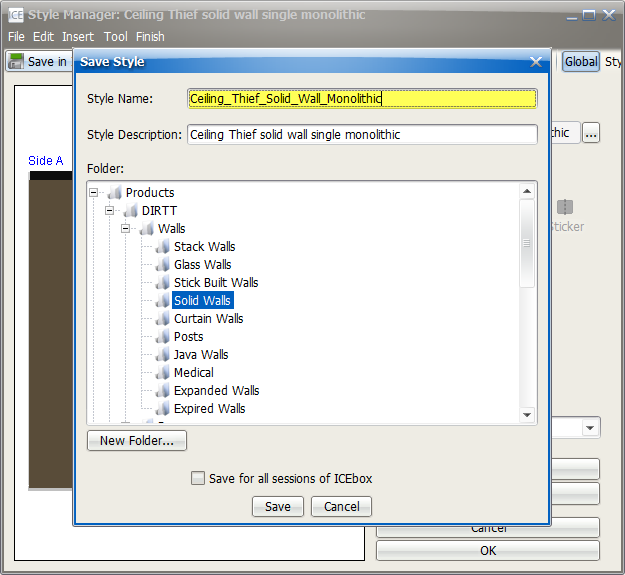
2.In Save Styles, click the Style Name field, and type a name for your new style.
Caution: Style Names cannot have spaces between works. If you want to separate works, use underscores or dashes in the Style Name (for example, Ceiling_Thief_GlassBDGoldie, Ceiling-Thief-Glass-BD-Goldie).
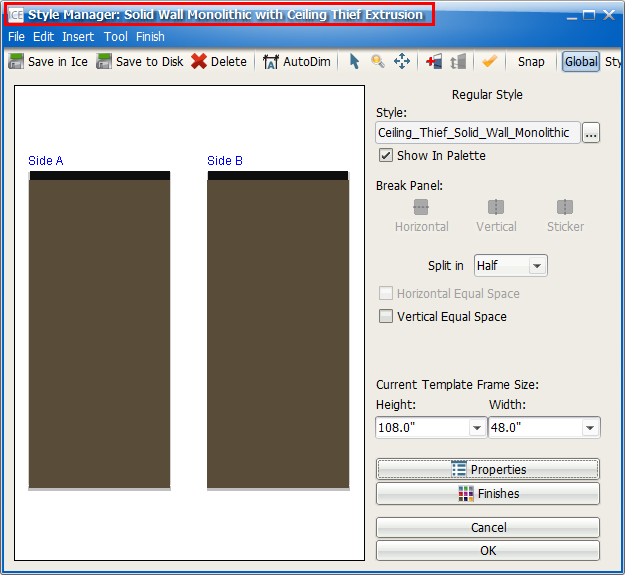
This image shows a style name with underscores;
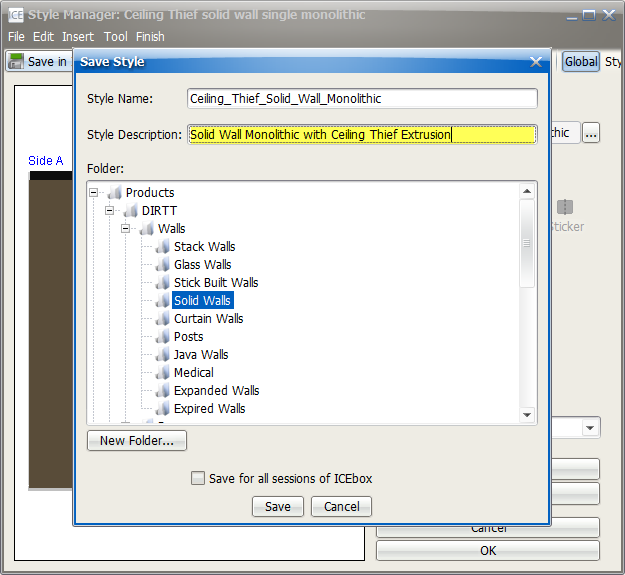
3.Click the Style Description, and type a description for your style.
4.If you want to save your style to a different folder, under Folder, navigate to the location.
5.If you want to create a new folder,
a.Click the folder where you want to create the new folder.
b.Click New Folder.
c.Type the folder name, and click OK.
In this example, we choose the Walls folder as the location for our new folder. The folder name, Ceiling Thief, appears in the New Folder dialog:
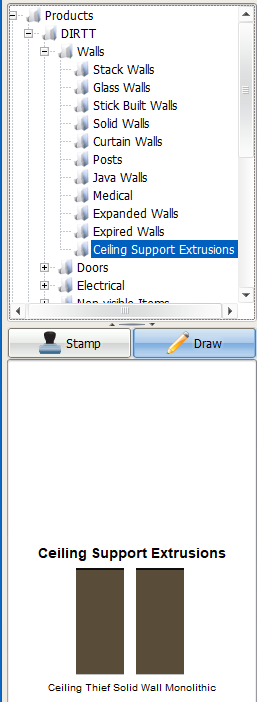
The new folder appears in the folder that you selected. In this example, the Ceiling Support Extrusions folder appears in the Walls folder:
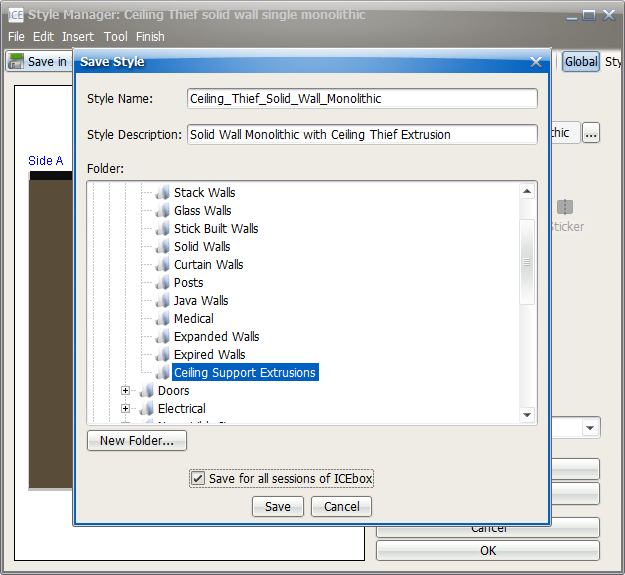
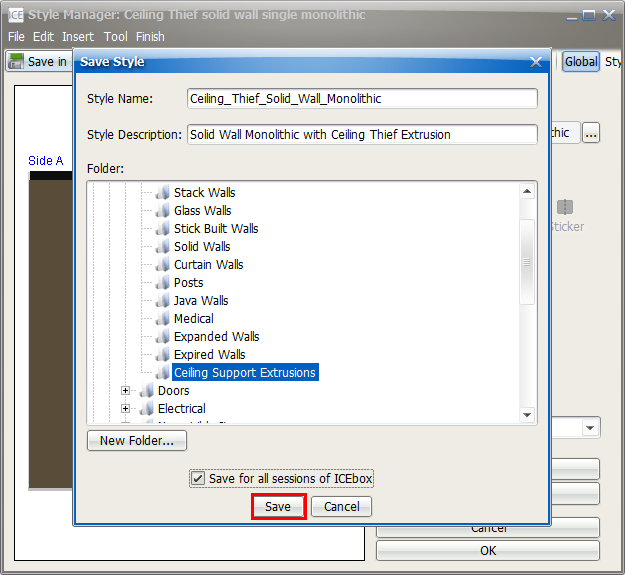
6.If you want to save the style for all future ICE sessions, click the box beside Save for all sessions of ICEbox to check it.
This image shows Save for all sessions of ICE selected:

7.Click Save.
The Save Style dialog box closes. You see your saved style in the Style Manager. The Style Description appears on the title bar.
8.To close the Style Manager, click OK.
Your new style appears where you saved it in the ICE Product Palette.
This image shows the style that we created in this example in the Walls/Ceiling Support Extrusions folder:
Once your new Ceiling Thief style appears in the Product Palette, you can draw the style in ICE 2D plan view.
Related Links:
•Specifying a Ceiling Antler with a Stack Style
•Specifying a Ceiling Antler with a Non-stack Style
•Specifying a Ceiling Thief on a Solid over Solid Wall
•Specifying a Ceiling Thief with a Full Height Door
•Specifying Ceiling Support Extrusions for Different Ceiling Heights