In the Properties Editor, you can adjust the Elevation Marker Scale to change size of elevation marker in ICE 2D plan view and ICEcad.
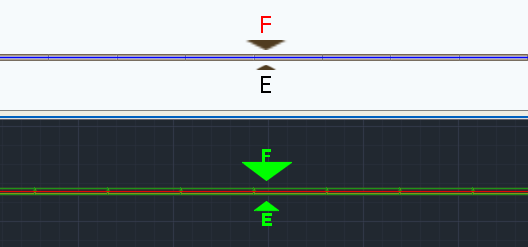
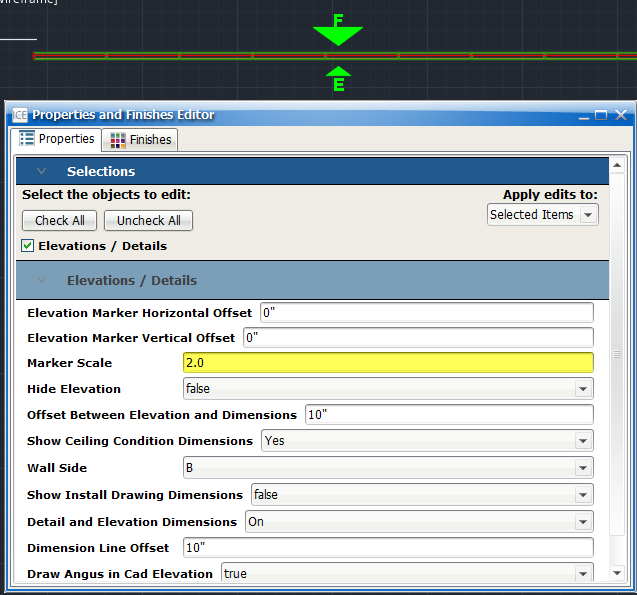
In this example image, the elevation marker for Elevation E is the standard size. However, we increased the Elevation Marker Scale for Elevation F, making the elevation marker larger:
To Change the Elevation Marker Scale
1.In ICE 2D plan view or ICEcad, select elevation(s) associated with the elevation marker.
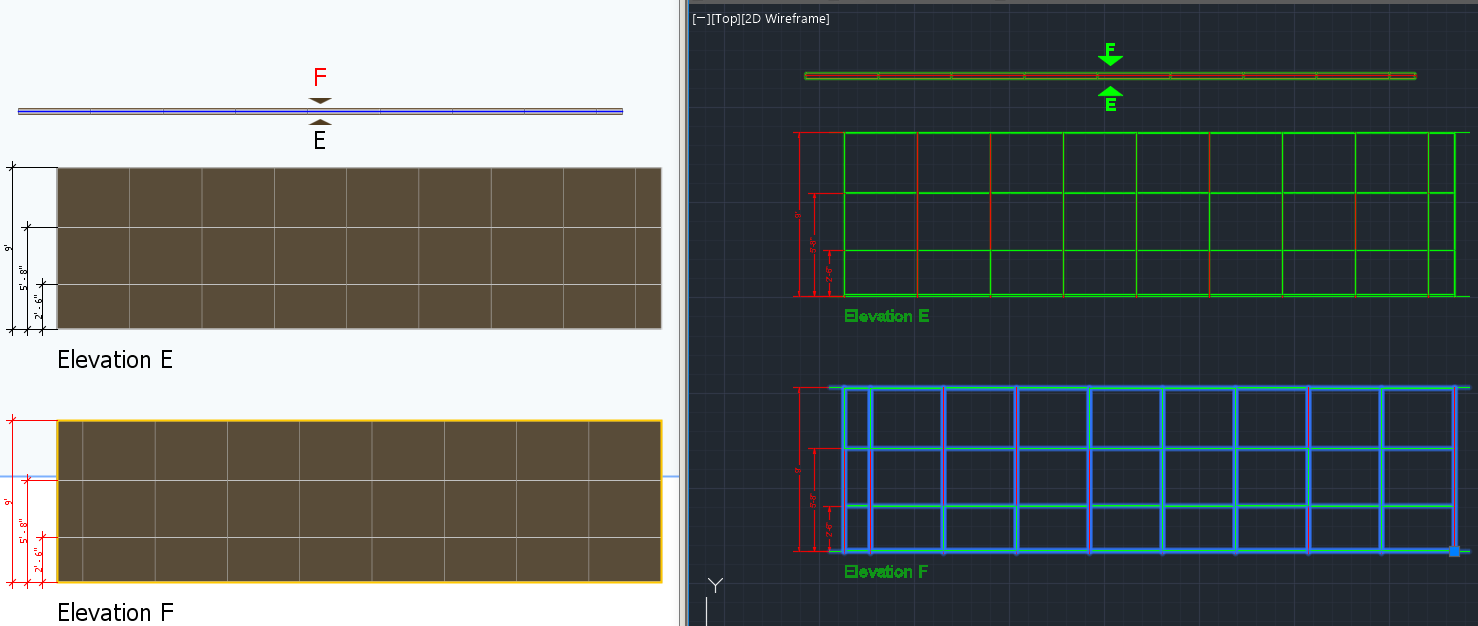
This image shows Elevation F selected in ICE 2D plan view and ICEcad:
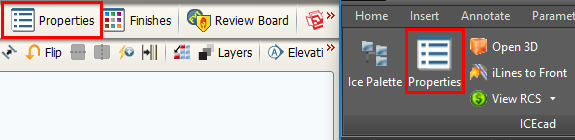
2.To open the Properties Editor, click the Properties icon.
This image shows the Properties icon on the ICEcad ribbon and on the ICE 2D plan view toolbar:
The Properties Editor opens in ICE 2D plan view.
3.Under Select the objects to edit, confirm that the field beside Elevations / Details is checked.
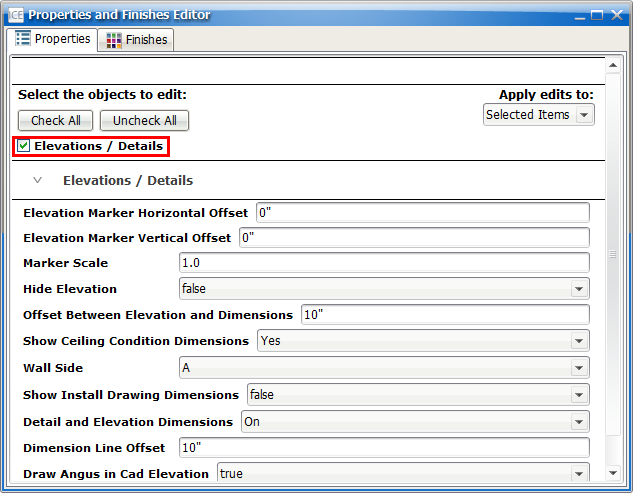
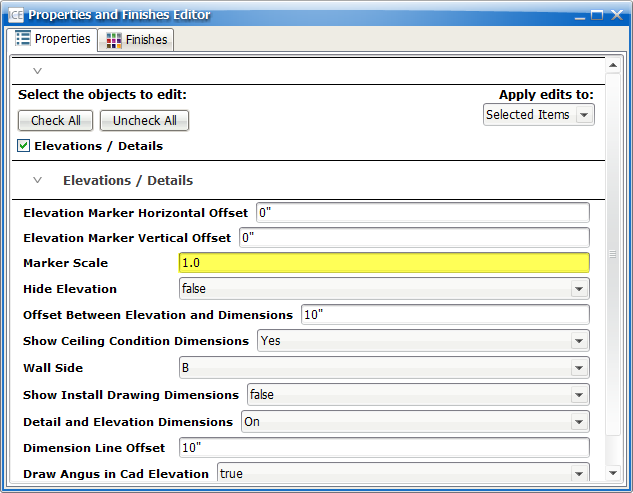
4.Under Elevations/Details, find the Elevation Marker Scale field.
This image shows the Elevation Marker Scale:
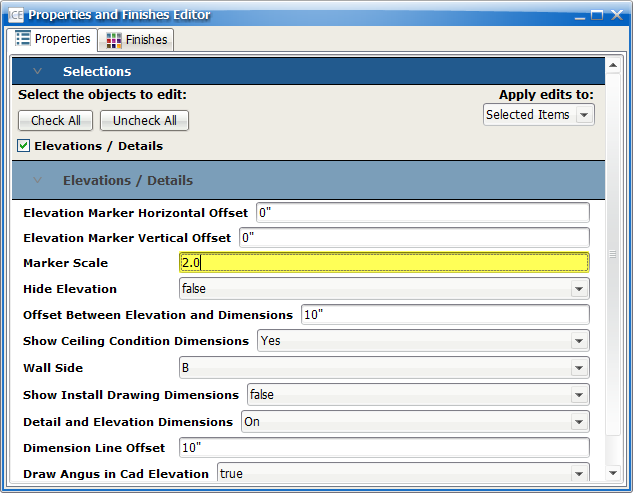
5.In the Elevation Marker Scale field, type a new value.
In this image, 2.0 now appears in the Elevation Marker Scale field:
6.Press Enter or click outside of the Elevation Marker Scale field.
For your selected elevation(s), the Elevation Marker Scale updates. In this example, we increased the Elevation Marker Scale for Elevation F, so that marker is larger than the marker for Elevation E, the unselected elevation:
Related Links:
•Moving an Elevation Marker in ICEcad
•Elevation Marker Horizontal Offset
•Elevation Marker Vertical Offset
Topic last updated on 3/16/2023.