In ICEcad, you can select elevation markers and drag them to move them horizontally along i-Lines.
To Move an Elevation Marker in ICEcad
1.In ICEcad, click an elevation marker to select.
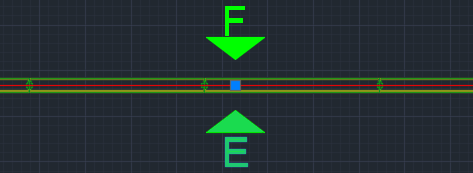
When you select an elevation marker, it is highlighted blue in ICEcad, and a grip appears under it on the i-Line. In this image, we selected the marker for Elevation E:
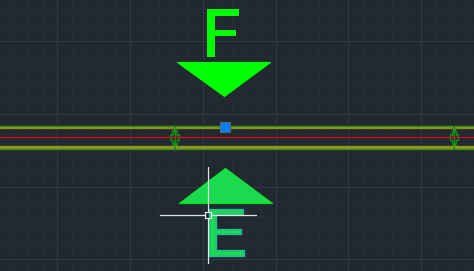
2.Click the letter in the marker and drag the marker horizontally along the i-Line to a new location.
In this example image, the select tool is on the letter E:
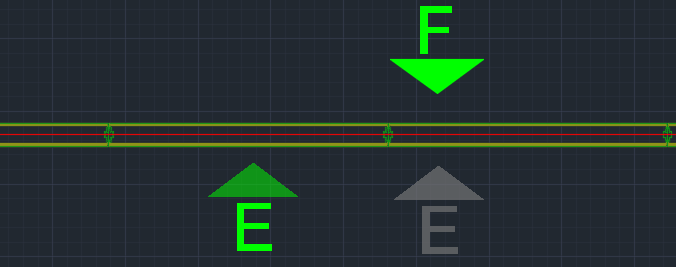
As you move the elevation marker along the i-Line, ICEcad previews the location. In this example image, the gray E represents the original location of the elevation marker, and green E represents the new location:
3.When you find the new location, release the mouse button.
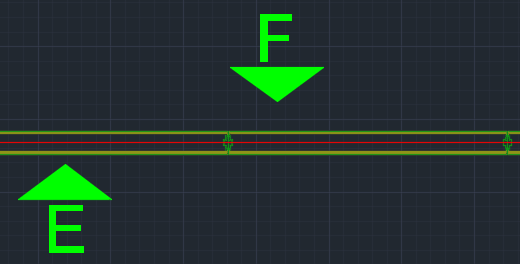
The elevation marker moves to the new location. In this image, elevation marker E is in a new location:
Related Links:
•Changing the Elevation Marker Scale
•Changing the Elevation Marker Scale
•Moving an Elevation Marker in ICEcad
Topic last updated on 3/16/2023.