In the Properties Editor, you can use the Elevation Marker Horizontal Offset property to move an elevation marker horizontally along a wall segment. The horizontal offset is defined relative the start of the i-Line. The start point is the drawing start point for that wall segment. For example, if you draw the i-Line left to right, the start point will be the left edge of the i-Line.

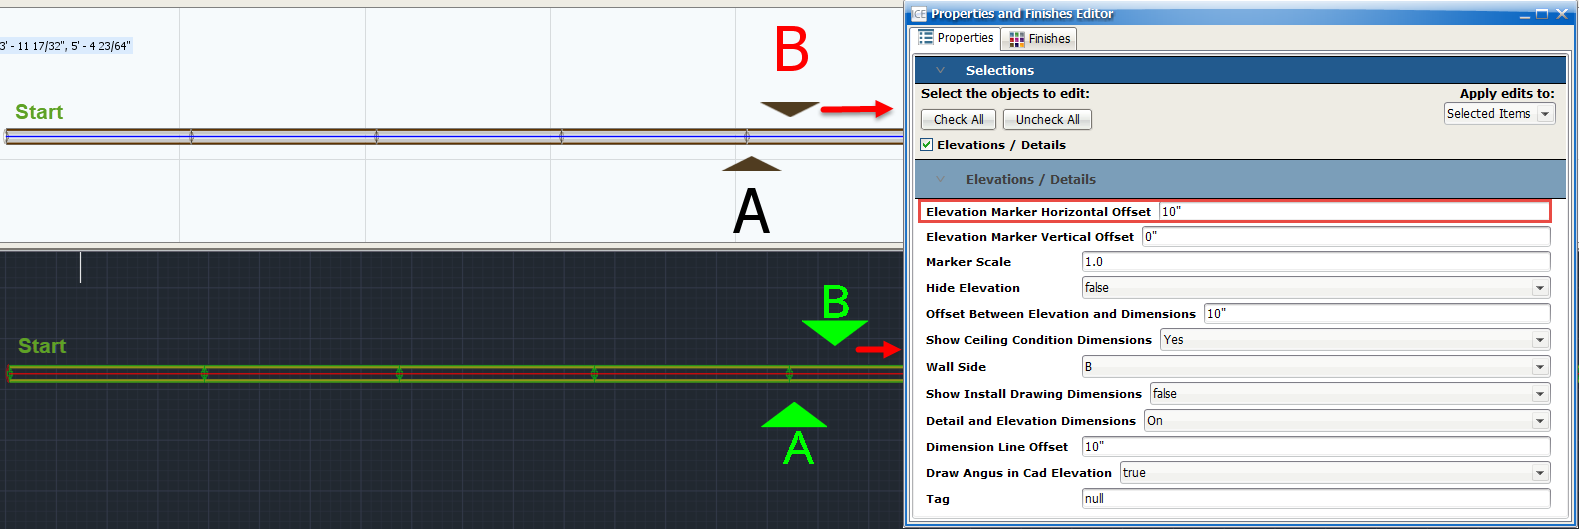
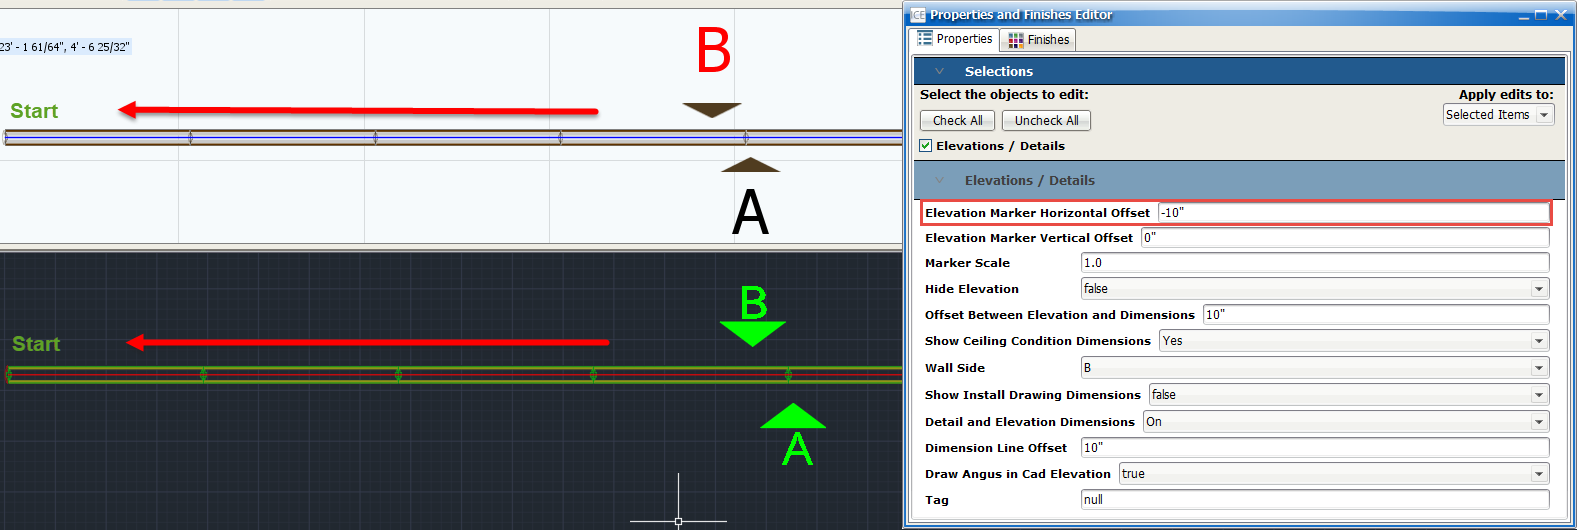
If you enter a positive value in the Elevation Marker Horizontal Offset field, the elevation marker moves away from the start point of the i-Line. If you enter a negative value, the elevation marker moves back towards the start point. In these example images, the i-Line start point is on the left.
When we enter a positive value of 10", elevation marker B moves away from the start point of the i-Line:
When we enter a negative value of -10", elevation marker B moves back towards the stat point of the i-Line:
To Change the Elevation Marker Horizontal Offset
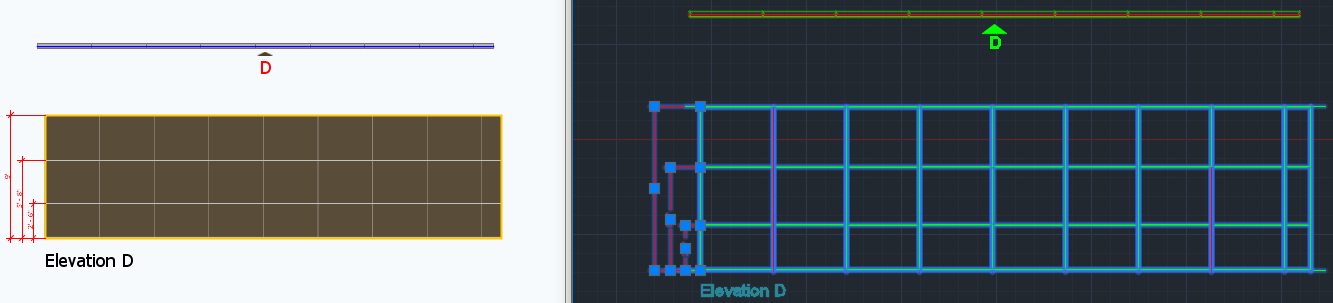
1.In ICE 2D plan view or ICEcad, select elevation(s) associated with the elevation marker.
This image shows Elevation D selected in ICE 2D plan view and ICEcad:
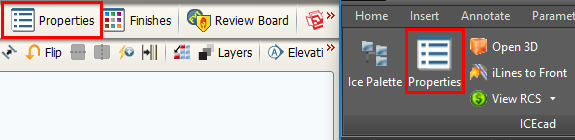
2.To open the Properties Editor, click the Properties icon.
This image shows the Properties icon on the ICEcad ribbon and on the ICE 2D plan view toolbar:
The Properties Editor opens in ICE.
2.If you want to view the Properties Editor in ICEcad, drag it to the ICEcad window.
This image shows the Properties Editor in ICEcad:
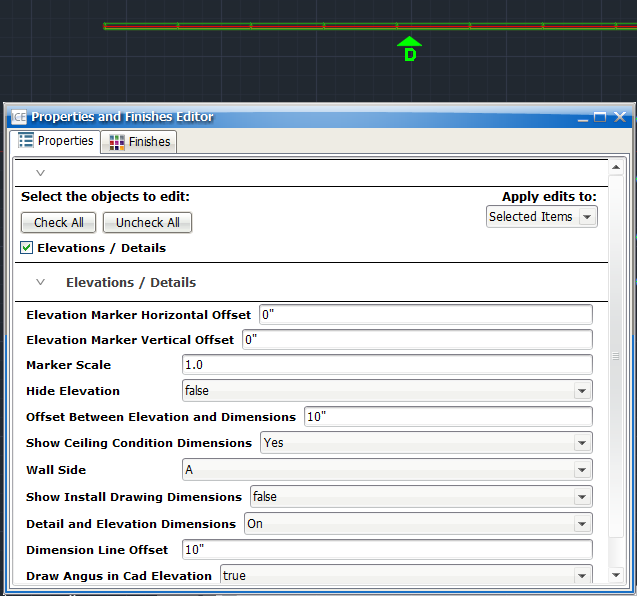
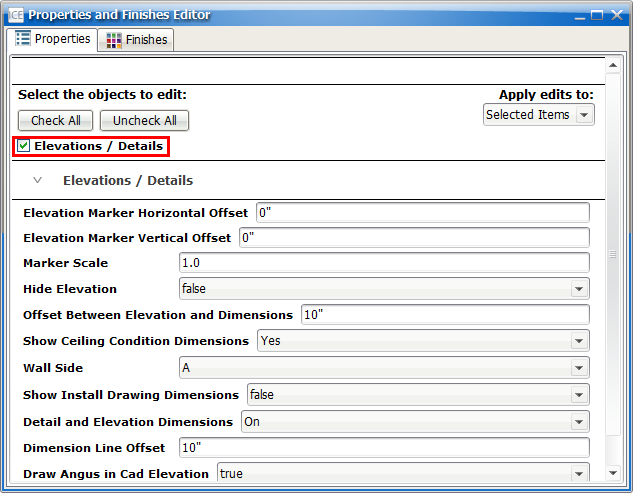
3.Under Select the objects to edit, confirm that the field beside Elevations / Details is checked.
4.Under Elevations/Details, find the Elevation Marker Horizontal Offset field.
This image shows the Elevation Marker Horizontal Offset:
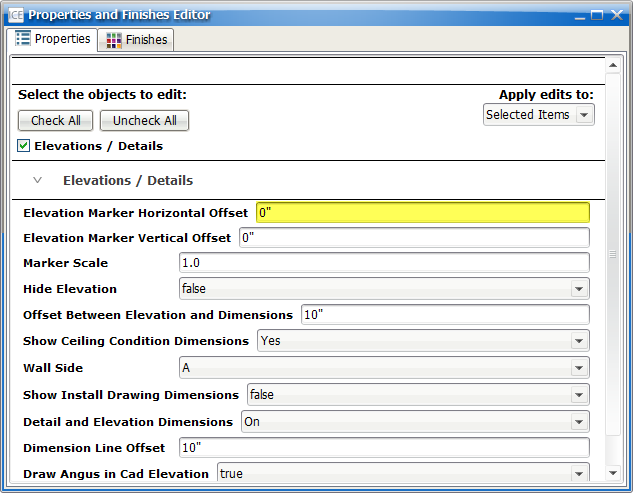
5.In the Elevation Marker Horizontal Offset field, type a new value.
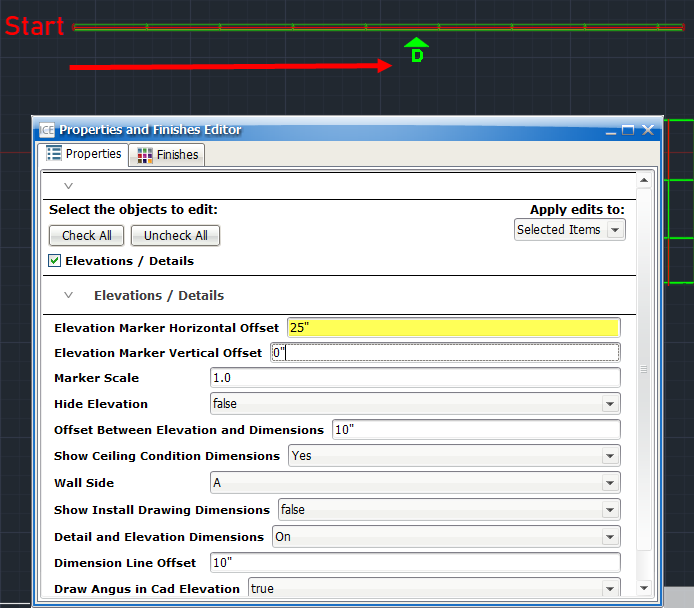
If you want to move the elevation marker away from the start of the i-Line, |
type a positive value (for example, 25"). |
|---|---|
If you want to move the elevation marker back towards the start of the i-Line, |
type a negative value (for example, -25") |
6.Press Enter or click outside of the Elevation Marker Horizontal Offset field.
For your selected elevation(s), the Elevation Marker Horizontal Offset updates. In this example, the left side of the i-Line is the start point. In the Elevation Marker Horizontal Offset, we typed a value of 25", moving the elevation marker away from the start of the i-Line:
After you change the Elevation Marker Horizontal Offset to move an elevation marker horizontally along an i-Line, you can adjust the Elevation Marker Vertical Offset to move the elevation marker closer to or further away from the i-Line.
Related Links:
•Changing the Elevation Marker Horizontal Offset
•Changing the Elevation Marker Scale
•Moving an Elevation Marker in ICEcad
Topic last updated on 3/16/2023.