To specify a single Leaf Wall, follow the instructions below. To specify a double Leaf Wall, see the Leaf Folding Wall Order Process Guide.
1.In ICE 2D plan view, draw a 4” facemount, centermount, or Enzo Stack wall.
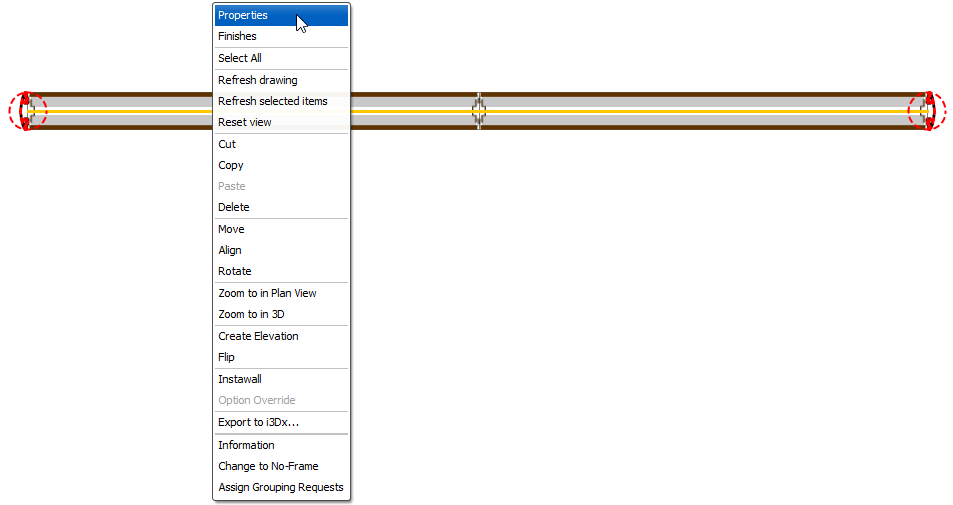
2.Select the wall.

3.Right-click, and choose Properties.
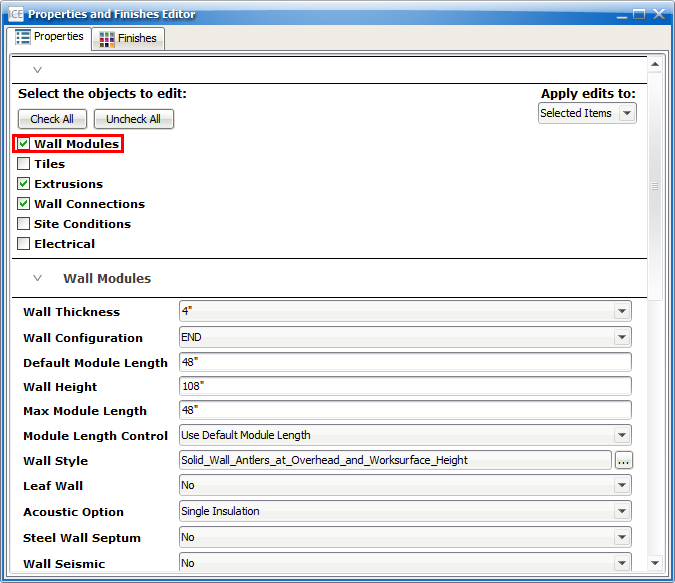
4.Under Select the objects to edit, select Wall Modules.
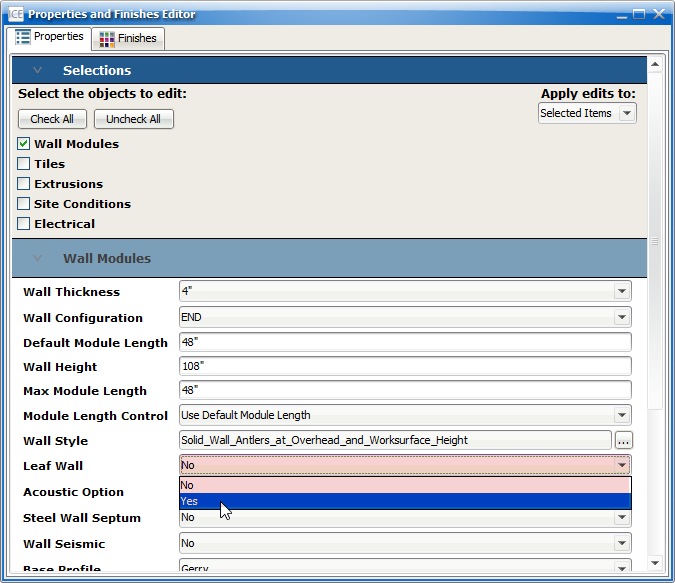
5.Under Wall Modules, for Leaf Wall, choose Yes.

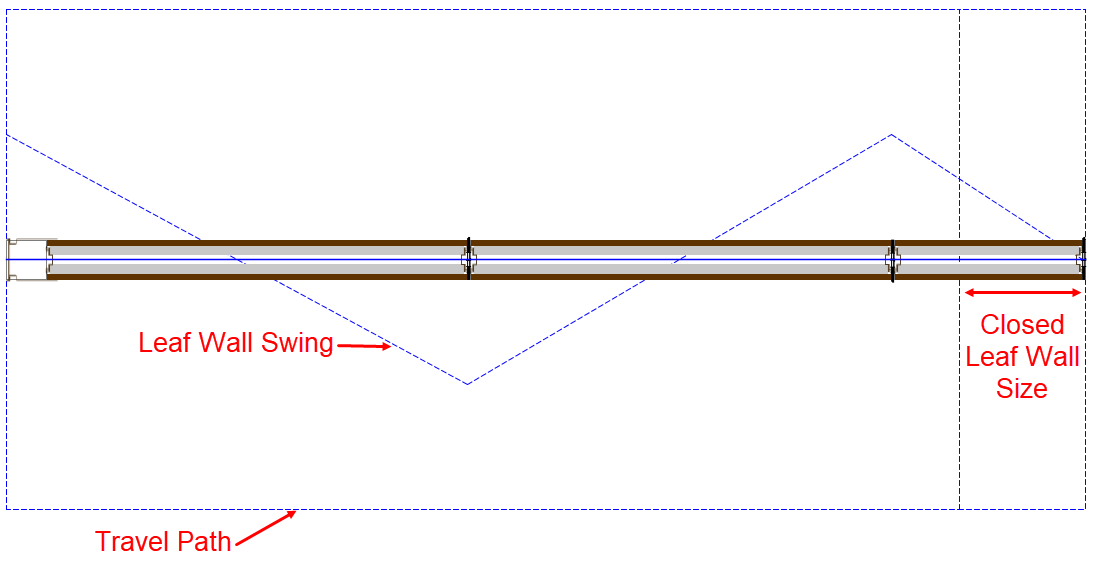
ICE 2D plan view updates to show the Leaf Wall. The docking module appears at the start of the wall. This is the side of the Leaf Wall that opens and closes. The hinge appears on the end of the wall. This is the end of the wall that remains attached as you open and close the Leaf Wall. To flip the docking module and the hinge end of the wall, see Wall Configuration.
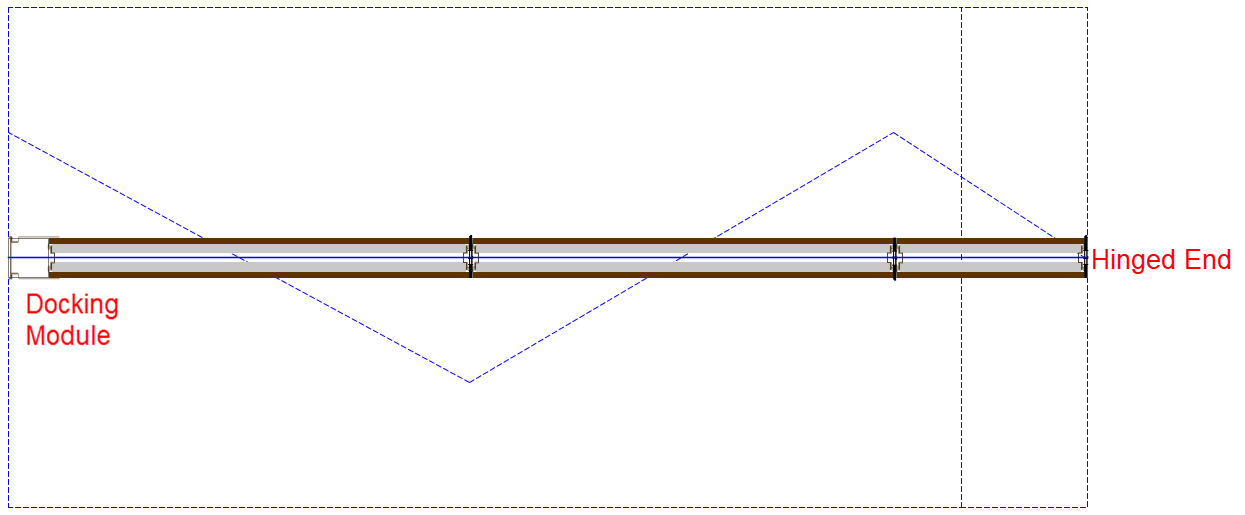
Around the Leaf Wall, you see the Leaf Wall travel path. The travel path is a blue-dotted rectangle around the wall. It shows the clearance for opening and closing the Leaf Wall. You should keep this area inside the blue rectange clear so that you can easily open and close the Leaf Wall. The smaller rectangle on the right-side of the travel path shows the size of the Leaf Wall when folded up.
The blue zig-zag line in the center of the rectangle shows the Leaf Wall Swing—the direction that the hinges move as you open or close the Leaf Wall. around the wall. To change the Leaf Wall Swing, see Leaf Wall Swing.
Related Links:
•Changing the Wall Configuration
•Setting the Default Module Length
•Changing the Leaf Wall Base Profile
•Changing the Ceiling Condition
•Leaf Folding Wall Order Process Guide
Topic last updated on 8/17/2023.