If you need to change your layout and move a Junction, the walls connected to the Junction may become unsnapped. You can resnap the walls to the Junction. However, the i-lines will not extend and snap to the Junction as they did when you first placed it. The i-Line assist feature is only available when you first snap a junction into your layout. If you move a Junction or the walls attached to it, the i-Lines will only re-snap without extending.
If you are having difficulties getting the Junction to correctly snap to the walls, you have two options. If the walls are not aligned with the Junction, you can use the Align Tool, to line them up so that they snap.
If the walls and the Junction are still aligned,you can delete the Junction, and then add the same Junction back to the layout. The i-Lines on the wall will extend and snap to the Junction. For more information, see the instructions below.
To Delete and Re-add a Junction
Before working with Junctions, take the following steps:
oTurn off Confirm.
oAdjust the Snap Strength to 0.5.
oZoom in close to the Junction.
1.If you want to check the alignment information, select the Junction, and right-click to open Junction Alignment Info.
In this example, we copied and pasted a Junction, and now all of the walls are un-snapped.
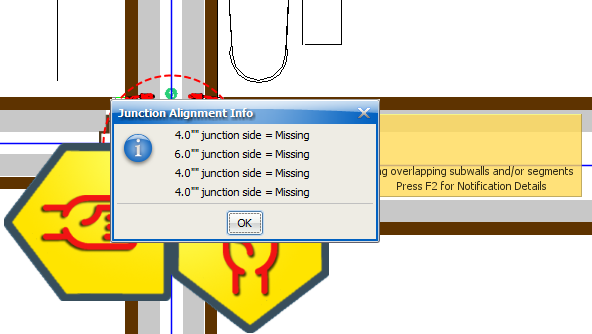
2.If you want to close Junction Alignment Info, click Ok.
3.If you want to delete the Junction, select the Junction.
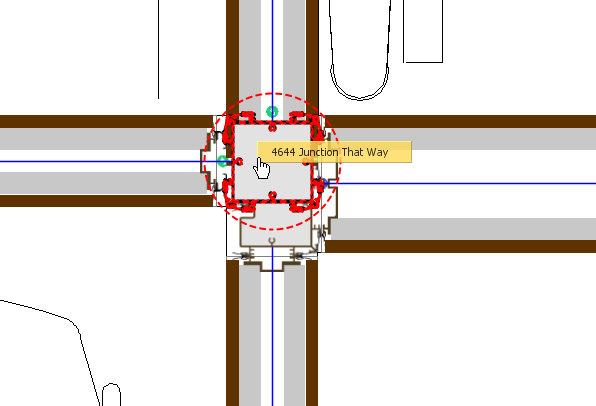
4.On the primary toolbar, click Delete.

5.If ICE added any other invalid intersections, pull back the walls so that the intersections disappear.
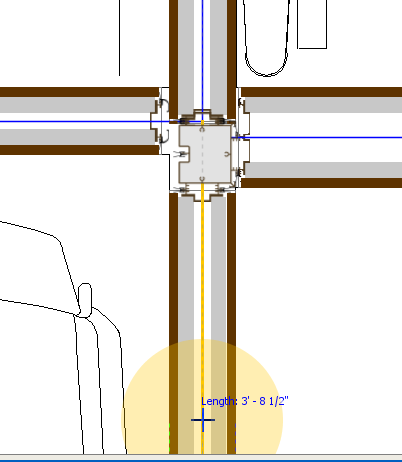
6.Open the Junctions folder in the Product Palette, and select the Junction that you just deleted.
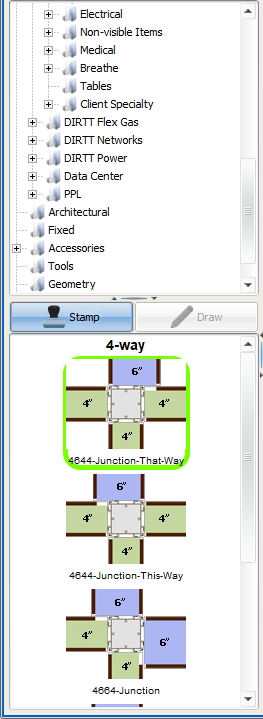
7.If you need to rotate your Junction before you place it, press the "." key until you achieve the correct orientation.
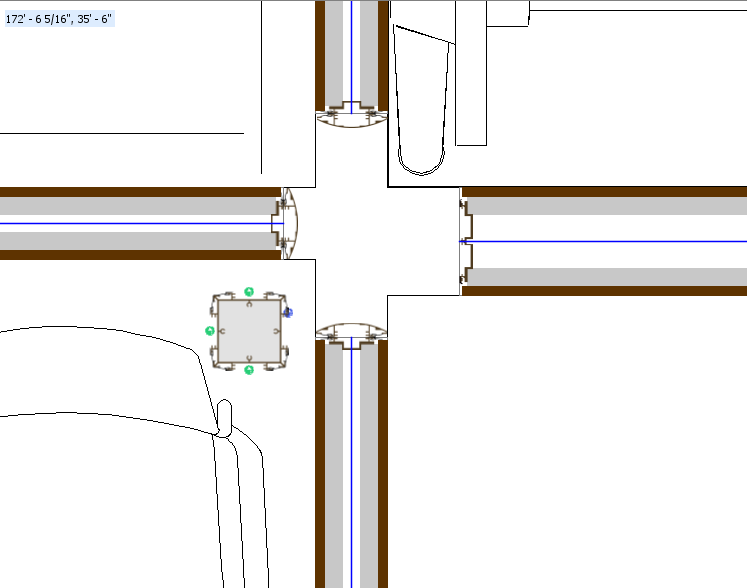
8.Move your Junction into position between the i-Lines.
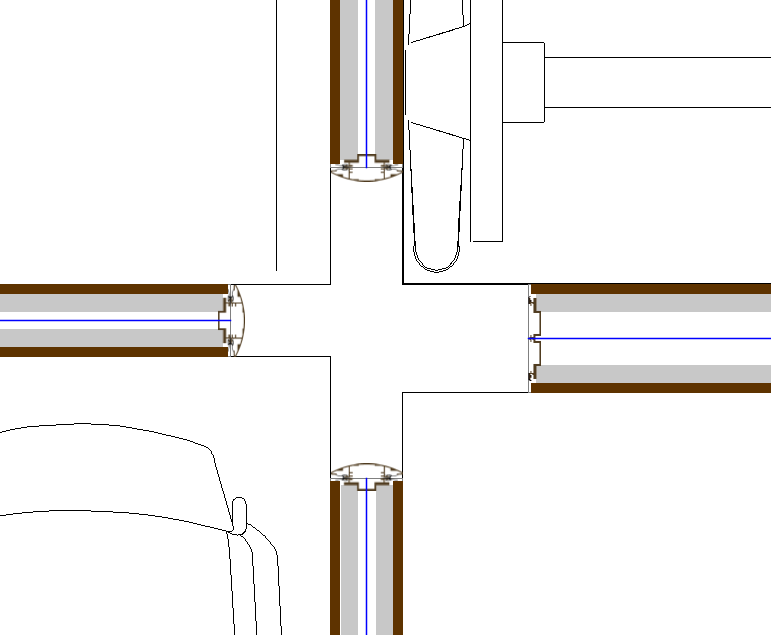
You see a preview of the i-Lines extending and snapping to the Junction, as shown in the image below:
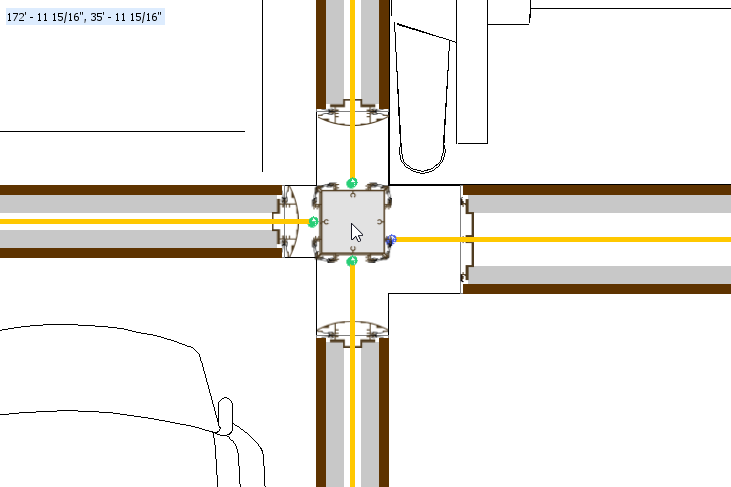
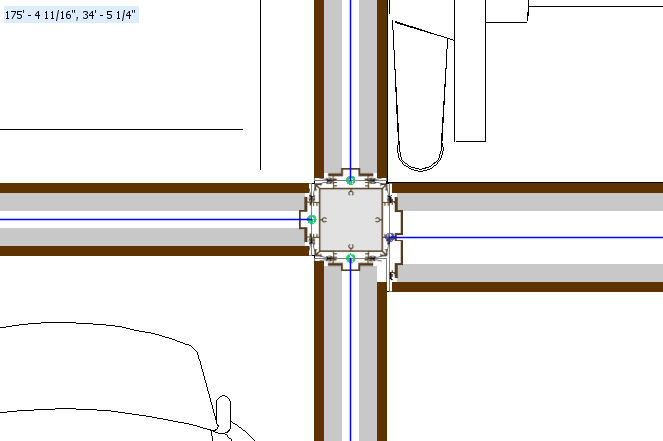
9.To stamp the Junction into your layout, click in ICE 2D plan view.
The i-Lines extend and snap to the Junction.
Related Links:
•Moving the Junction Snap Points for 3-way and 4-way Junctions
Topic last updated on 3/16/2023.