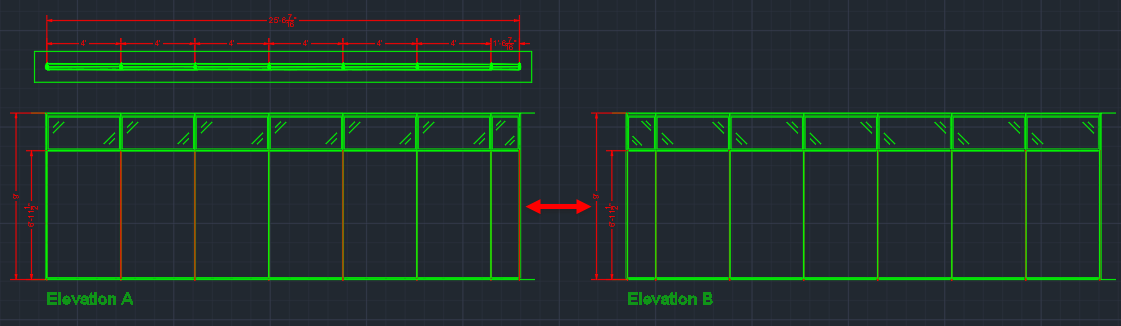
In the Elevations section of Current File Settings, you can adjust Extra space between elevations to change the spacing between horizontally-placed elevations. The value that you enter in Extra space between elevations defines the horizontal space between one elevation and the final vertical dimension line on the next elevation. In this image, the arrows show you where you define spacing for horizontally placed elevations:
Caution: You should change Extra space between rows before you insert elevations. If you adjust Extra space between rows after inserting elevations, the horizontal spacing does not change for elevations that you have already inserted. However, when you insert new horizontally-spaced elevations, the spacing between elevations reflects the values that you entered,
To Change Horizontal Spacing Between Elevations
1.In the Edit menu, choose Current File Settings.

Current File Settings opens to Billing Information.
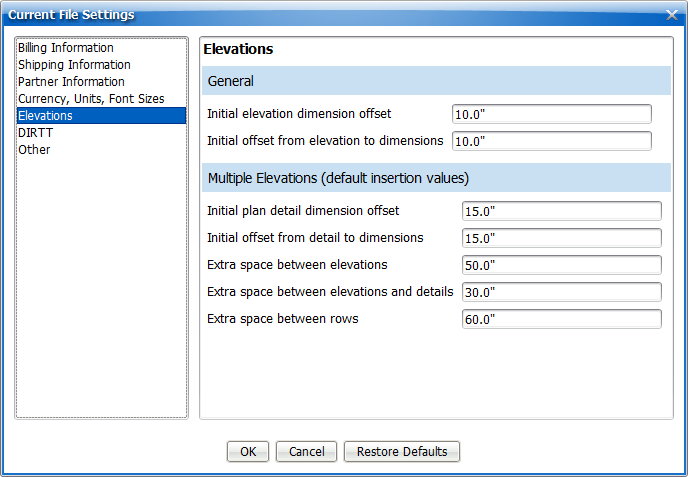
2.In Current File Settings, click Elevations.
Elevations settings opens.
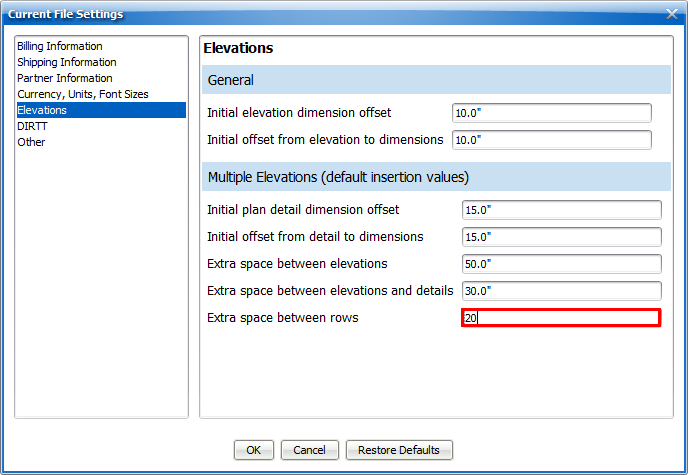
3.In the Extra space between rows box, type a new value.
In this example, we update the Extra space between rows to 20":
4.To update and close Current File Settings, click OK.
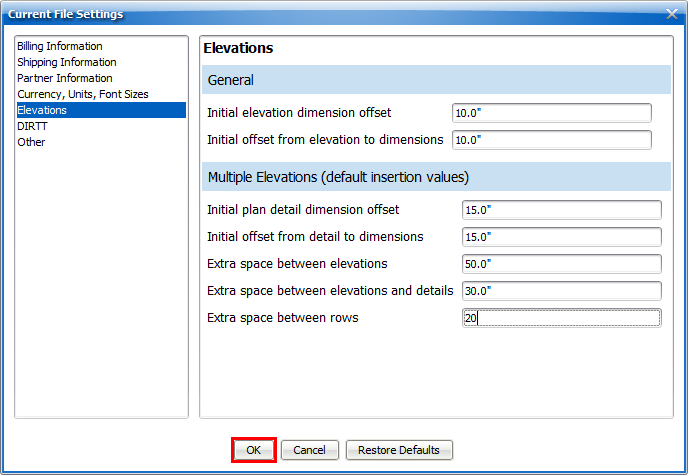
Current File Settings applies your settings and closes. After you change the Extra space between rows, you can insert elevations in ICE or ICEcad, and the spacing between horizontally-placed elevations reflects the values you entered in Current File Settings.
Related Links:
•Vertical Spacing Between Elevations
Topic last updated on 3/16/2023.