In ICEcad, you can insert an elevation for a selected item. When you insert an elevation in ICEcad, it simultaneously appears in ICE 2D plan view.
Tip: You can use elevation properties and settings to customize your elevation. Elevation properties and settings allow you to adjust spacing between dimension lines and elevations, change dimension, elevation market, and elevation label spacing. You should adjust elevation settings before inserting elevations.
To Insert an Elevation
1.Select an item.
The selected item is highlighted blue and grips appear on it. In this example image, a wall is selected:

2.On the ICEcad ribbon, click Insert Elevation.
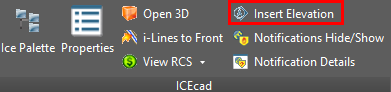
A selection tool appears, prompting you to choose the side of the item to create an elevation.
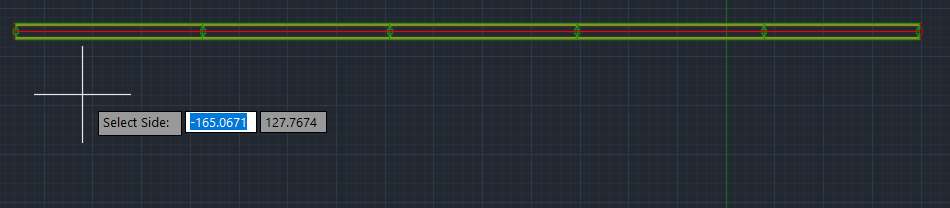
3.Click the side of an item for which you want to create an elevation.
In this example image, we click one side of a wall:

A selection tool appears, prompting you to choose the location for the elevation.
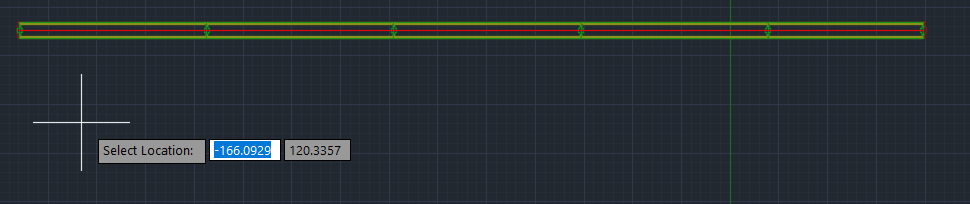
4.To insert an elevation, click a spot in the model space.
In this example image, we click a spot beneath the wall:
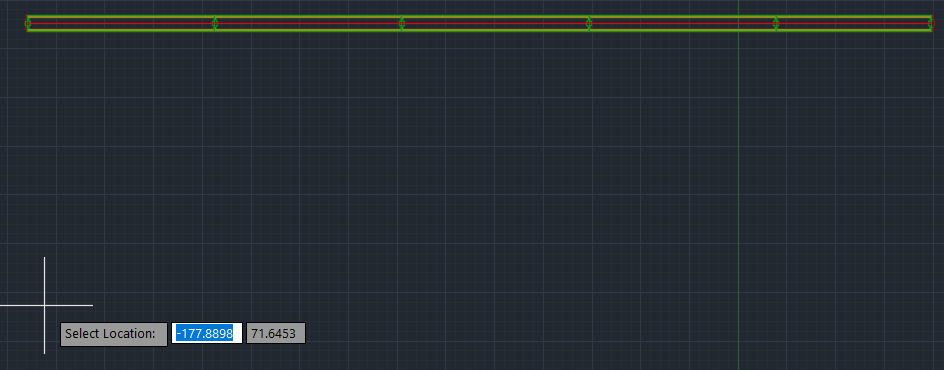
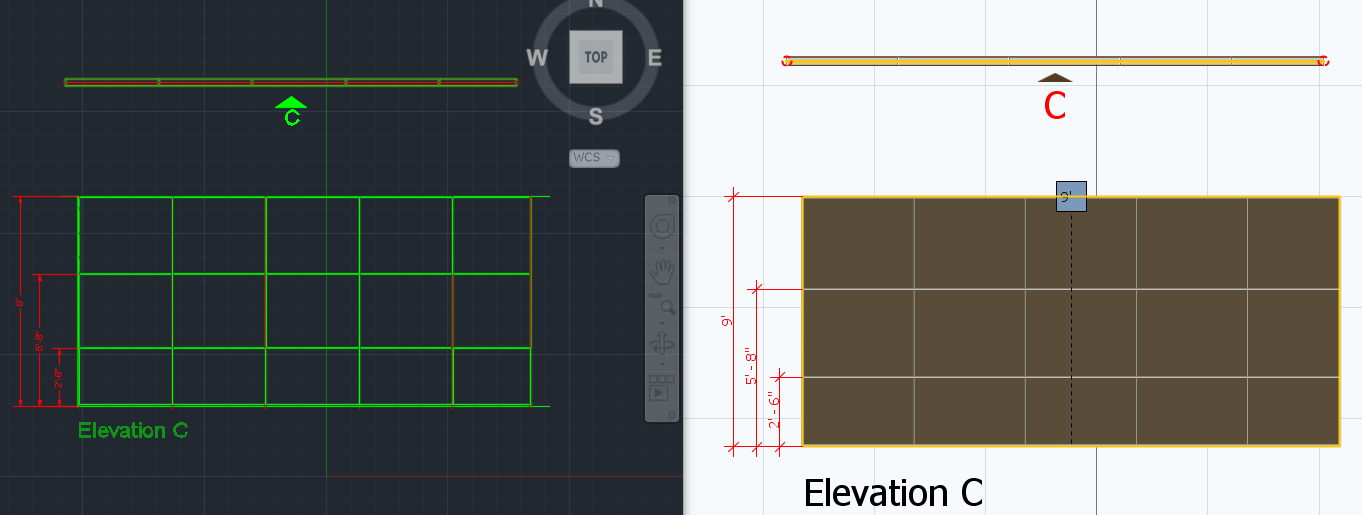
The elevation and and elevation markers appear in ICEcad and ICE 2D plan view. This example image shows an elevation for a wall:
After you insert an elevation in ICEcad, you can use elevation properties to change dimension line spacing and elevation label location.
Related Links:
•Elevation and Plan Detail Properties
•Changing Elevation and Plan Detail Settings
Topic last updated on 3/16/2023.