1.In the Product Palette, click Draw.

2.Select a wall style .

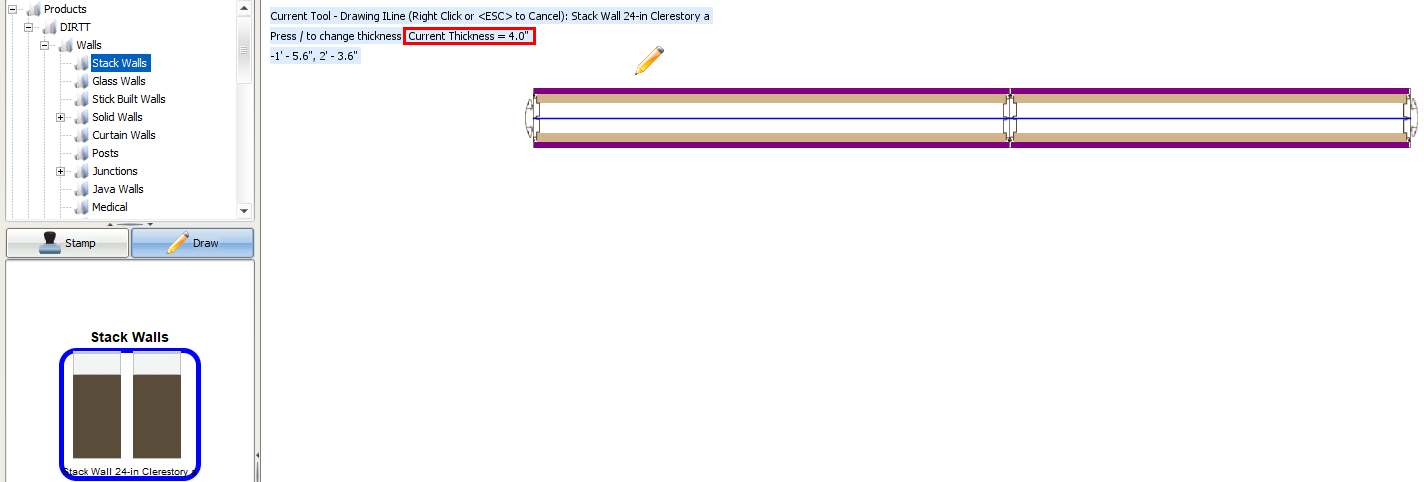
A pencil appears on your mouse cursor, and assistance text appears in the top-left corner of plan view, indicating that the current wall thickness is 4":

2.If you want to draw a 6" wall, press the / key.
The assistance text updates to display a Current Thickness of 6".

Tip: If you need to change the thickness and return to a 4" wall, you can press the / key again.
3.In ICE 2D plan view, click and hold down on the left mouse button, and drag the mouse to draw the wall.
As you move your mouse, a preview of the i-Line appears. In ICE 2D plan view, the 6" wall appears thicker than the 4" wall.

3.If you want to rotate the wall 180 degrees while drawing, press the ? key.
4.If you want to change the i-Line Offset while drawing, press the . key.
5.When you finish drawing the wall, release the mouse button.
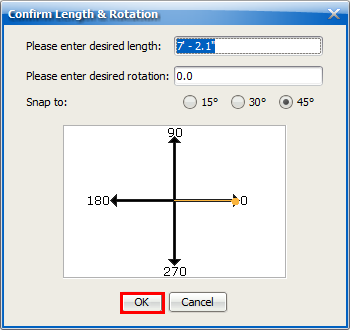
6.If Confirm is on, in the Confirm Length & Rotation dialog, confirm and change the wall length and rotation, and click OK.

The 6" wall appears in ICE 2D plan view. the Current Thickness returns back to 4". If you want to draw another 6" wall, you will have to press the / key again.

4.If you want to exit out of the drawing function and deselect the wall style, right-click or press ESC.
After you draw a 6" wall, you can change it to a 4" wall in the Properties Editor. If you want to connect 6" walls to other i-Lines (2", 4", or 6" walls), you can use intersections or Junctions.
Related Links:
•Justifying i-Lines While Drawing
•Rotating i-Lines While Drawing
Topic last updated on 3/16/2023.