When you draw a DIRTT wall in ICE, it defaults to a 4" wall, unless you switch to you 6" wall.
Tip: After you draw a 4" wall, you can change it to a 6" wall in the Properties Editor.
1.In the Product Palette, click Draw.

2.Select a wall style .

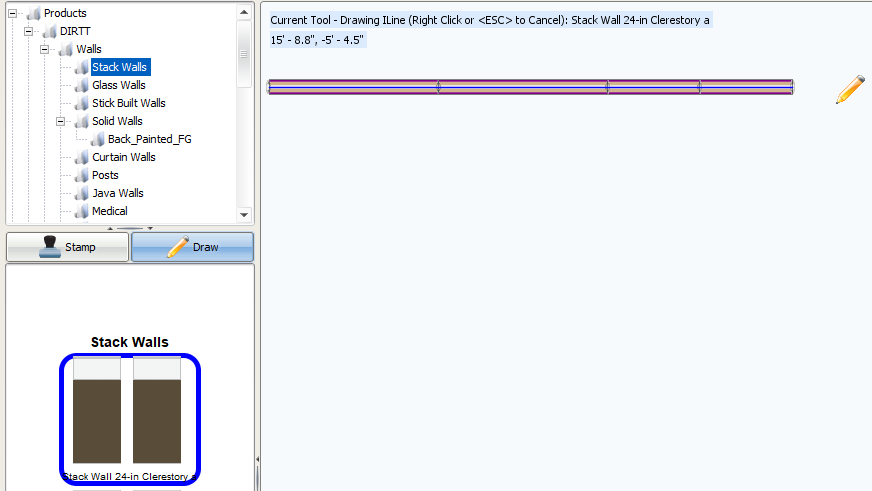
A pencil appears on your mouse cursor, and assistance text appears in the top-left corner of plan view, indicating that the current wall thickness is 4":

Tip: You can also click the Stamp button, and click a wall style to stamp in a well segment.
2.If you want to draw a 4" wall, in ICE 2D plan view, click and hold down on the left mouse button, and drag the mouse to draw the wall.
As you move your mouse, a preview of the i-Line appears. As you draw, you can Rotate the i-Line 180 degrees to change which side of the wall faces which direction. Additionally, you can change the position, or justification, of the i-Line.

3.If you want to rotate the wall 180 degrees while drawing, press the ? key.
4.If you want to change the i-Line Offset while drawing, press the . key.
5.When you finish drawing the wall, release the left mouse button.
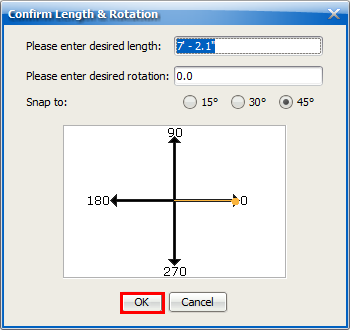
6.If Confirm is on, in the Confirm Length & Rotation dialog, confirm and change the wall length and rotation, and click OK.

You see the i-Line in ICE 2D plan view.

4.If you want to exit out of the drawing function and deselect the wall style, right-click or press ESC.
After you draw a 4" wall, you can change it to a 6" wall in the Properties Editor.
Related Links:
•Justifying i-Lines While Drawing
Topic last updated on 8/17/2023.