After you turn Selection Areas on in the View menu, you can draw a Selection Area in ICE 2D plan view.
1.On the ICE 2D toolbar, click Draw Area.

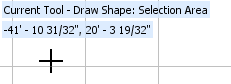
Your mouse cursor turns into a Selection Area drawing tool:
2.Click and hold down on the left mouse button, dragging your mouse to create the square or rectangular shape.
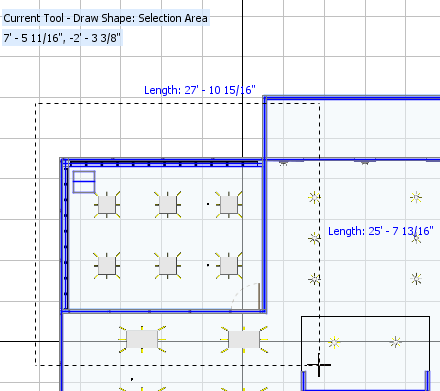
As you draw, a dotted line appears around the Selection Area, and the vertical and horizontal length appear in blue text on the outside of the area:
3.To stop drawing the selection area, release the mouse button.
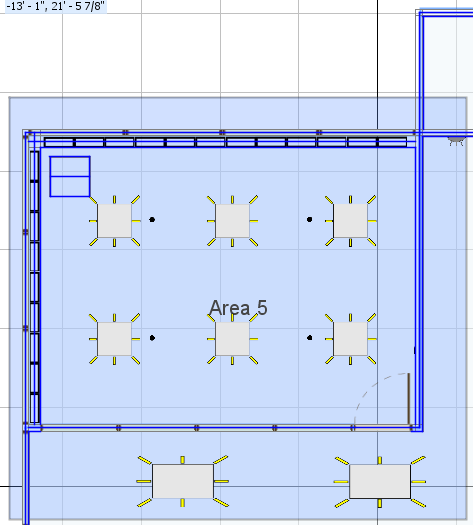
The Selection Area appears in ICE 2D plan view. Selection Areas are automatically assigned a color and a name. You can change the color and name in the Properties Editor. In this image, the automatic Selection Area name is Area 5, and the color is blue:
4.If you want to exit the Drawing Area tool, right-click.
5.If you want your Selection Area to save with your ICE file, click Save.
After you draw a Selection Area, you can modify its shape.