After you draw a Selection Area, you can edit the Selection Area color, name, and name text font size.
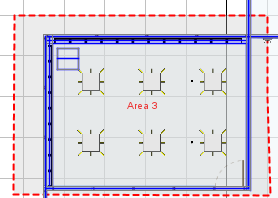
1.Click the Selection Area.
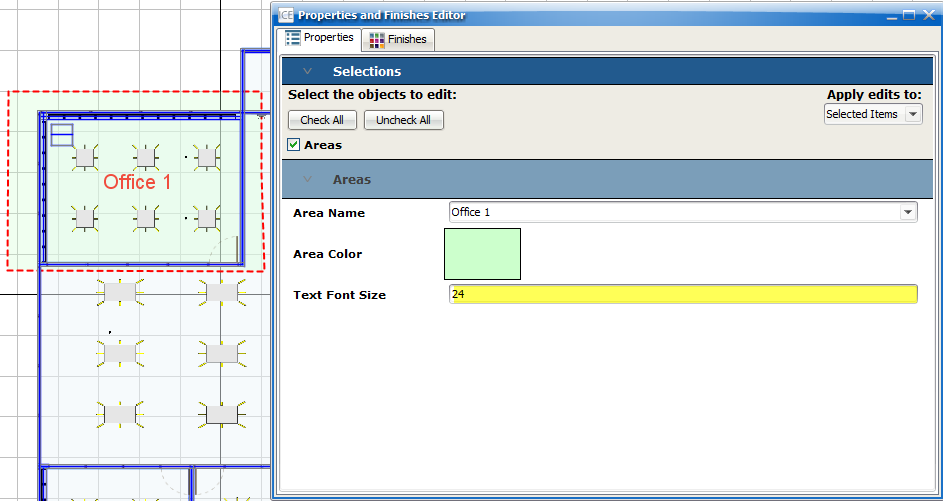
When selected, the border of the Selection Area is highlighted red.
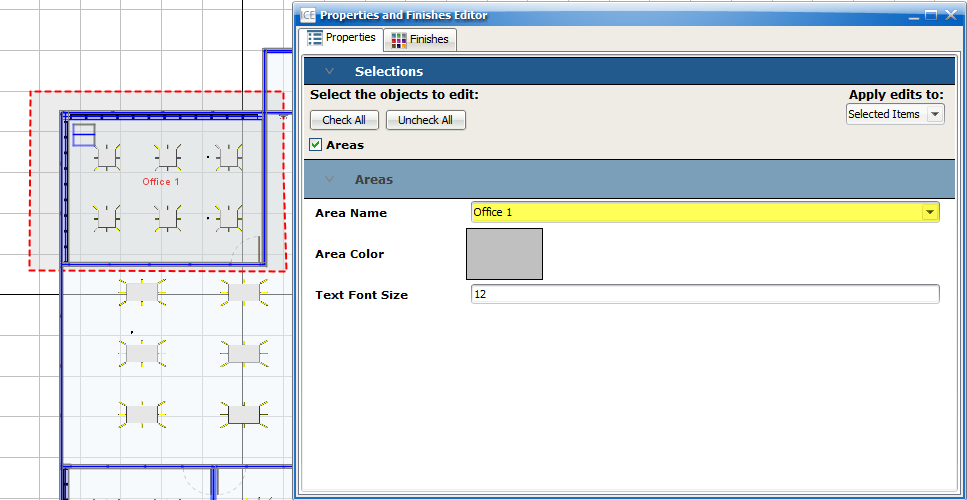
2.To open the Properties Editor, right-click and choose Properties, or, on the ICE 2D toolbar, click Properties.
3.In the Properties Editor, under Select the objects to edit, confirm that a check mark appears in the Areas check box.
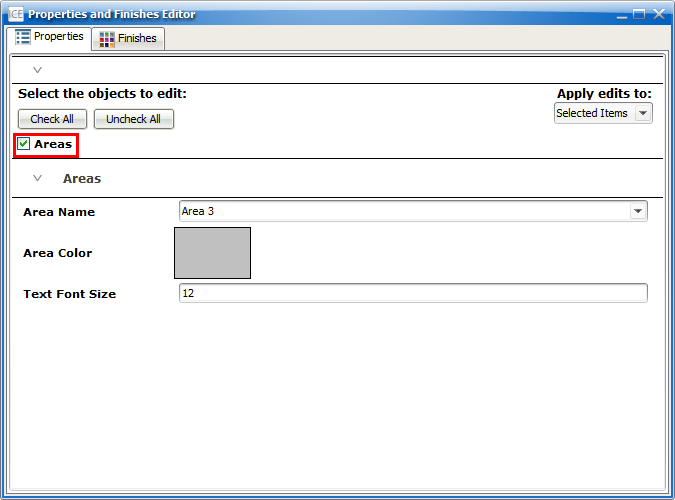
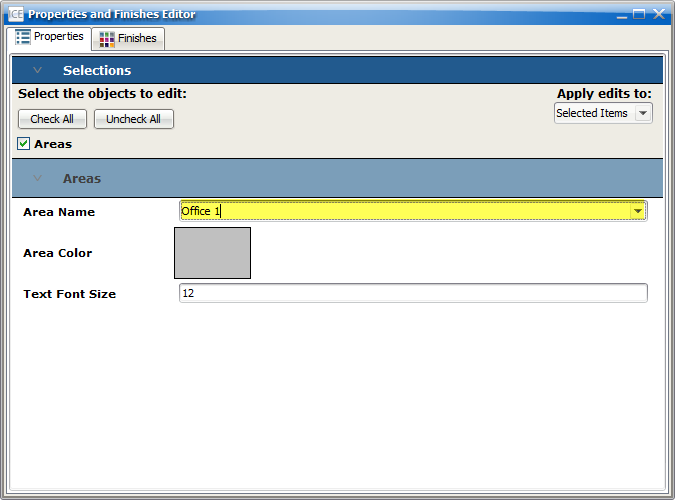
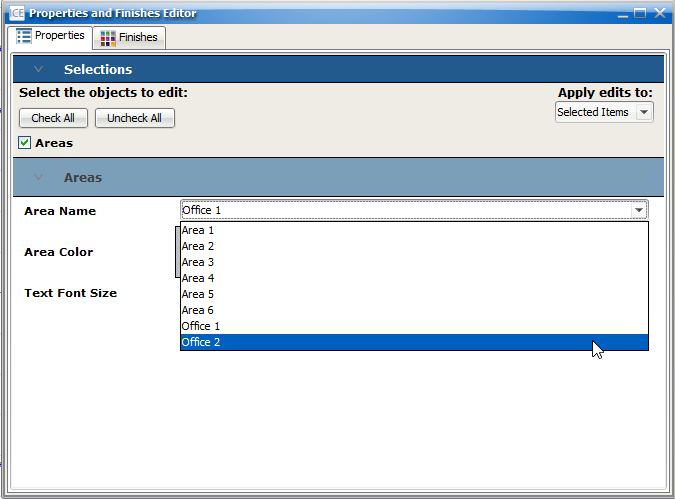
4.In the Area Name field, type or choose a new Selection Area name:
•Click the Area Name field, type a new name, and press Enter.
•Or, click the arrow in the Area Name field, and choose an existing name from the drop-down menu.
When you choose an existing name for a Selection Area, you join the Selection Area with any other selection areas that already have that same name.
In ICE 2D plan view and the Properties Editor, the Selection Area name updates.
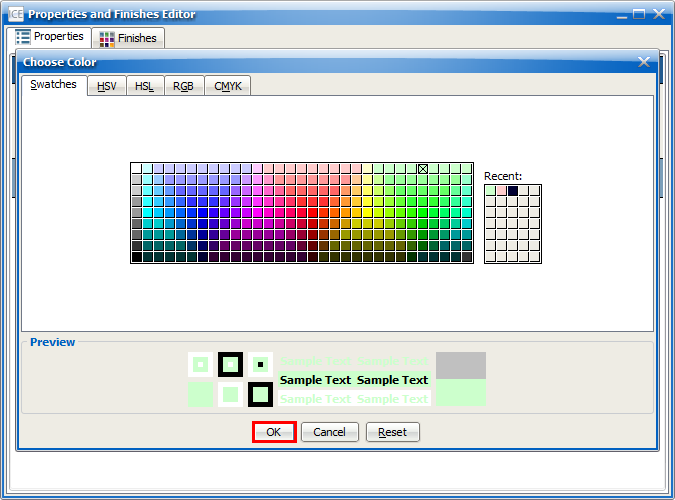
5.If you want to change the Selection Area color, beside Area Color, click the color swatch.
The Choose Color dialog box opens.
6.To choose a new color, click a color swatch or enter a specific color code, and click OK.
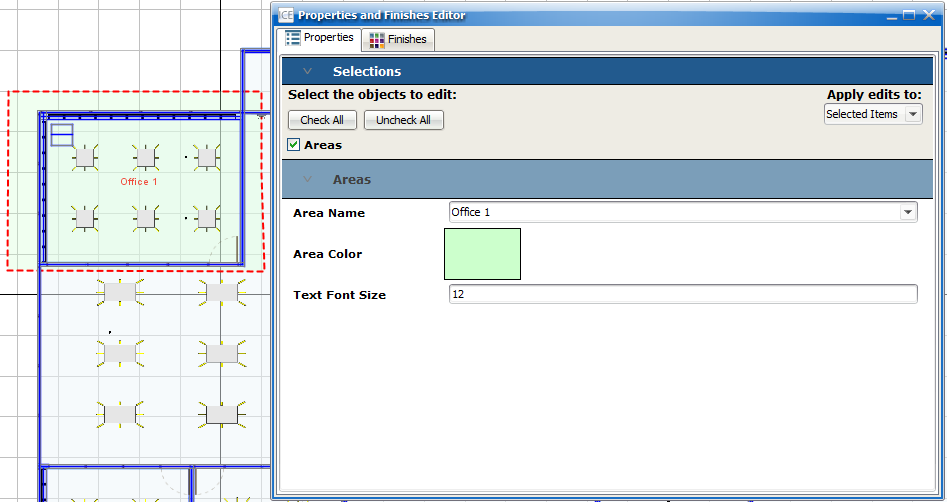
The Selection Area color updates in the Properties Editor and ICE 2D.
7.If you want to update the Selection Area text font size, click the Text Font Size field.
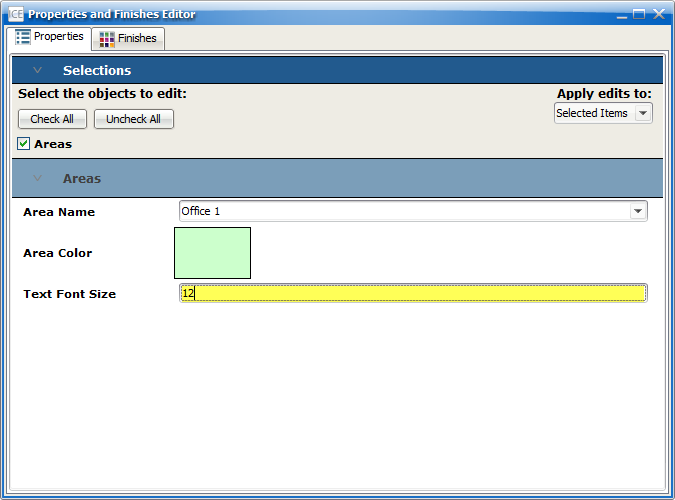
8.Type a new font size, and press Enter.
The Selection Area text font size updates in ICE 2D.
After you change your Selection Area name and text font size, you can also move the name in ICE 2D.