Once ECs have been created and assigned to items in your ICE file, you can view the ECs in multiple ways within your layout.
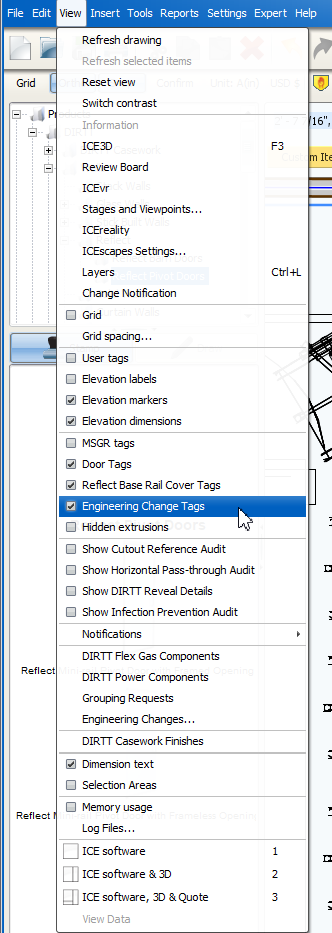
Turn the EC Layer On/Off Using the View Menu
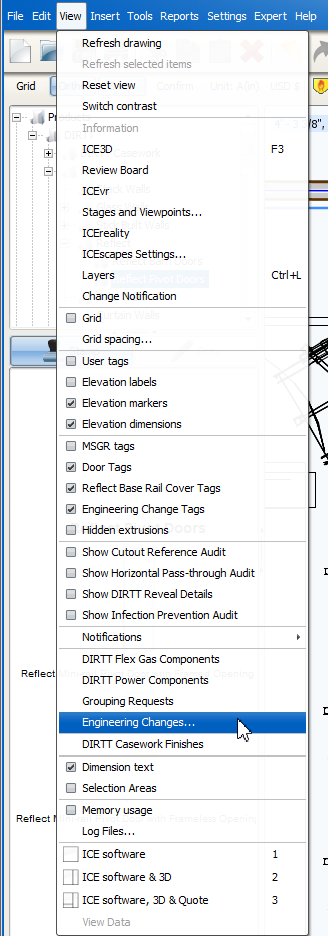
1.Click View from the menu in 2D plan view.
2.Select the check box next to the Engineering Change Tags option to toggle the tags on or off. This will turn the tags on or off for both elevation tags and plan view tags.
To view a list of assigned ECs in the layout:
1.Click View from the menu in 2D plan view.
2.Select Engineering Changes from the list of menu options.
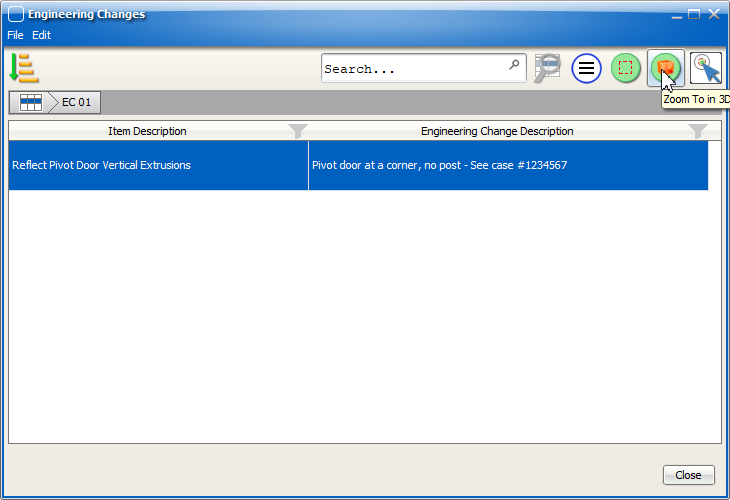
3.The Engineering Changes dialog window will appear.

4.Double-click a row to expand it if the EC is assigned to more than one item.
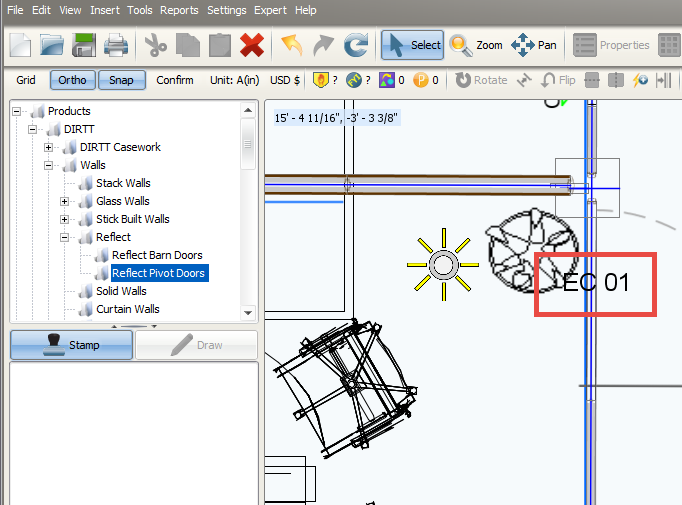
Find an EC in 2D Plan View
1.Follow the steps above to View a List of Assigned ECs.
2.With the Engineering Changes dialog window open, select an item that has an EC assigned to it. Double-click to expand the row if the EC is assigned to more than one item.
3.With the item selected, click Zoom To in Plan View in the top-right corner of the dialog window.

4.ICE will automatically reposition the 2D plan view to display the tagged item.
Find an EC in ICE3D
Note: Engineering Change tags will not appear in ICE3D. This process will only show you the item in ICE3D that the EC is assigned to.
1.Follow the steps above to View a List of Assigned ECs.
2.With the Engineering Changes dialog window open, select an item that has an EC assigned to it. Double-click to expand the row if the EC is assigned to more than one item.
3.With the item selected, click Zoom To in 3D in the top-right corner of the dialog window.
4.The ICE3D view will automatically reposition to display the item the EC is assigned to.
View ECs in AutoCAD®
1.Click the Launch ICEcad button in the upper right-hand corner of the 2D plan view.
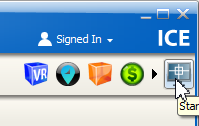
2.The ICE file will be linked to AutoCAD through ICEcad.
3.The ECs assigned to items will be visible and can be moved in AutoCAD if required.
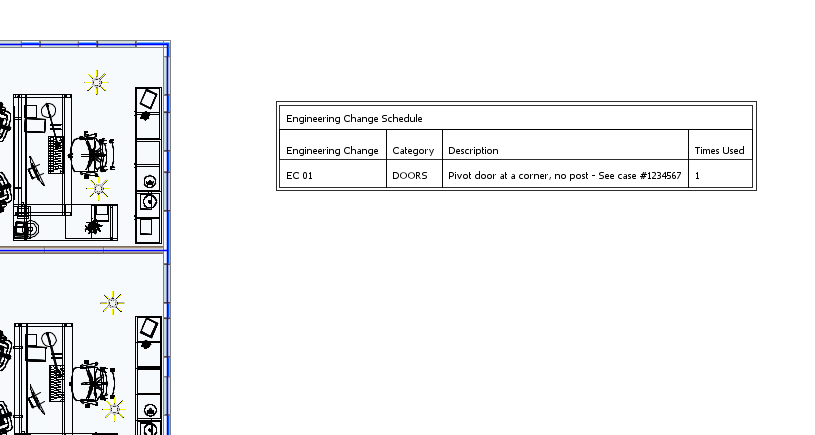
View ECs in the Engineering Changes Schedule
1.Click Insert from the menu in 2D plan view.
2.Select Engineering Change Schedule from the list of menu options.
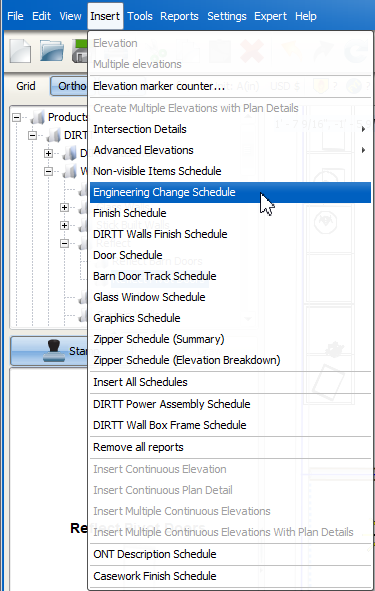
3.Click an area in the 2D plan view to insert the schedule.
4.The Engineering Changes Schedule will be placed in the selected location. The schedule details the Engineering Change tag, Category, Description and Times Used for assigned ECs.
Note: The Engineering Changes Schedule is included if you select Insert All Schedules.
Note: ECs that haven't been assigned/used 0 times will not be included in the schedule.