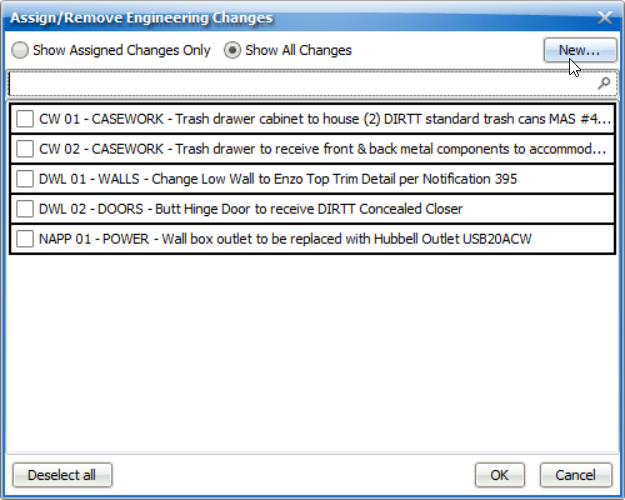
To assign ECs from your library, follow the steps below:
1.Select an item or box select a group of items you want to apply the Engineering Change to in 2D plan view, ICE3D or from an elevation.
2.Right-click on the selected item(s).
3.Select Assign/Remove Engineering Changes from the list of menu options that appear.
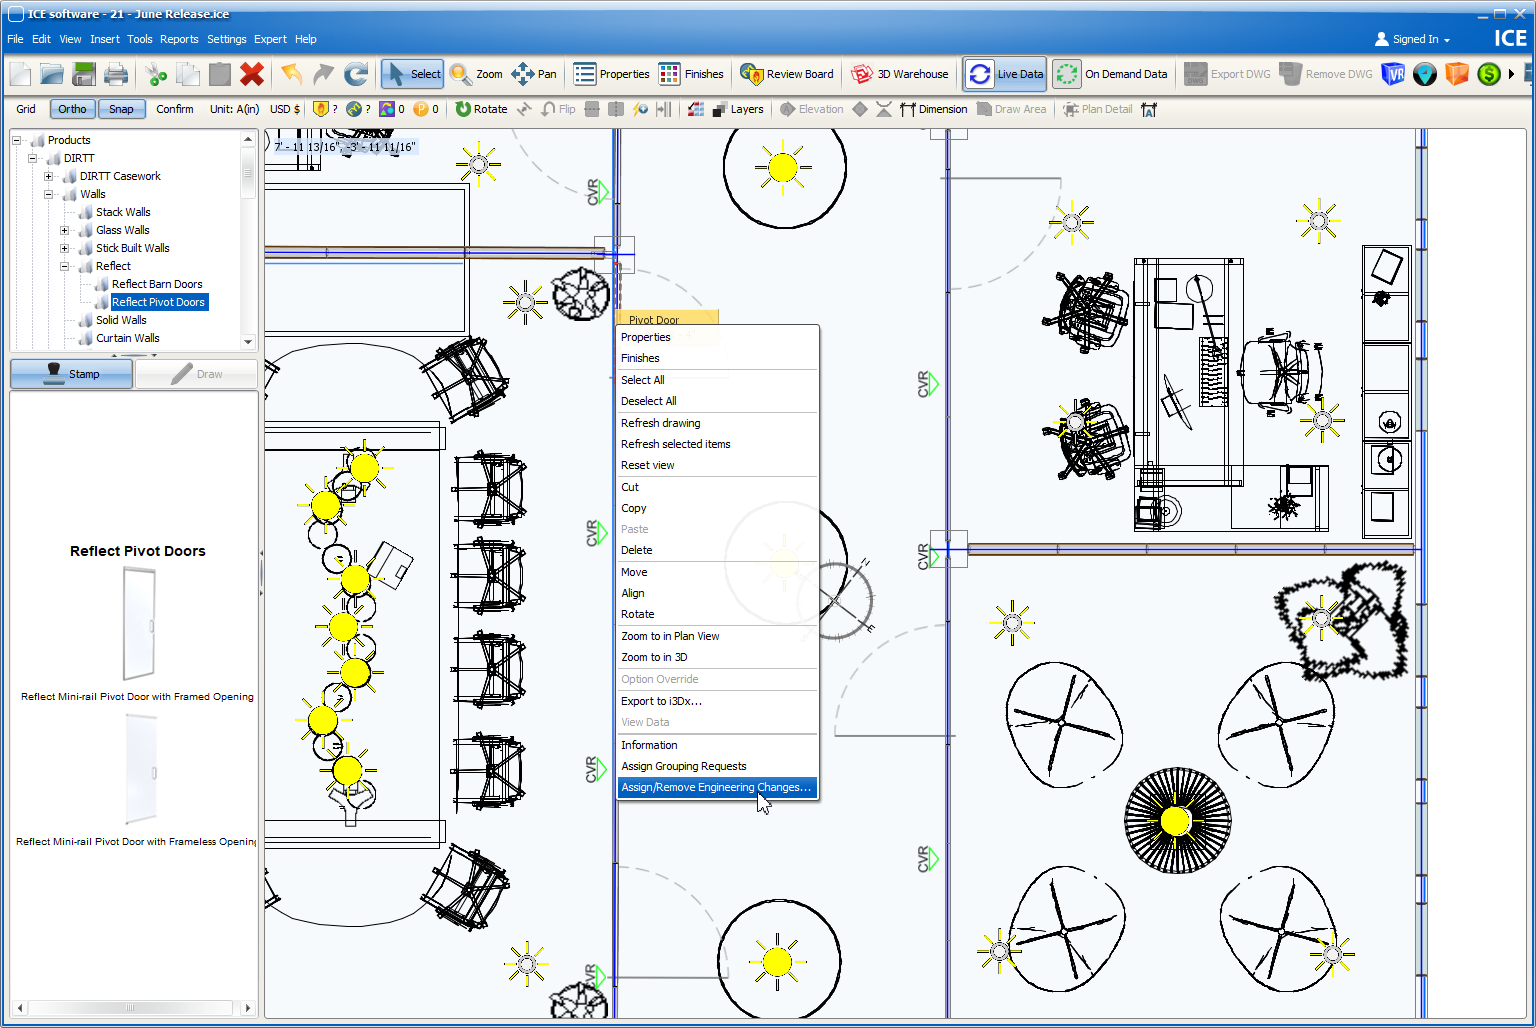
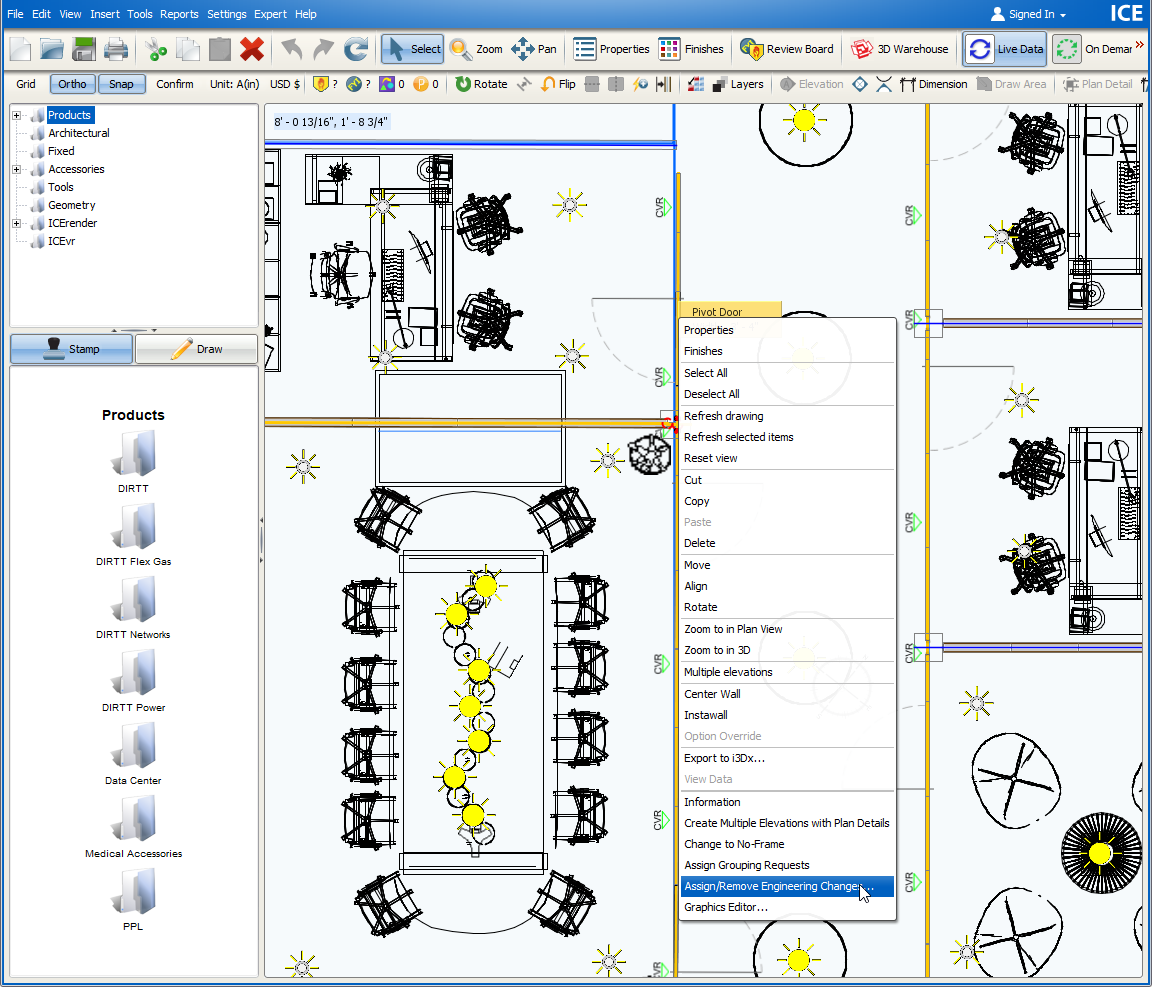
4.The Assign/Remove Engineering Changes dialog window will open.
5.The table will display the item(s) selected in Step 1. If multiple items are selected, they will be grouped into sections e.g. Tiles, Wall Modules, etc.
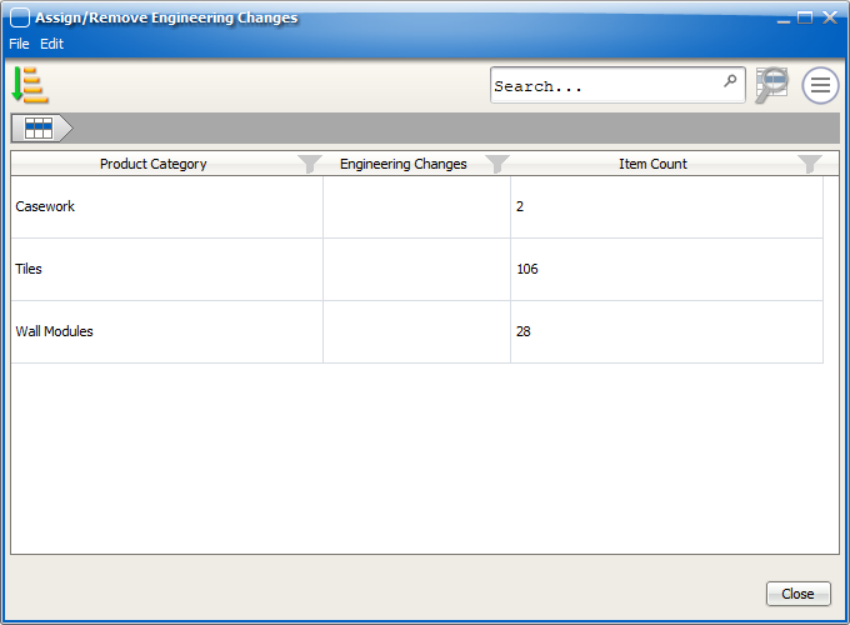
6.To assign an EC to all of the items within a section, right-click and select Assign/Remove Engineering Changes from the list of options that appear.
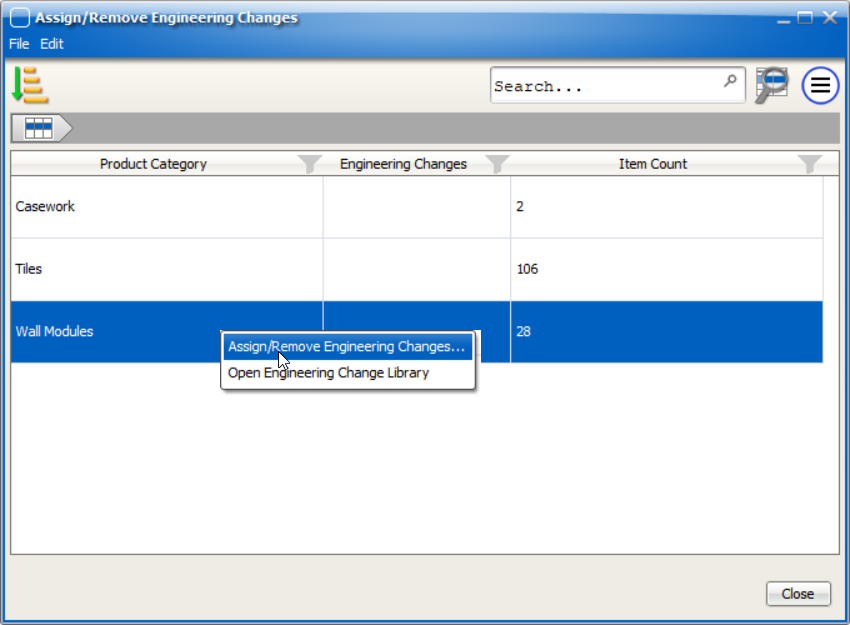
Or for individual items:
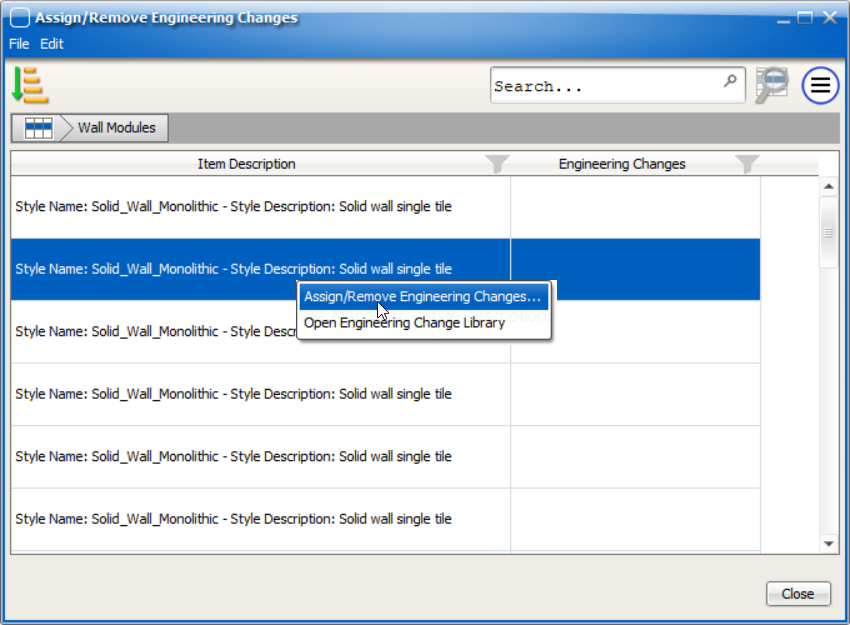
Double-click on a row to see the items within the section. Repeat this action until you find the individual item you wish to tag. Right-click on the individual item and select Assign/Remove Engineering Changes from the list of options that appear.
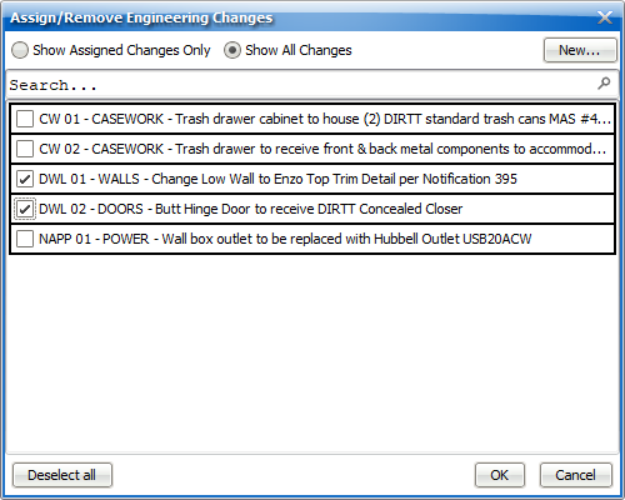
7.The Assign/Remove Engineering Changes dialog window displaying the available EC tag options will open.
8.Click to check the box next to the EC(s) to assign the tag to the item(s) you selected in the previous window. You can assign one or more ECs to a single item.
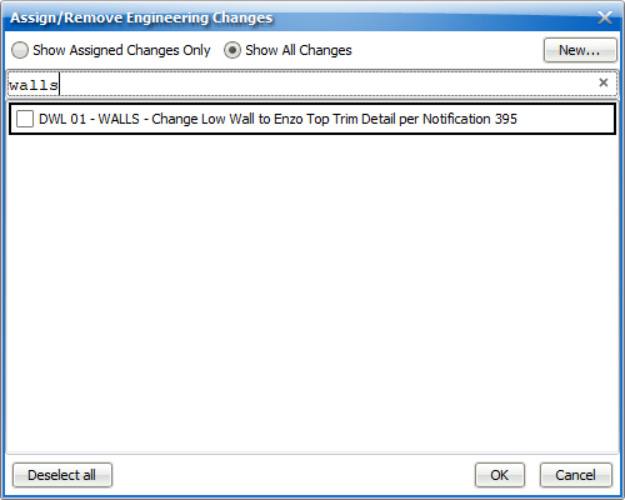
a.Use the Search functionality if you have a long list of ECs to browse through.
9.Click OK to assign the change or Cancel to stop the assignment process.
Remove an Assigned EC from an Item
See Maintaining Engineering Changes.
Create a New EC in the Assign/Remove Engineering Changes Window
If the EC you need has not been created yet, click the New button in the top right corner of the window to define the EC in your Engineering Change Library. Follow the steps in Creating Engineering Changes. The new EC will appear on the list after adding the EC to your library and closing the Engineering Change Library window and can be assigned to your selected item(s) by clicking the associated check box.
