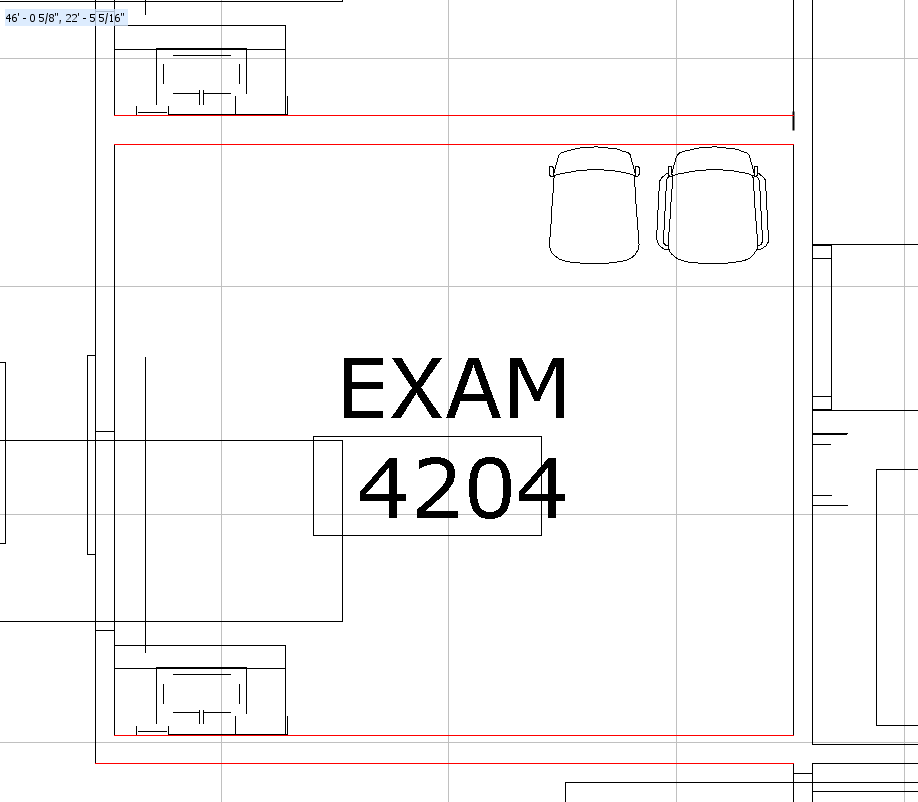
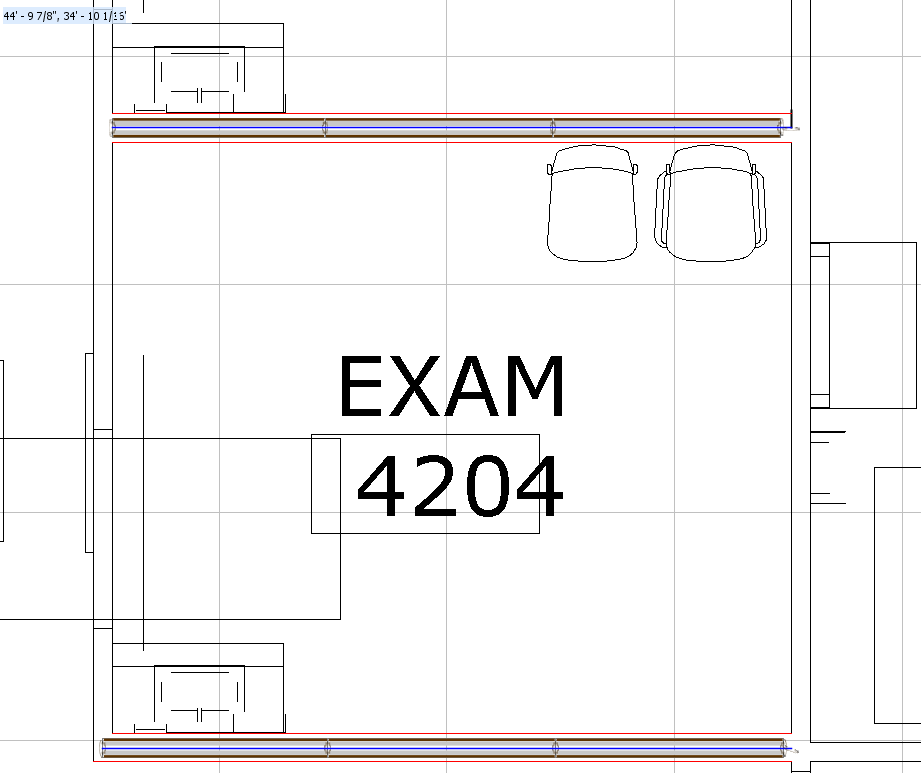
Center Wall allows you to place a wall between two parallel DXF/DWG lines. You can use Center Wall to place 4" walls. Then, you can use the Properties Editor to turn your 4" wall into a 6" wall.
1.In ICE 2D plan view, select two parallel lines:
a.To select the first line, click.
b.To select the second line, hold down the CTRL key, and click.
c.If you want to select multiple parallel lines, click other lines.
DXF/DWG lines turn red when selected.
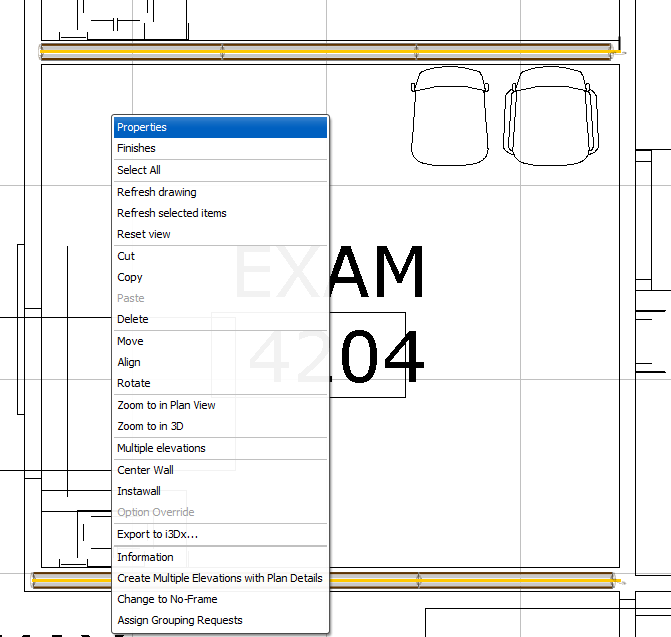
2.In ICE 2D plan view, Right-click and choose Center Wall.
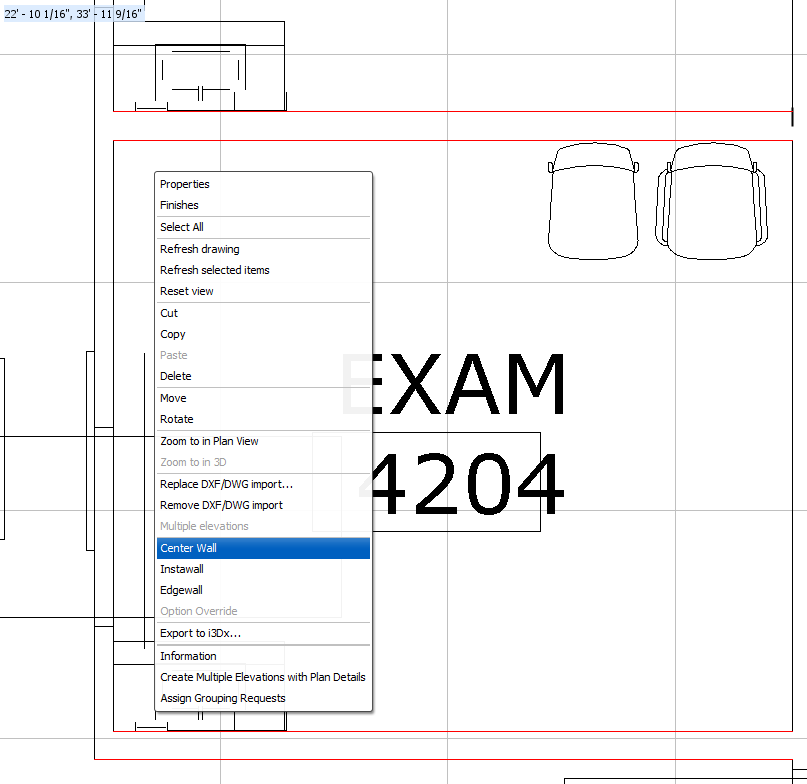
An Instawall dialog box appears, providing a selection of styles available in the Product Palette.
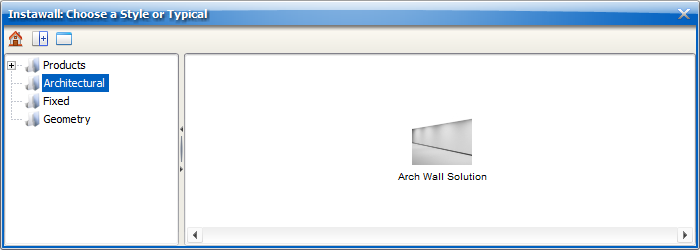
3.Navigate to a wall style, and select it.
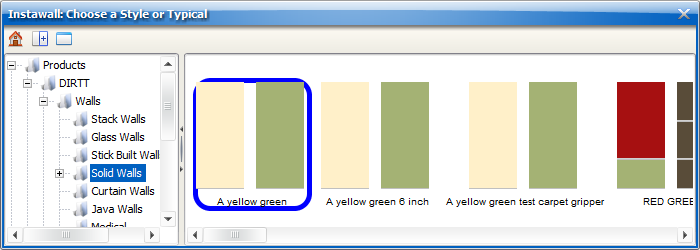
4.To apply Center Wall, click the i-Line style.
The Instawall dialog box closes, and your chosen wall style appears between the parallel DXF/DWG lines that you selected.
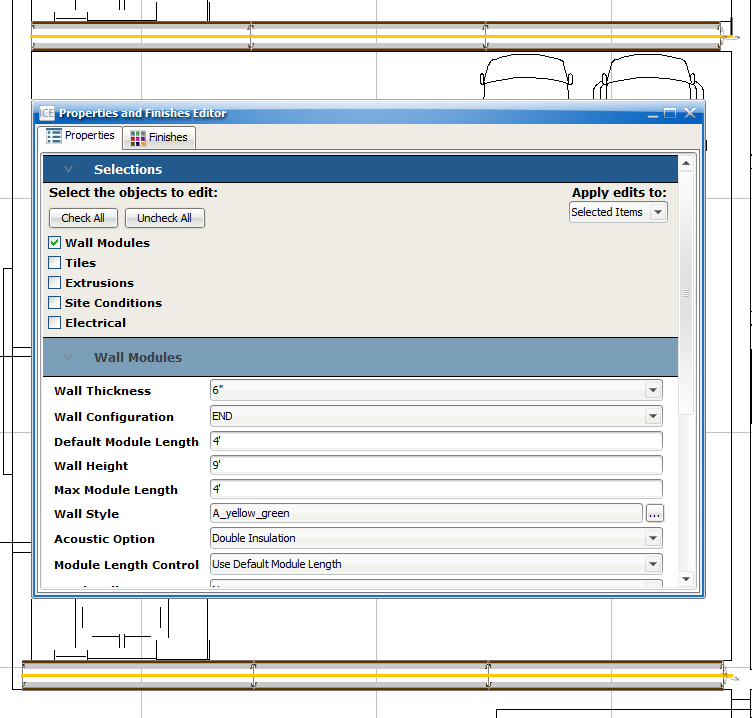
5.Select your 4" wall(s), and right-click to open the Properties Editor.
6.Under Select the objects to edit, confirm that Wall Modules is selected.
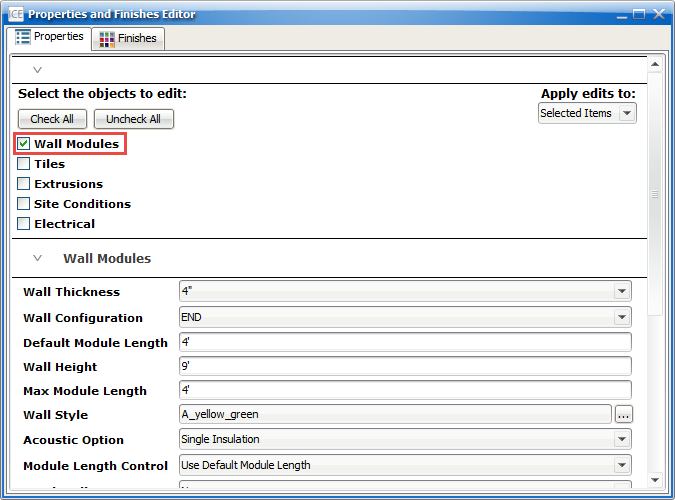
7.Under the Wall Modules section, in Wall Thickness, choose 6".
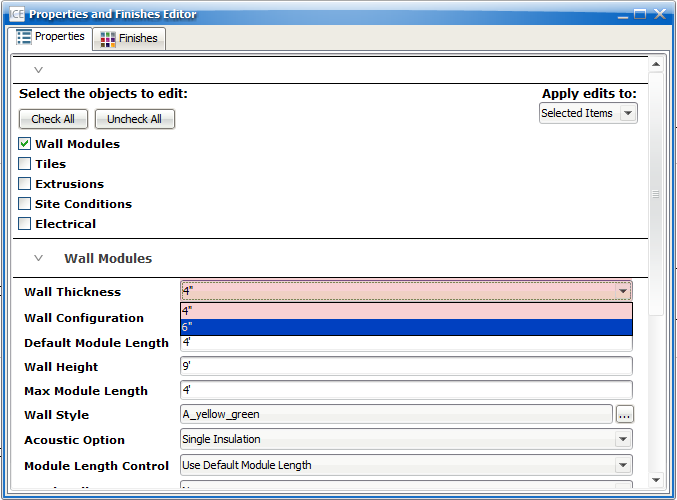
Your 4" wall updates to a 6" wall.
Related Links:
Topic last updated on 3/16/2023.