In ICEcad, the ICE Product Palette is called the ICEcad Product Palette, and has the same folder structure as the Product Palette in ICE. When the ICEcad Product Palette is open, you can add a stampable item from ICE or another installed catalog directly to an i-Line based product in the ICEcad drawing. When you stamp an item in ICEcad, it automatically appears in your ICE file. For example, you can stamp an Arch Window or an Arch Column onto an Arch Wall.
To Stamp an Item in ICEcad
Before you draw an i-Line in ICEcad, open the ICEcad Product Palette, and re-size it so that you can see the available items.
1.In the ICEcad Product Palette, click the stampable item that you want to stamp onto an i-Line based item.
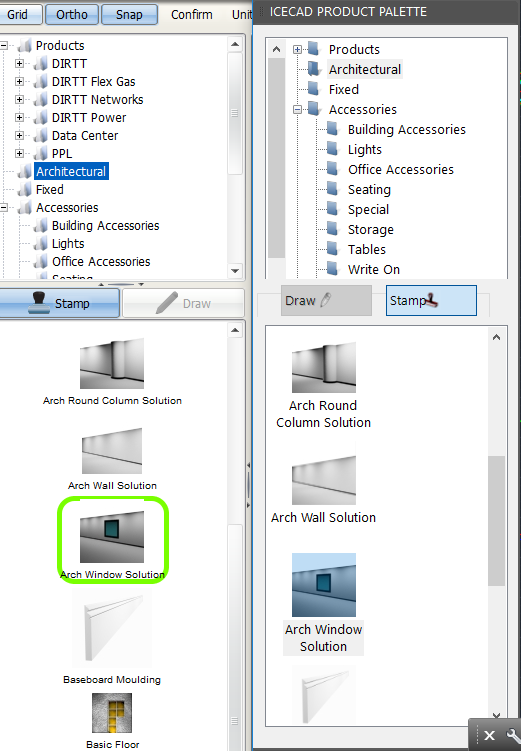
When you click on a stampable item in the ICEcad Product Palette, the Stamp button turns blue in the items becomes selected in both ICEcad and ICE 2D plan view. In this example image, the Arch Window Solution is selected, and the Stamp button is highlighted blue:

When you hover your mouse cursor over the model space, a drawing tool appears.
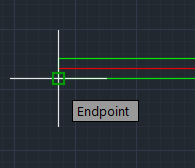
2.On the left or right end of the i-Line-based item, hover the drawing tool over over a point.
In this example image, the drawing tool is over the bottom-left corner of the Arch Wall:

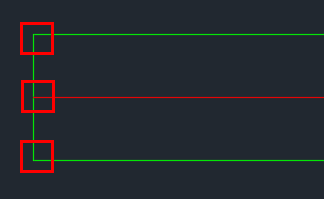
There are three points on the end of each i-Line. You can position the drawing tool over the top corner, the bottom corner, or the start of the i-Line:

3.Staying parallel with your end point, move your mouse vertically along the i-Line based item.
A green dotted line appears, connecting the drawing tool to the end point. In this image, the end point on the bottom-left corner of the Arch Wall connects to the drawing tool:

4.On the green dotted line, click where you want to place the stampable item.
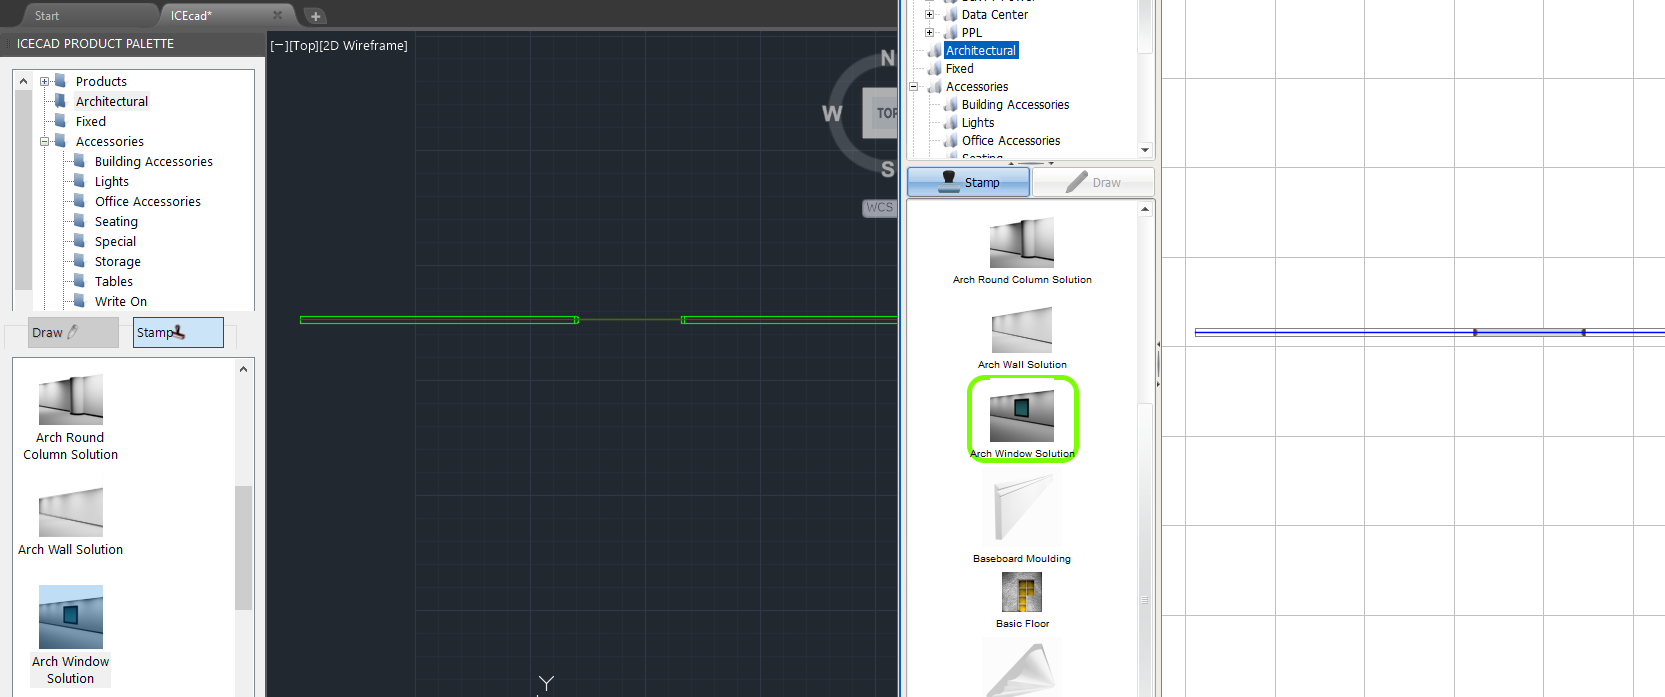
In ICEcad and ICE, the stampable item appears at the point where you clicked on the i-Line based item. In this image, the Arch Window appears on the Arch Wall:

Related Links:
Topic last updated on 3/16/2023.