In ICEcad, the ICE Product Palette is called the ICEcad Product Palette, and has the same folder structure as the Product Palette in ICE. To draw an i-Line in ICEcad, you can open the ICE Product Palette and find an i-Line based item to draw. When you draw an i-Line in ICEcad, it automatically appears in your ICE file.
To Draw an i-Line in ICEcad
Before you draw an i-Line in ICEcad, open the ICEcad Product Palette and re-size it so that you can seem available items.
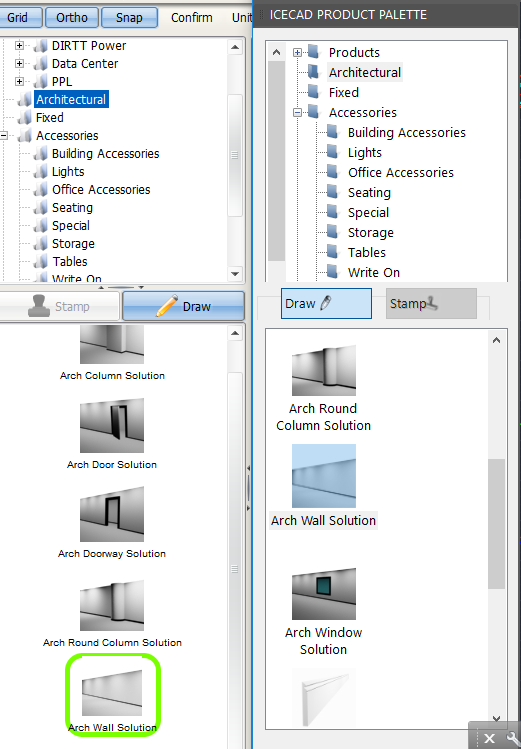
1.In the ICEcad Product Palette, click the i-Line-based item that you want to draw.
When you click on an i-Line-based item in the ICEcad Product Palette, you select it in the ICEcad Product Palette and the ICE Product Palette. Additionally, the Draw button in the ICEcad Product Palette turns blue. In this example image, the Arch Wall Solution is selected, and the Draw button is highlighted blue:
When you hover your mouse over the model space, a drawing tool appears:
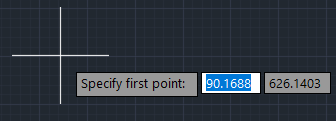
2.To choose the starting point for the i-Line, click the model space.
A green, dotted line appears attached to the drawing tool:

3.Move your mouse to draw the i-Line.
As you move your mouse, a yellow dotted line appears, showing the i-Line:

4.Click to end the i-Line.
The i-Line becomes a solid white line, and a Specify next point field appears.

5.If you want to draw another i-Line that is connected to the first i-Line, repeat steps 4 and 5.
6.If you want to exit out of the i-Line and stop drawing continuously, press ESC, or right-click.
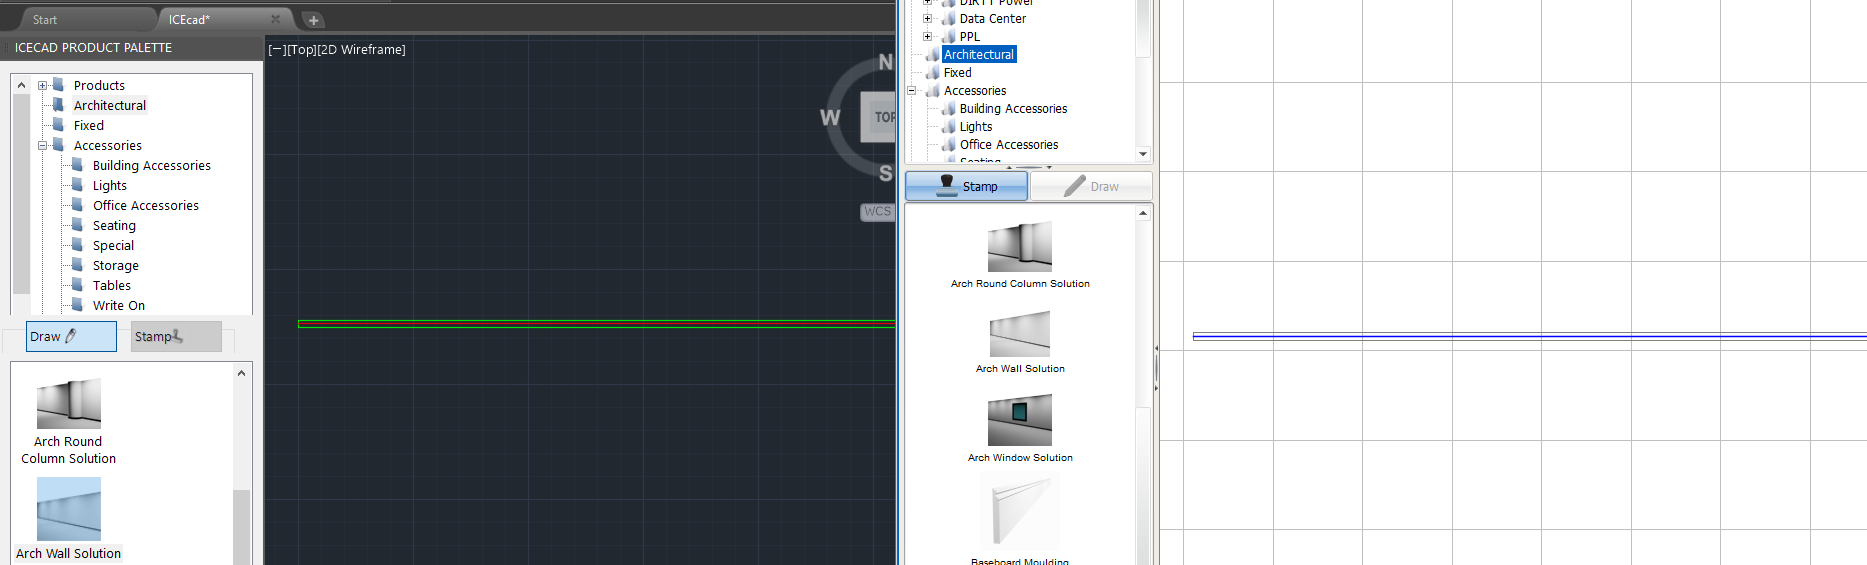
In ICE and ICEcad, the i-Line appears. This example image shows the Arch Wall in ICE 2D plan view and ICEcad:
Related Links:
•Stamping Items from the ICE Product Palette
Topic last updated on 3/16/2023.