After you draw DIRTT walls you can specify Hidden Cornice Rails in the Properties Editor.
To Specify Hidden Cornice Rail
1.In ICE 2D plan view, select the DIRTT walls for which you want to specify Hidden Cornice Rail.
2.To open the Properties Editor, click Properties on the tool bar, or right-click and choose Properties.
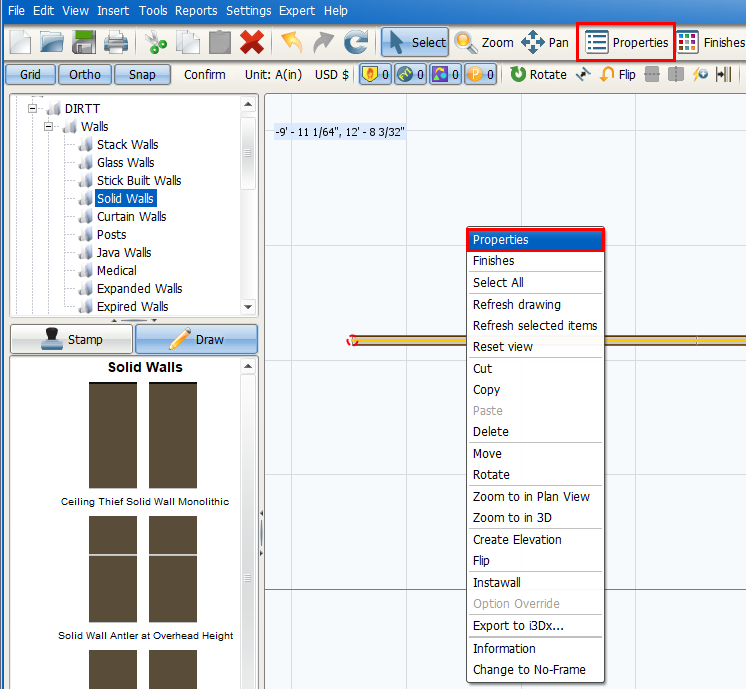
The Properties Editor opens.
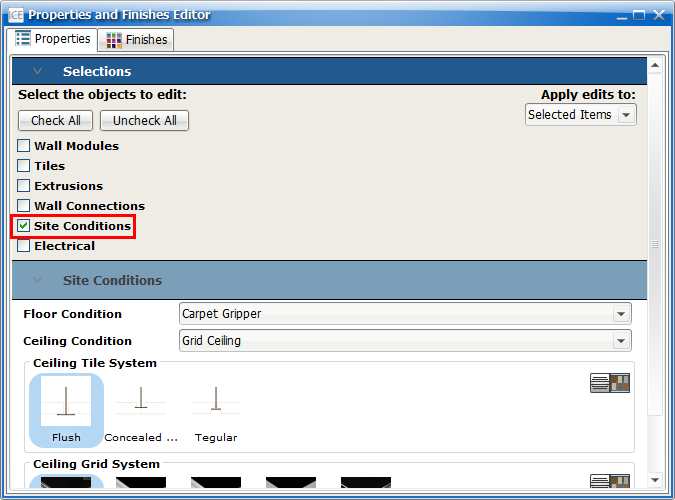
3.Under Select the objects to edit, click the box beside Site Conditions.
In this example image, a check mark appears in the box beside Site Conditions:
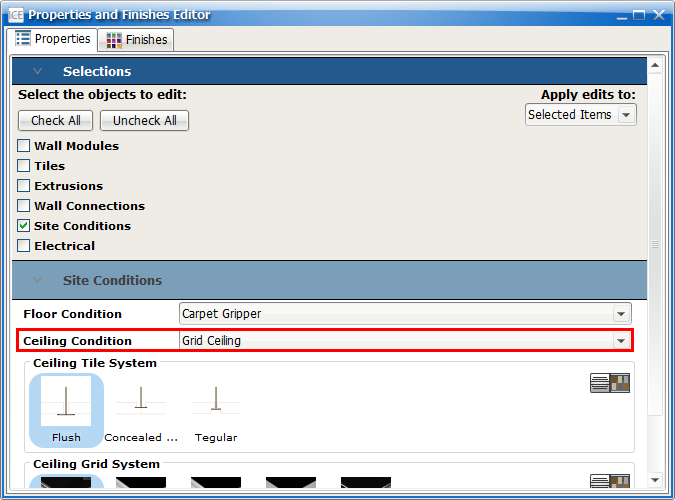
4.Under Site Conditions, find the Ceiling Conditions property.
5.In the Ceiling Conditions menu, choose Hidden Cornice Rail.
This image shows the available options in the Ceiling Conditions menu, with Hidden Cornice Rail selected:
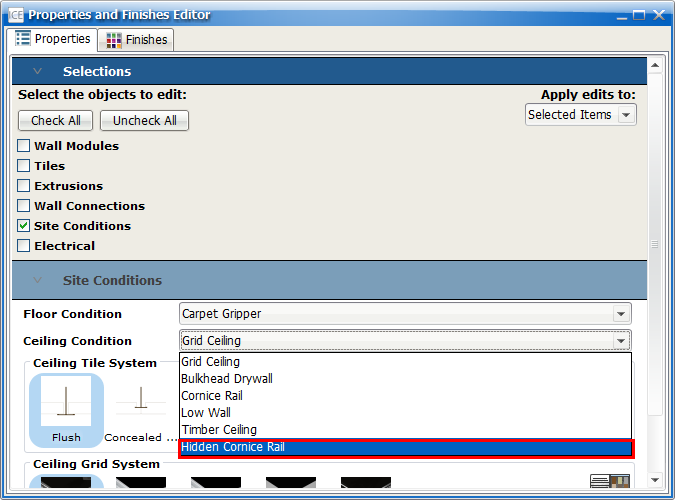
Under the Ceiling Condition, the Hidden Cornice Rail Types property appears, allowing you to choose the type of Hidden Cornice Rail that you apply to the layout:
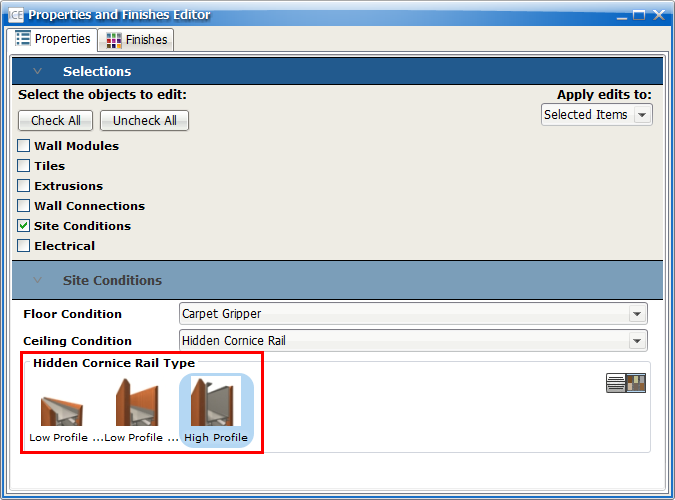
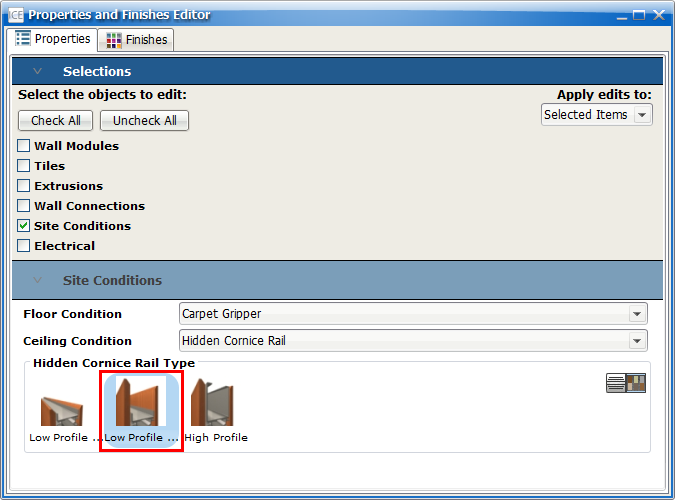
6.If you want to choose a different Hidden Cornice Rail profile, under Hidden Cornice Rail Type, click on your chosen option.
In this example image, the Low Profile Tall profile is selected:
After you specify Hidden Cornice Rail, you can mix Hidden Cornice Rail in your layout, applying multiple profiles to different sections of your layout.
Related Links:
•Mixing Hidden Cornice Rail Types
•Showing and Hiding Top Tile Dimensions for Low Profile High Hidden Cornice Rails