Navigating in ICE 3D is easy with a 3D mouse. If a 3D mouse is not available, the following instructions can help in using the keyboard or mouse.
Navigating With a Mouse
Once the 3D View opens, begin driving by holding down the left button on the mouse and pushing forward. The view will follow what ever direction the mouse is pushed. (left, right, forward, backward). Use the mouse scroll to move the view up or down.
Watch

Navigation With the Keyboard
↑ or W = Move Forward
↓ or S = Move Backward
← or Q = Move Left
→ or E = Move Right
Shift + ↑ = Raise view up
Shift + ↓ = Lower view down
Shift + ← or A = Rotate Left
Shift + → or D = Rotate Right
Page Up = Tilt Up
Page Down = Tilt Down
Navigating with Video Controls
For the Video Controls to appear and be used in ICE3D, Scenes must first be enabled from the ICE3D primary toolbar.
By default, the Video Controls are already enabled in ICE3D and appear once a Scene has been created. If the controls have been previously disabled, re-enable them in one of two ways:
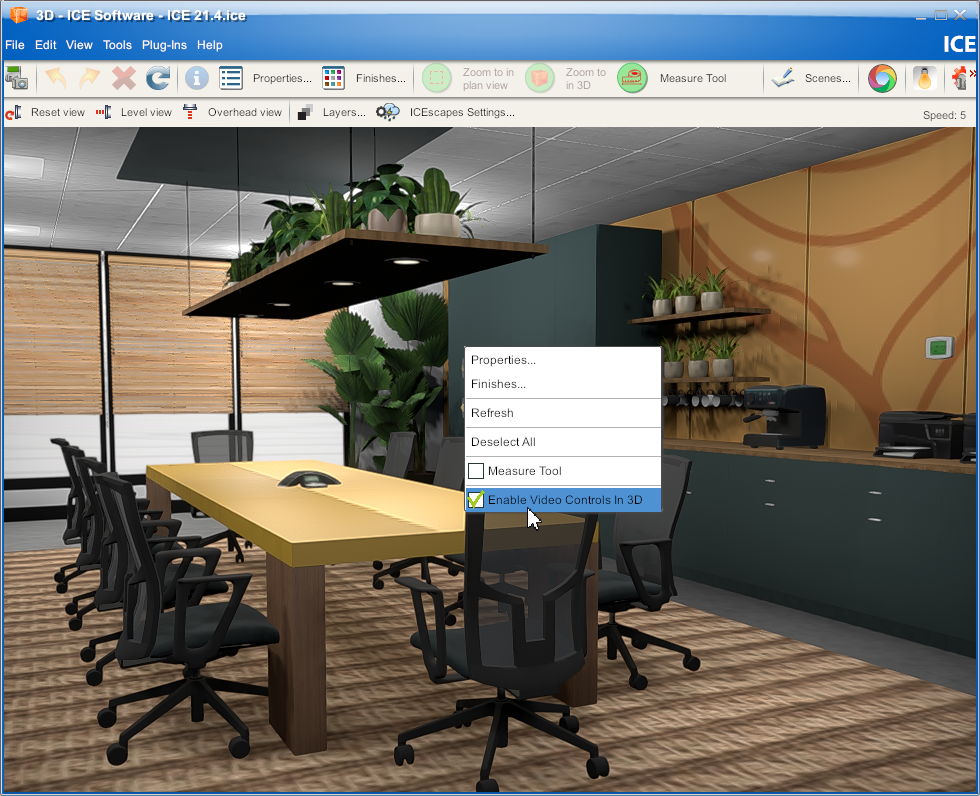
1.Right-click in the ICE3D window.
2.Select the Enable Video Controls in 3D checkbox to turn the controls on.
Or:
1.Open the Scenes dialog window by clicking the Scenes button in the ICE3D primary toolbar.
2.Select the checkbox at the top of the window that says Enable Video Controls in 3D.

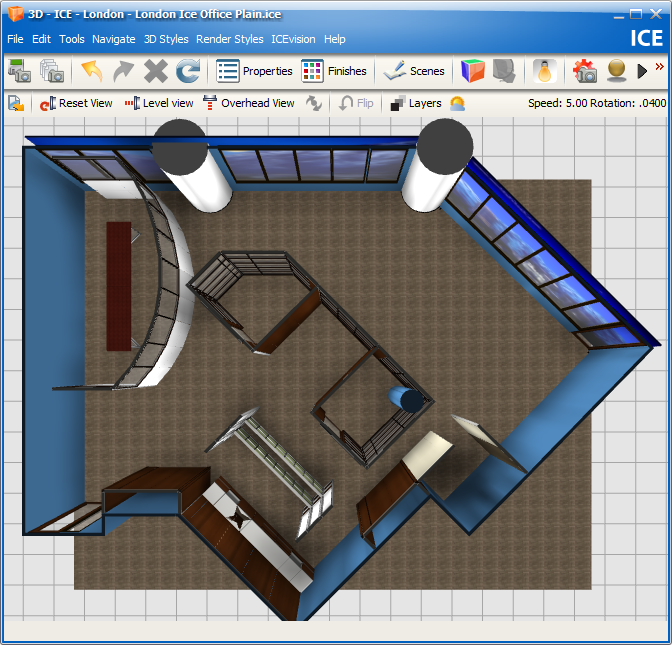
3D View Interface Screen