Use the Scenes function to "save" a precise location or camera view in the ICE 3D view. The scenes can then be played in a continuous loop, thus creating a fly-through.
To create 3D Scenes:
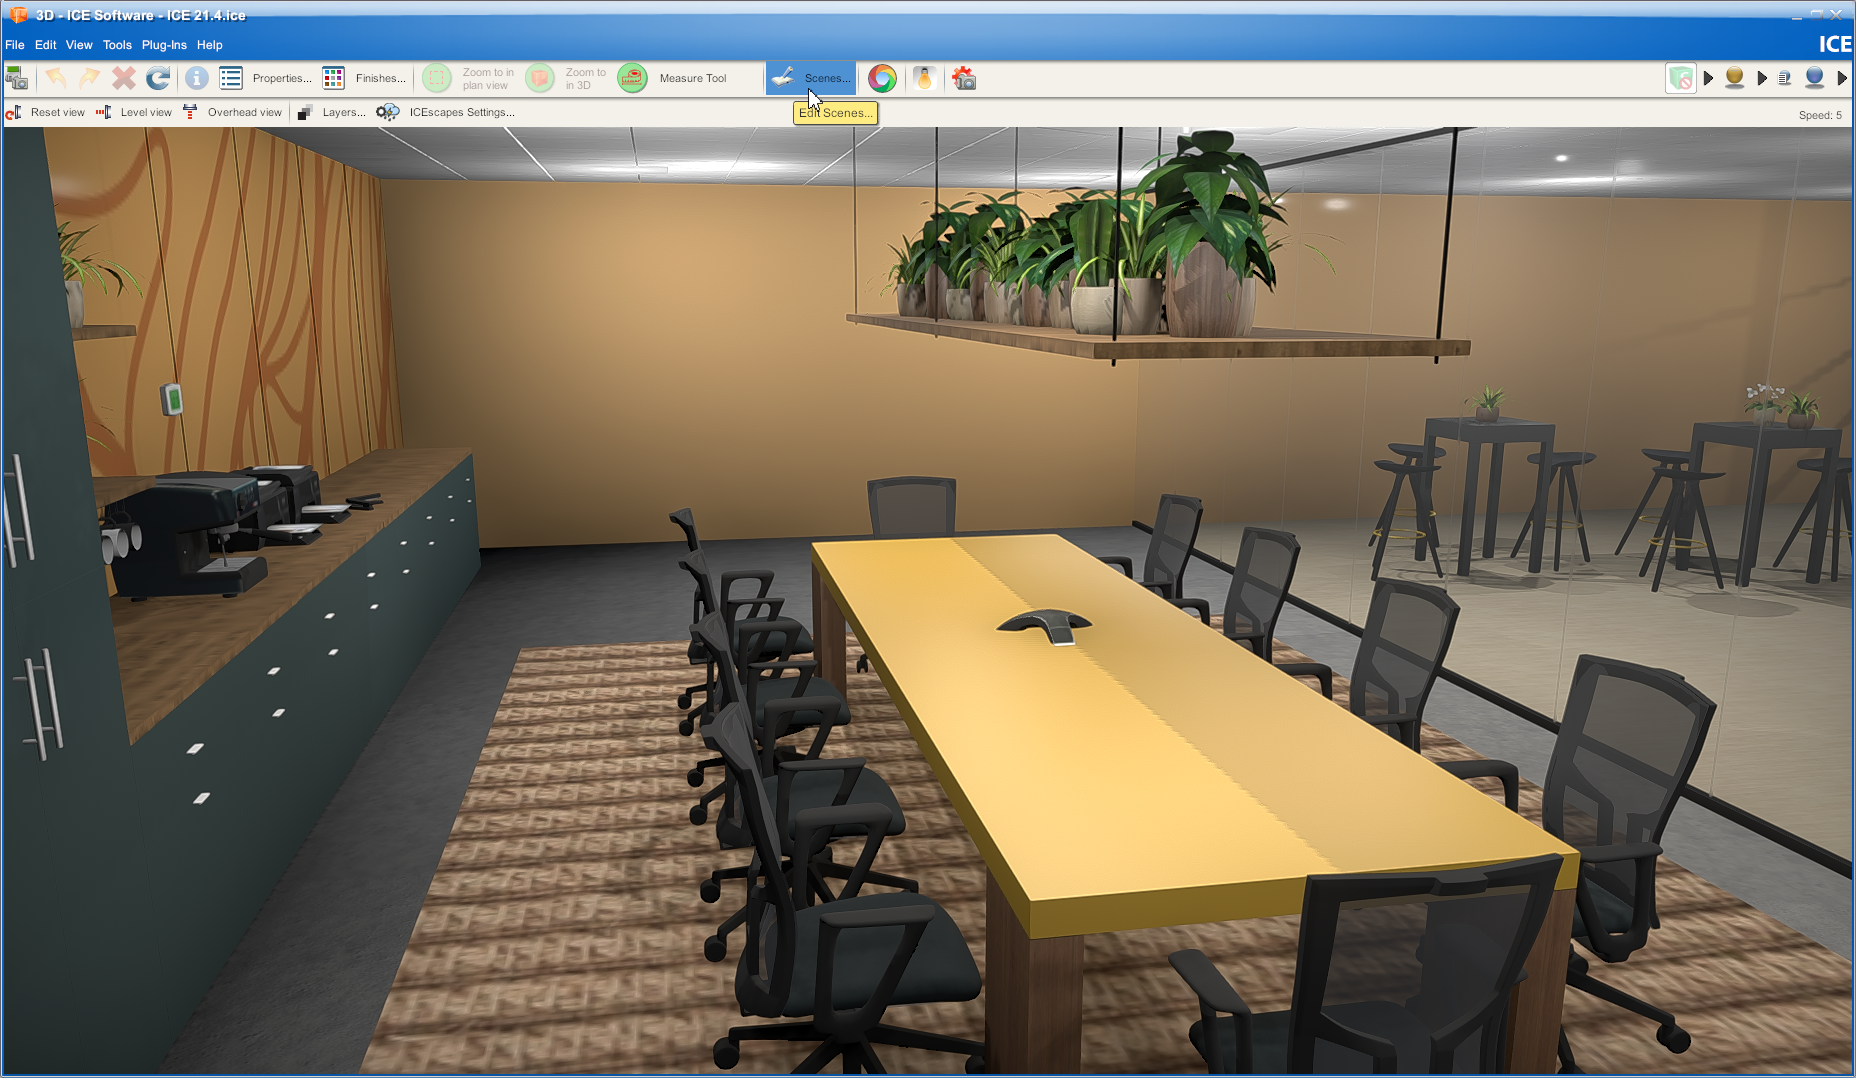
1.Using the 3D mouse, navigate to a position in 3D. Use the Level View function to ensure a straight-on angle (if desired), and click on the Scenes button.
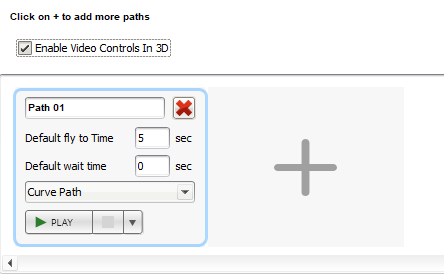
2.At the top of the Scenes window, there will be a default Path 01. Rename the Path as necessary. Click the plus button to the right to add multiple paths or use the red X to the right of the path name to delete the path and its corresponding scenes.
3.Add scenes to a path by navigating to your desired location in ICE3D, and clicking the plus button at the bottom of the Scenes window.
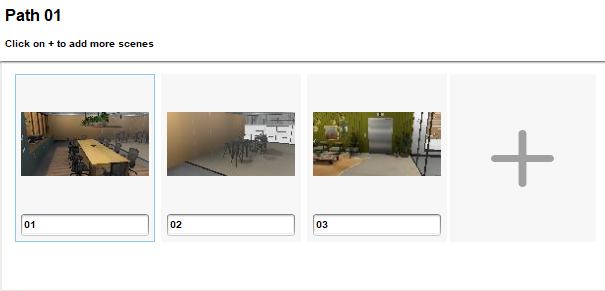
4.The scene will be added and given the description of "01". Change this description if desired. This window can be left open as more scenes are created.
5.Add additional scenes by navigating to new locations in 3D and repeating the process in Step 2. Scenes will save with the file and can be added at any time by clicking the Scenes button in 3D.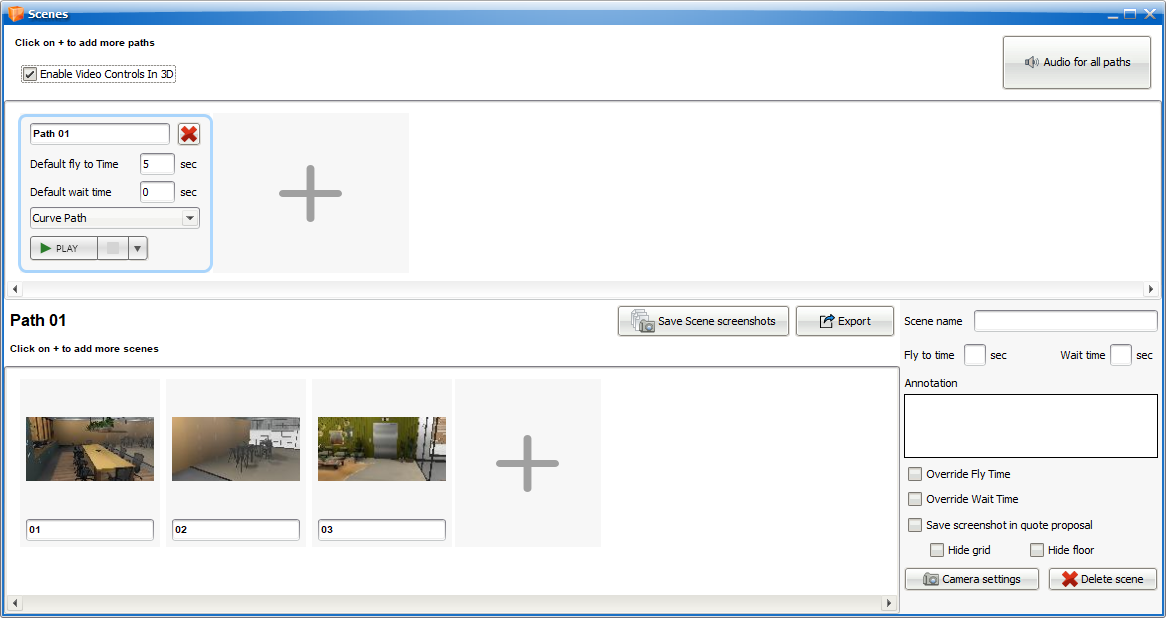
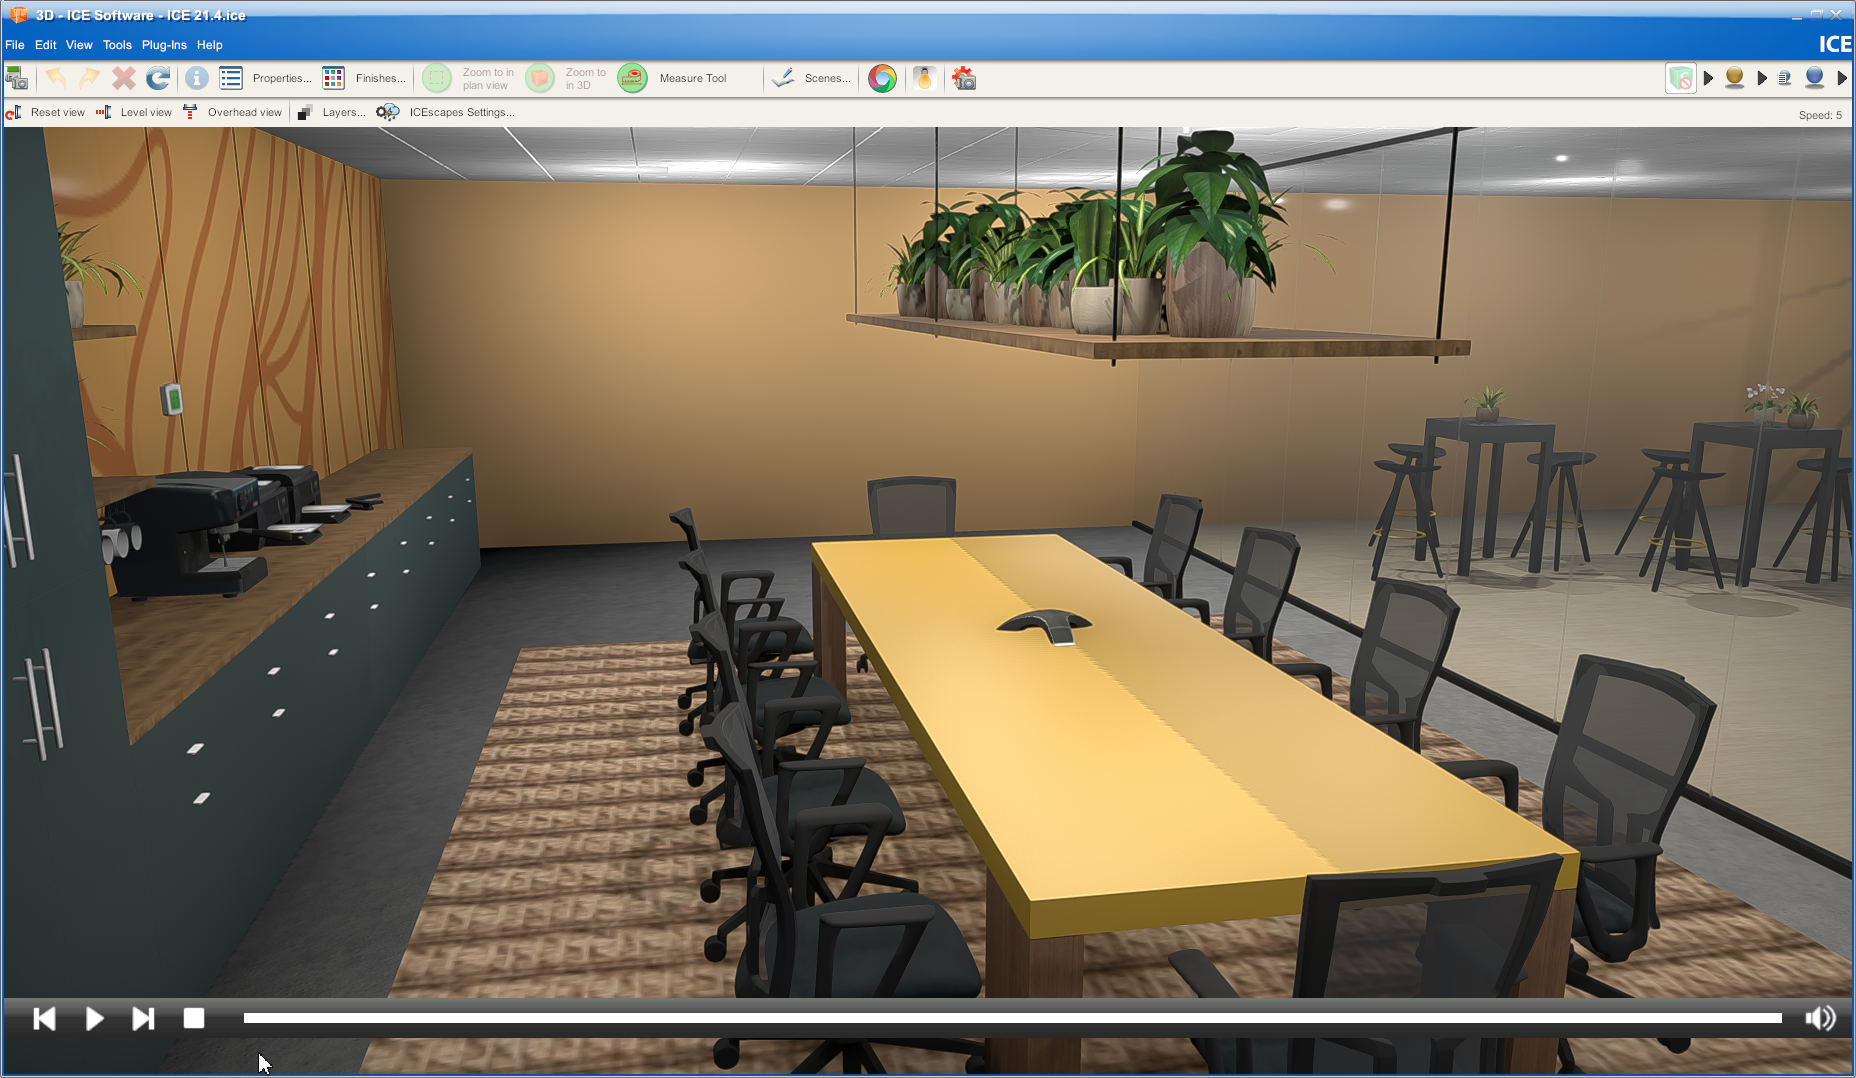
6.Double-click on any of the added scenes and notice how ICE will automatically return to that scene in the 3D window. Click Play to play the scenes
through in a continuous loop.
Note: After more than one scene is added, video controls will display across the bottom of the 3D window. Click the Play button at any time to view the fly-through.
7.To change the order of the scenes, click and drag the scene thumbnail to a new location in the Scene palette.
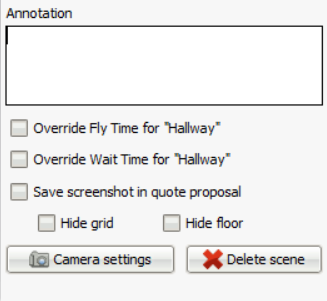
8.Delete a scene by selecting the Scene tile, then clicking Delete Scene in the bottom right-hand corner.