Schedules contain all of the material and door information relevant to the project. Adding schedules creates corresponding material tags that are displayed on elevations.
You can add different schedules, including the Wall Box Schedule, Electrical Assembly Schedule, Non-visible Item Schedule, Door Schedule, and Barn Door Track Schedule. The schedules that you insert depend on what is in your ICE file. If your project does not contain a specific product type, you can omit the schedule associated with it.
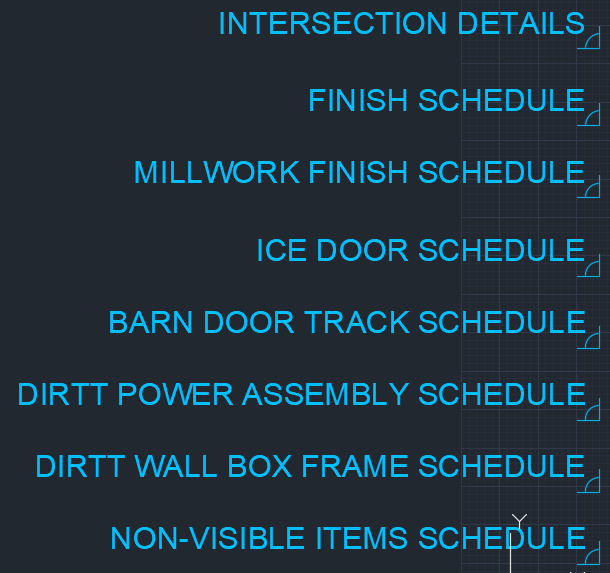
The DIRTT Wall Shop Drawing Template has labeled guidelines for each schedule type. These guidelines allow you to create consistent and organized Shop Drawing across projects. This image shows the schedule spacers in the template:
To Insert a Schedule
1.In the ICEcad menu, choose Insert, and click the schedule you want to insert.
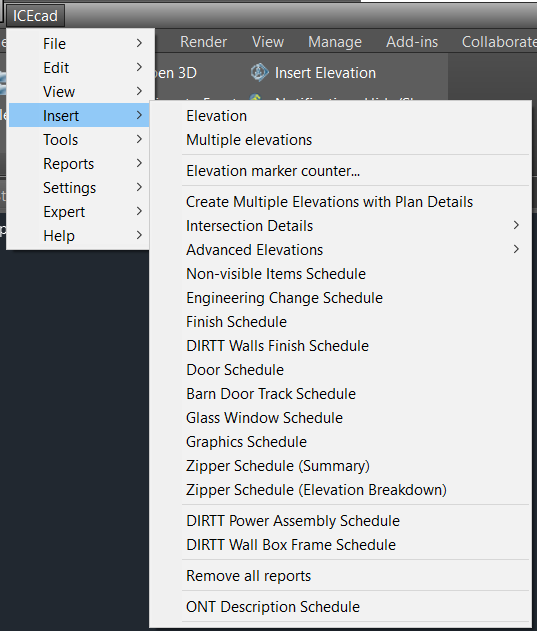
This image shows the schedule options available in the ICEcad Insert menu:
ICEcad prompts you to select the location for the schedule.

2.If you are inserting any other schedule type, click the guideline beside the applicable label.
In this example image, we click on the Finish Schedule guideline:

3.If a dialog box appearstelling you that you must open all reports to insert the Schedule, click Yes to continue and insert the schedule.
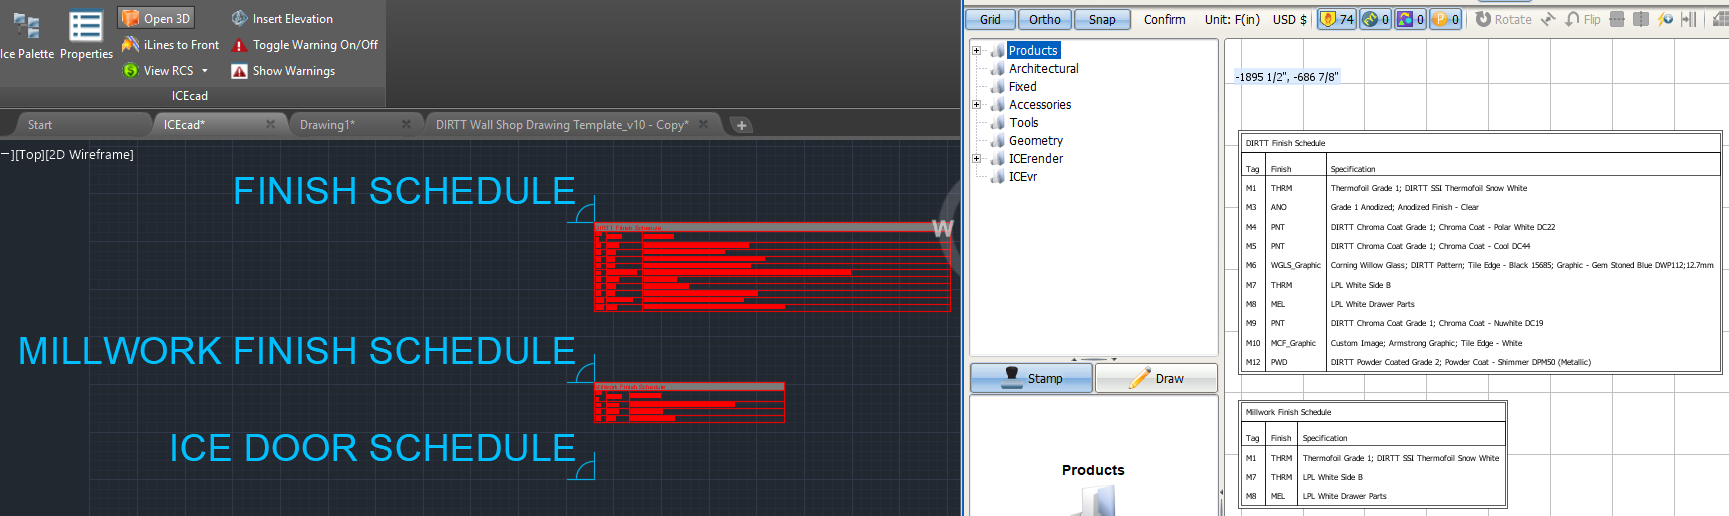
The schedule appears in ICEcad and ICE 2D plan view. In ICEcad, it appears beside the insertion point that you selected. This example image shows the Finish Schedule and Casework Finish Schedule in ICEcad and ICE 2D plan view:
4.If you want to insert additional schedules, repeat steps 1 - 3.