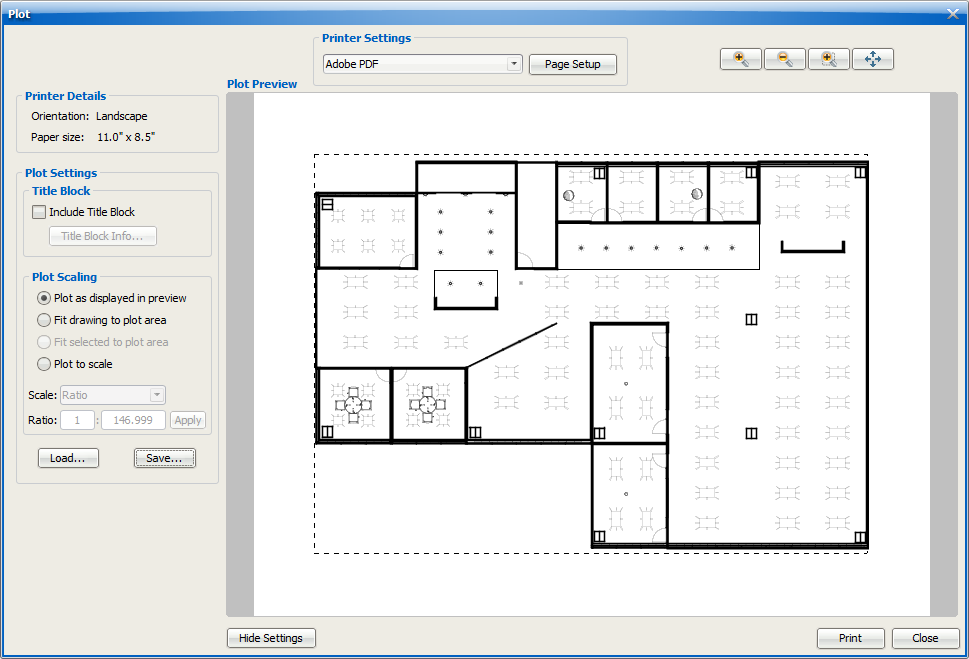
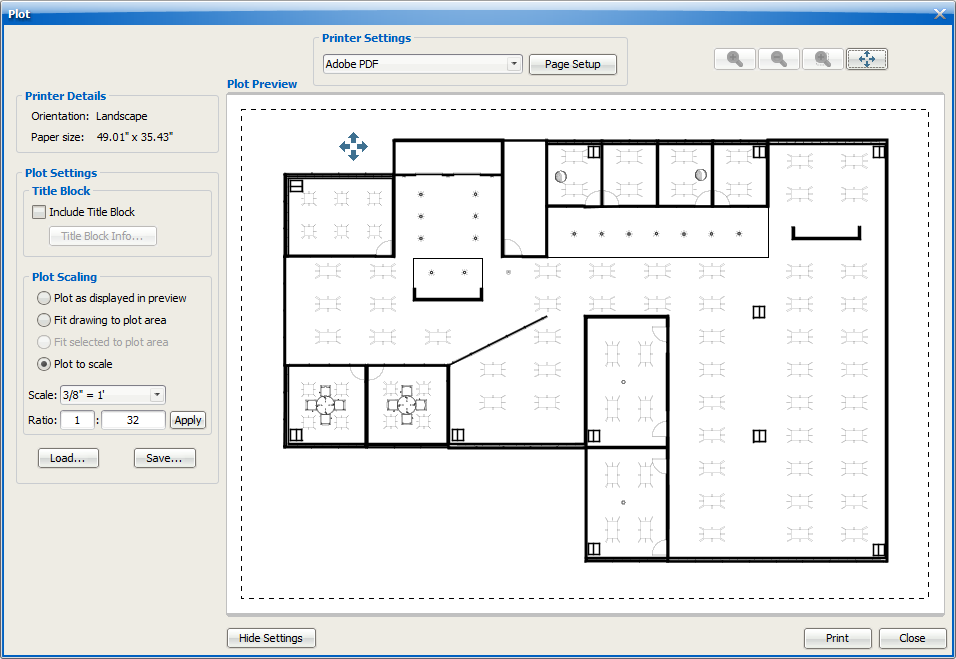
In the Plot dialog, you have three options for scaling your drawing:
oPlot as displayed in preview: Plot your drawing as it appears in the Plot Preview window.
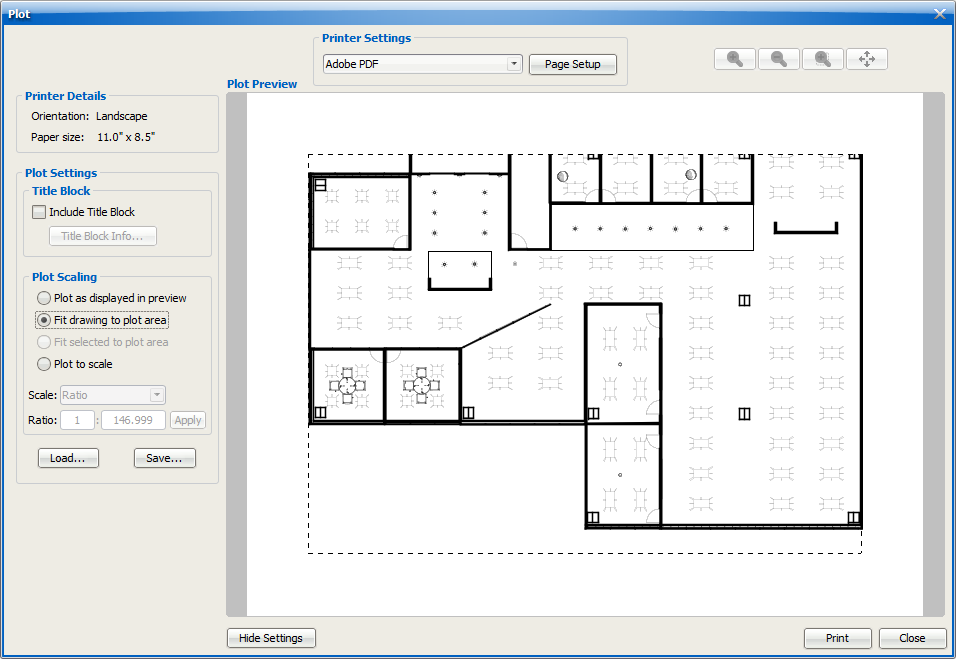
oFit drawing to plot area: Plot your drawing so that it fits into the plot area. The plot area is the dotted line that appears around the drawing in the Plot Preview. The paper size that you choose in the Page Setup determines the plot area.
oPlot to scale: Select or set a ratio to plot your drawing.
If you save your ICE plot file, your scale settings save with it.
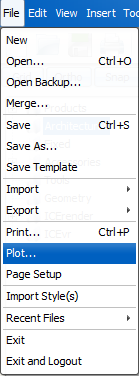
1.ICE 2D Plan View, go to the File menu and select Plot.
2.In the Plot dialog, click More Settings.
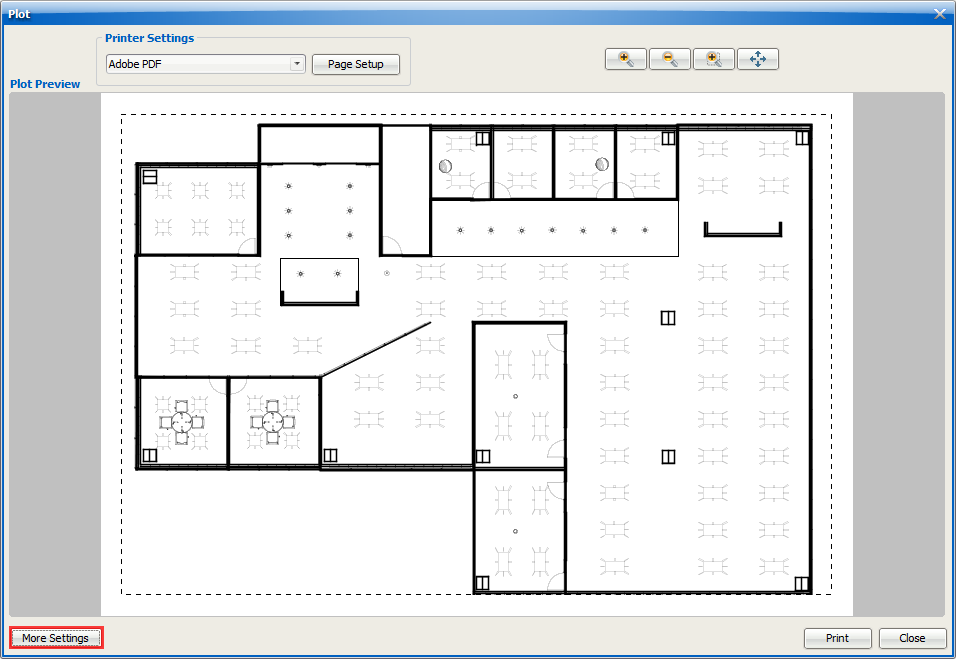
The settings appear on the left-side of the Plot dialog. The scaling settings appear under Plot Scaling.
3.If you want to fit your drawing to the plot area, select Fit drawing to plot area.
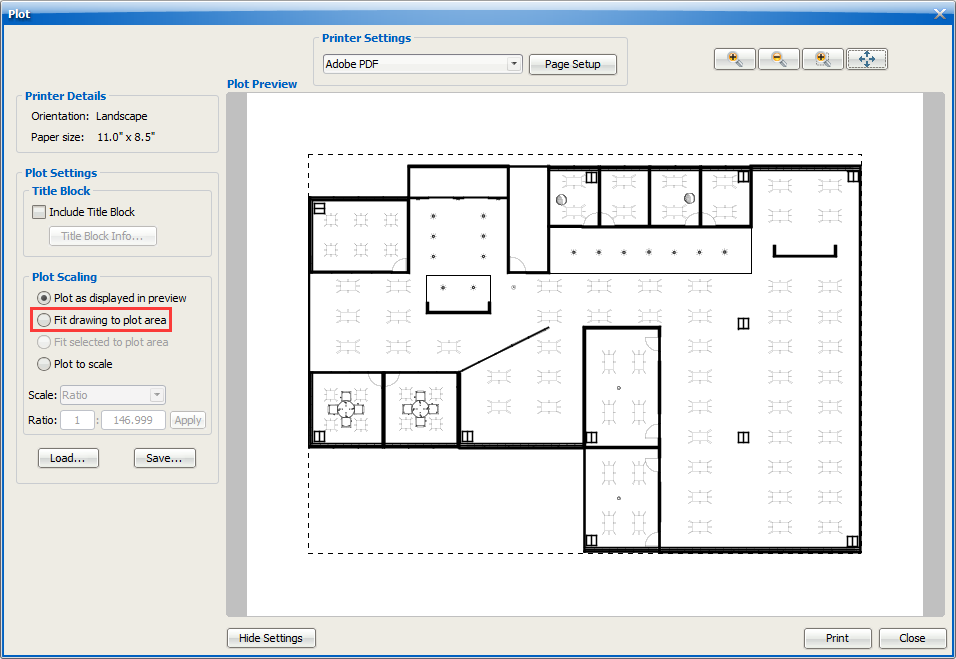
The drawing updates in the Plot Preview to fit the plat area, the selected paper size.
4.If you want to plot your drawing to a specific scale, select Plot to scale.
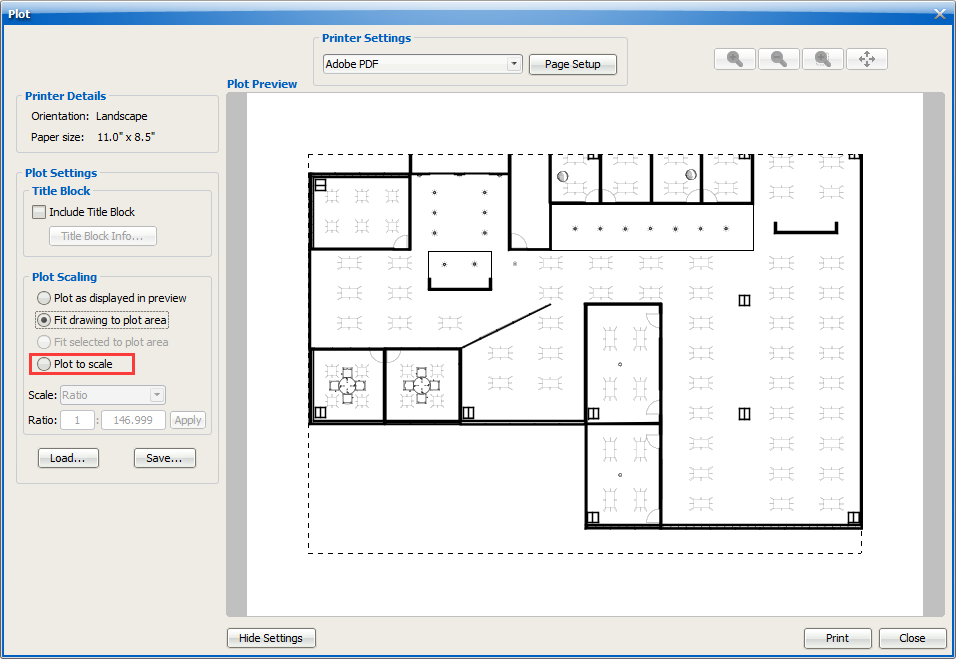
The Scale menu becomes active.
5.In the Scale menu, you have two options:
oChoose one of the listed ratios.
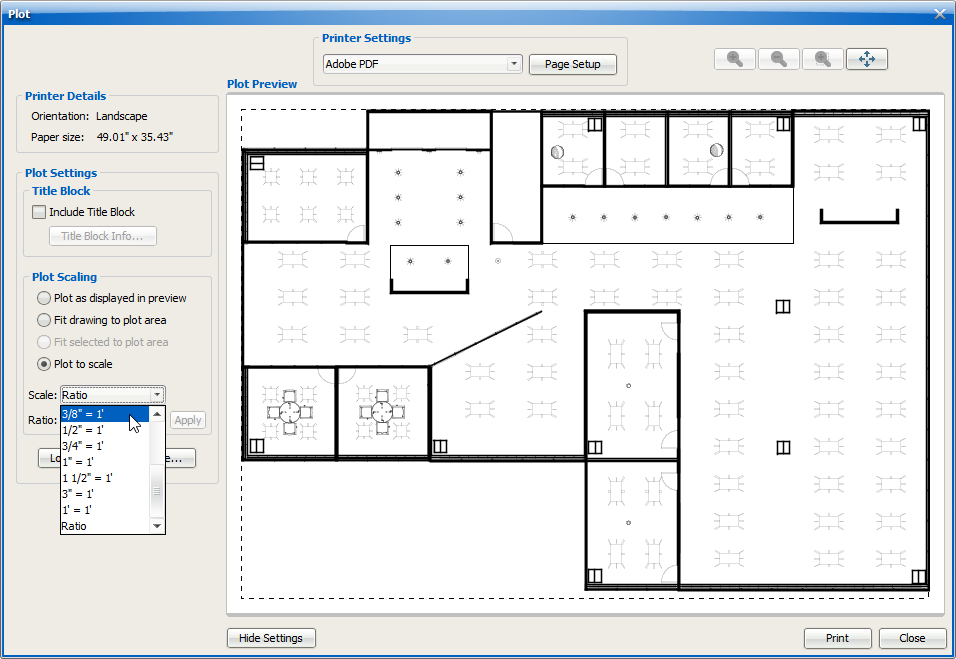
The Plot Preview updates to reflect the selected scale. The Ratio fields become active, displaying the ratio for the scale. The zoom buttons become inactive.
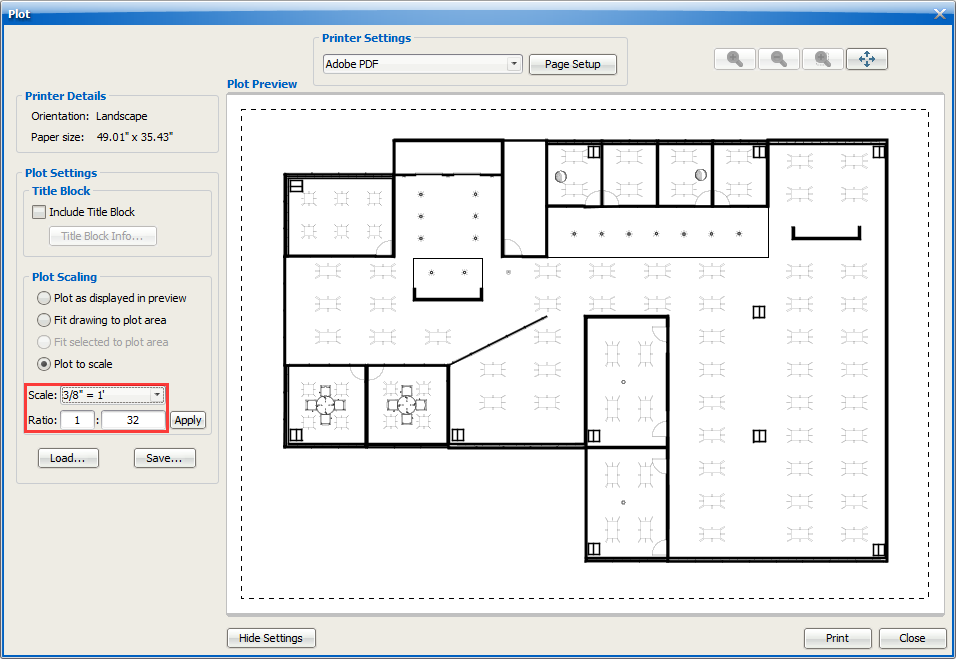
oChoose Ratio to enter your own ratio.
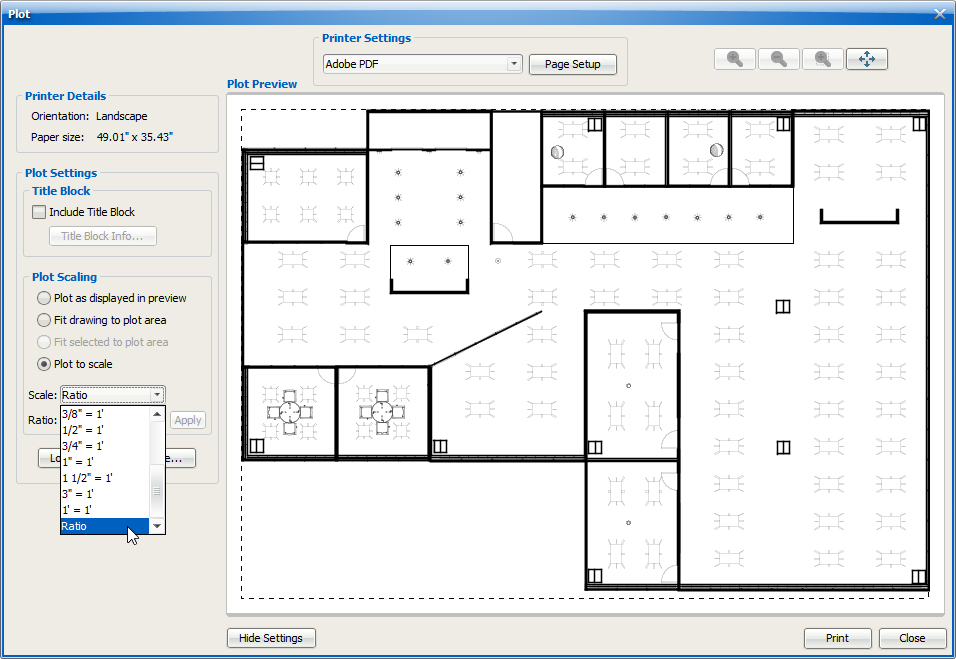
The Ratio field becomes active.
6.If you chose Ratio in the Scale menu, in the Ratio field, type your Ratio, and click Apply.
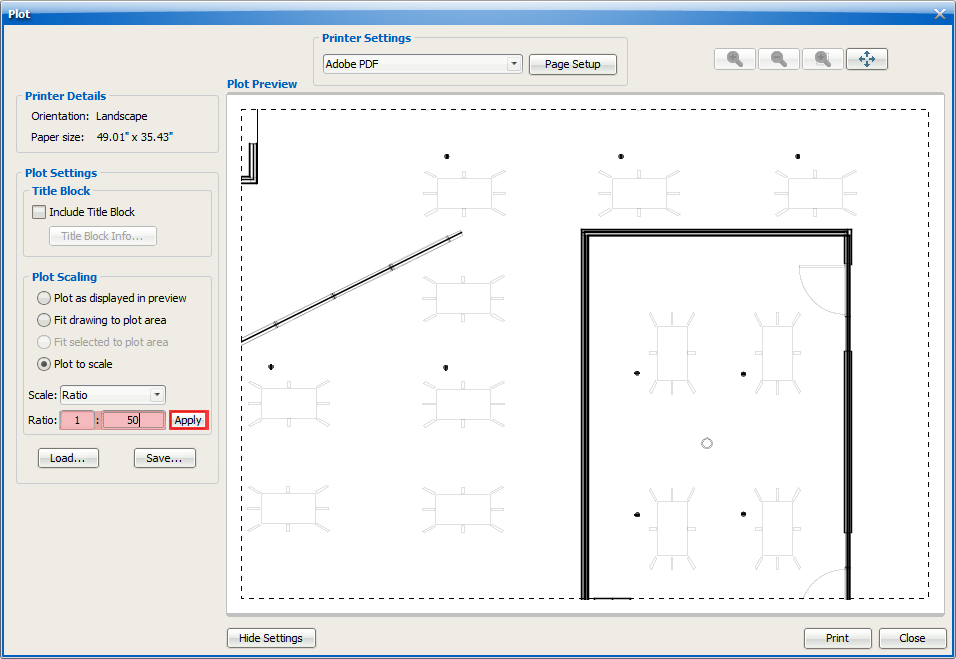
The Plot Preview updates to reflect the new ratio.
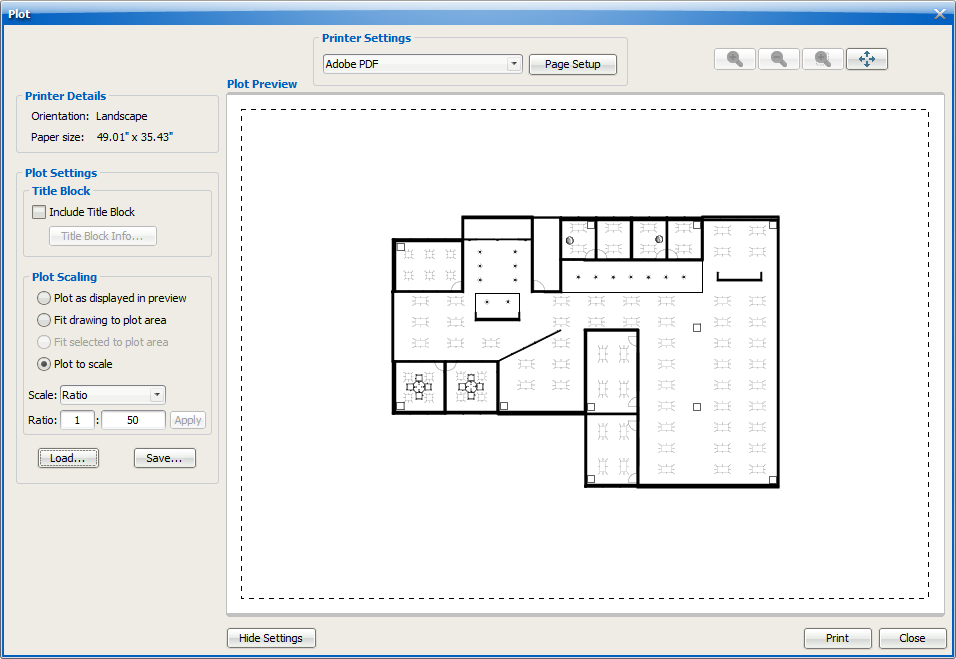
7.If want to change the position of the the drawing in the Plot Preview, you can click the pan view button located above the Plot Preview.
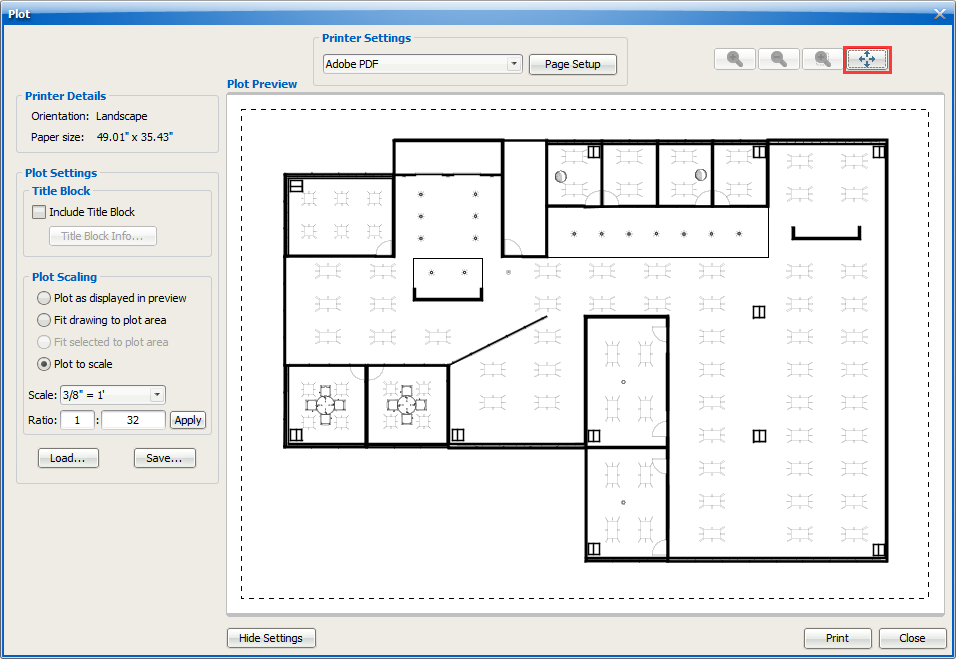
Your mouse cursor becomes a pan tool.
8.To pan, click on the drawing and drag.
Tip: While in the pan view, you can use the mouse scroll wheel to zoom in and out on your drawing.
Related Links:
•Positioning Your Drawing in the Plot Preview
Topic last updated on 3/16/2023.