When you set up your drawing page, you choose your paper size, orientation, and margins.
1.In ICE 2D plan view, select the part of your drawing that you want to plot. If you want to plot the whole drawing, you don't have to select it.
2.in the File menu, choose Plot.
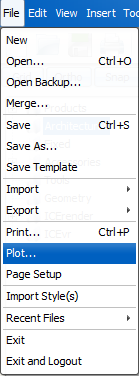
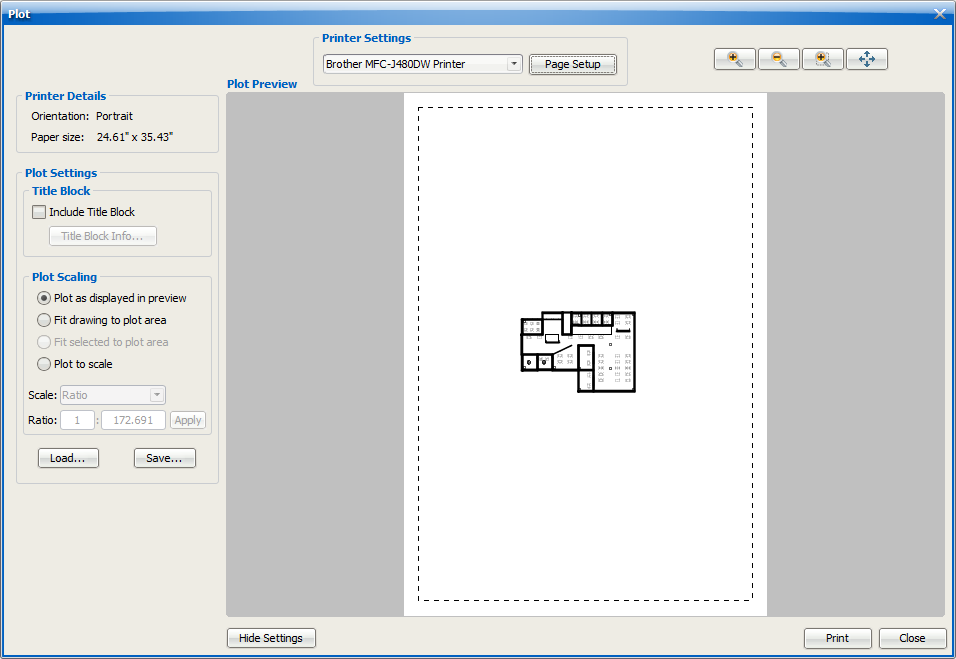
The Plot dialog opens.
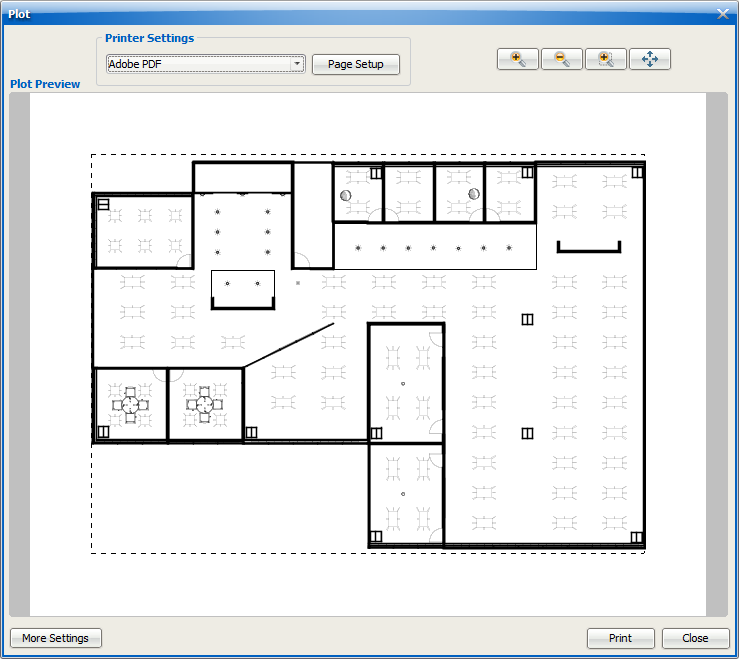
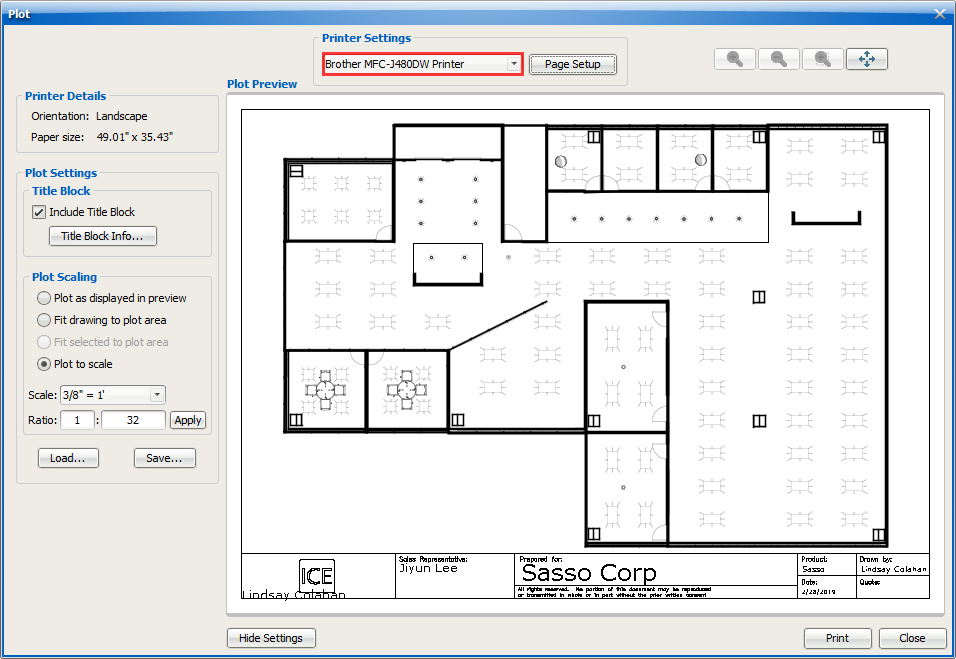
3.In the Printer Settings menu, choose your printer.
4.Click Page Setup.
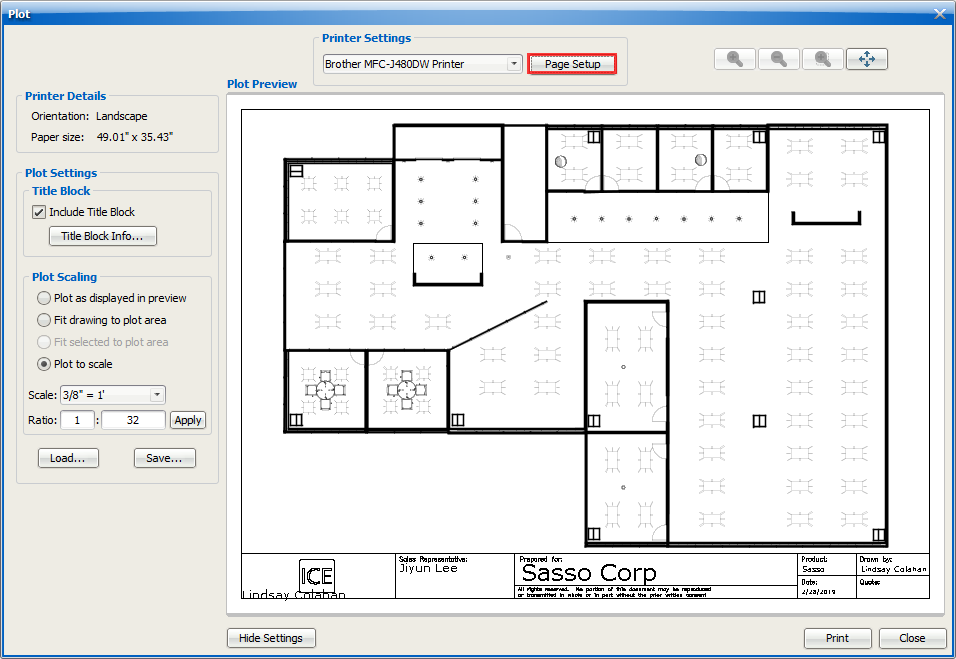
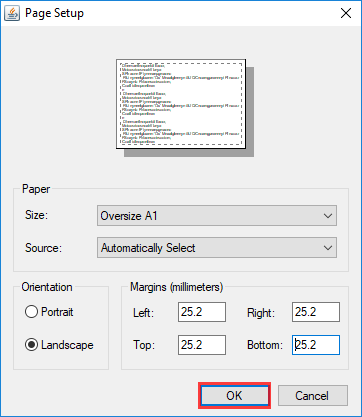
The Page Setup dialog opens.
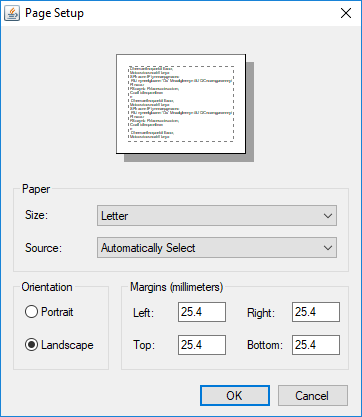
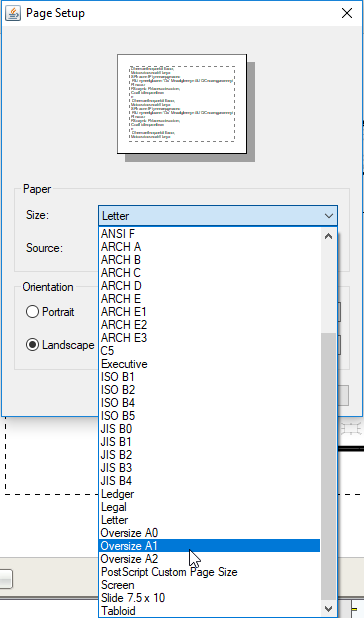
5.In the Size menu, choose the paper size.
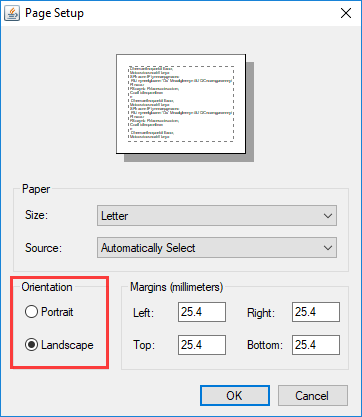
6.Under Orientation, choose Portrait or Landscape.
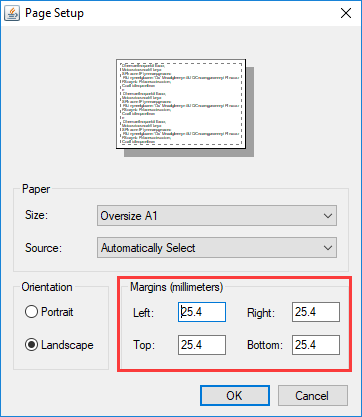
7.If you want to adjust the margins, under Margins, enter new values in the applicable fields: Left, Right, Top, or Bottom.
Caution: You can only enter the Margins values in millimeters.
8.To update your drawing page, click OK.
In the Plot dialog, your drawing updates to reflect the changes to the drawing page.
Related Links:
•Positioning Your Drawing in the Plot Preview
Topic last updated on 3/16/2023.