To adjust 3D Reveal Settings:
1.Under the 3D Styles menu, check the Reveal box.
2.Then select Reveal Style Settings under the same menu.
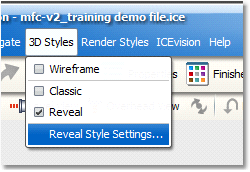
3.The Reveal Style Settings window will open.
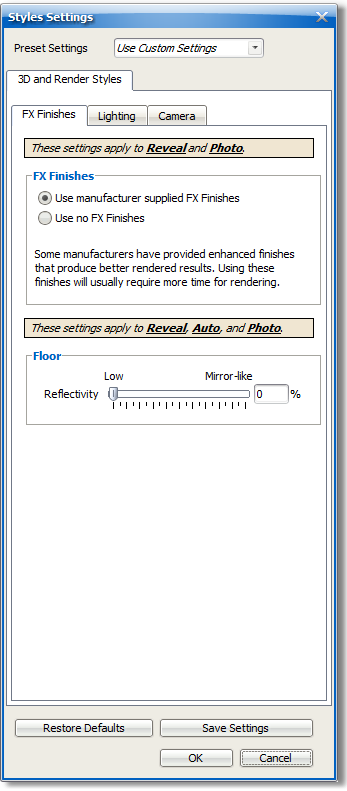
4.Adjust the various ICErender Reveal Settings as needed. The Reveal Style Settings has three main tabs with several options for customizing the 3D view.
Note: Only those settings tagged with “These settings apply to Reveal…” will function in this mode. Again, changes made to Reveal Settings are immediately viewable in the 3D window.
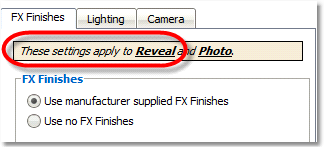
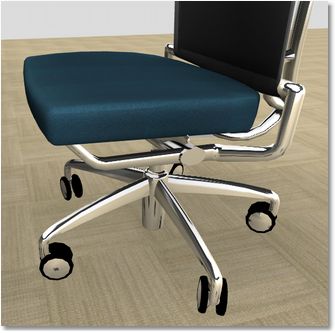
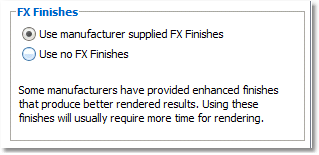
FX Finishes: When enabled, this function allows for enhanced, more detailed finishes to be displayed in the 3D view. FX finishes include chrome, glass, aluminum, leather, etc. NOTE: Enhanced finishes come from specific manufacturers, thus, this function may not work for all items in a given drawing.
1.In the FX Finishes tab of the Style Settings window, “Use manufacturer supplied FX Finishes” is already selected by default. Select “Use no FX Finishes” then click OK at the bottom of the window to disable this function.
|
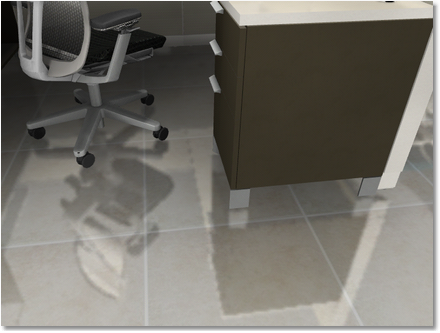
Floor Reflectivity: Controls the reflective properties of the floor in the scene. In the FX Finishes tab, locate the Floor slider. As the slider is moved to the right, the reflectivity of the floor increases. Click OK in the Styles Settings window to see the change in the 3D window.

|
|
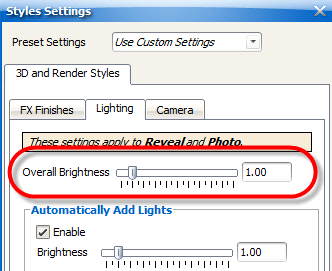
Overall Brightness: Takes into account all lighting in a scene to increase or decrease brightness.
1.Go to the Lights tab of the Styles Settings window
2.Click and drag the Brightness slider to a new location, or enter a specific value in the field to the right of the slider.
3.Note the immediate change in the 3D window.
|
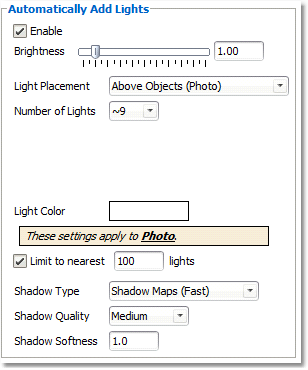
Automatically Add Lights: When enabled, allows ICErender to automatically place a specified number of lights in a scene to provide additional illumination.
Note: This applies to Reveal and Photo settings.
|
Ambient Light: This function allows for further definition of light and dark areas in a drawing. Move the slider to the right to brighten the scene and notice immediate change in the 3D window.
|
|
The Field of View is the area that is visible (as through an optical instrument).
To control Field of View:
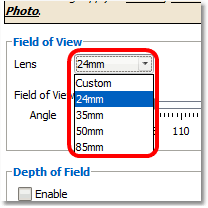
1.Select the type of lens to show a specific angle. The Lens drop-down menu has preset lens sizes to choose from.
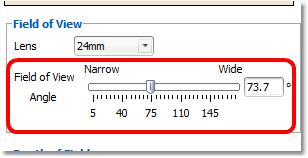
2.To use a Custom view, use the Field of View Angle slider to adjust how narrow or wide you want the visible area.
|
Depth of field is a characteristic of a camera that can be used to enhance the image composition of the photo. Depth of field is the distance between the nearest and farthest objects in a scene that appear acceptably sharp or clear in an image. The magnitude of the sharp area is affected by several factors: distance between the camera and the subject, focal length and aperture.
To control the Depth of Field:
1.Under the Camera tab, check the Enable box under Depth of Field.
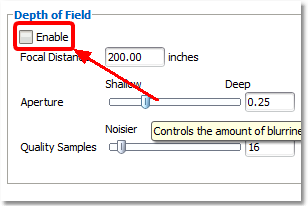
2.Adjust the Focal Distance; the distance from a lens to its focus.
3.Use the Aperture slider for adjusting the shallowness and depth of how blurry the foreground and background are. The higher values have more sharpness.
4.Adjusting the Quality Samples control the quality of the blurriness of the foreground and background. The higher values are smoother, but add to rendering time. |
|


