When you save a SketchUp file to your computer from the 3D Warehouse, you can import that file into ICE when you are ready.
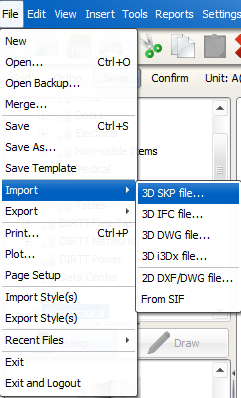
1.In the File menu, choose Import > 3D SKP file.
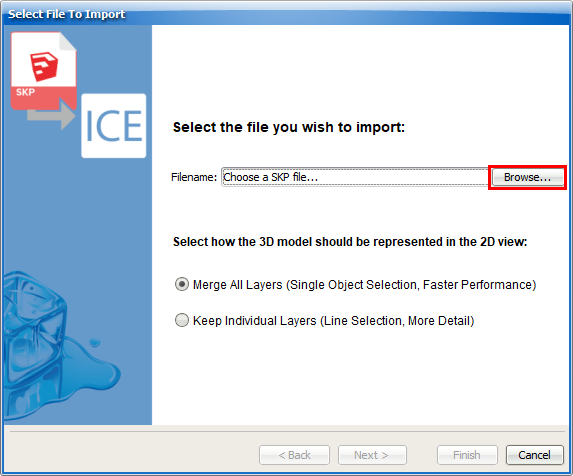
2.In the Select File To Import dialog, click Browse.
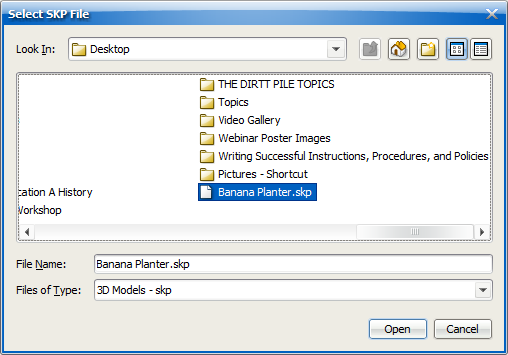
3.In the Select SKP File dialog, select the SketchUp file you saved, and click Open.
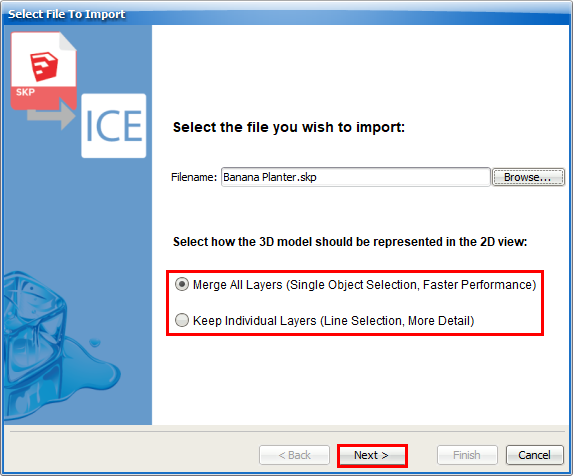
4.In Select File to Import, choose the layers option to determine how the 3D model should be represented in ICE 2D, and click Next.
5.If you want to import the saved SketchUp model into ICE, in the File menu, choose Import > 3D i3Dx file.
ICE imports the SketchUp model.
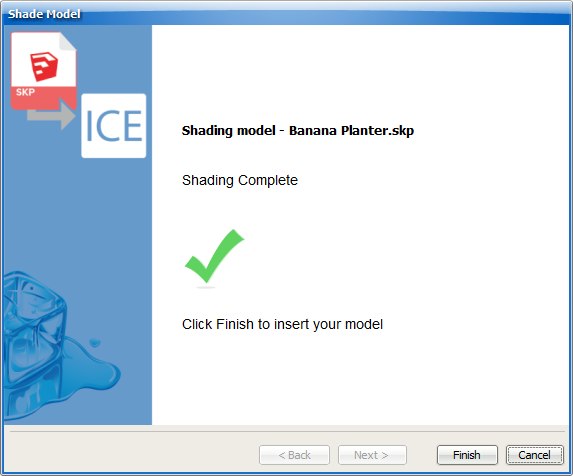
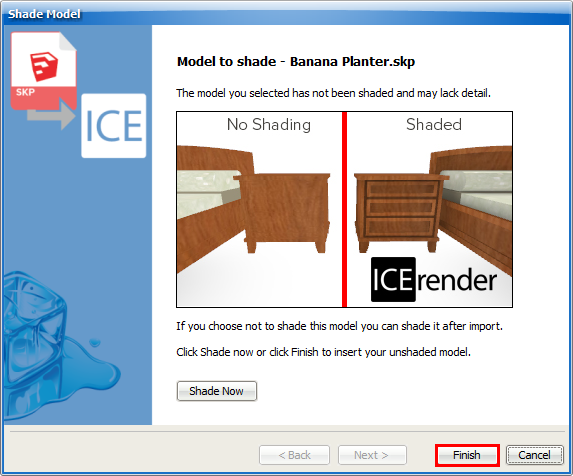
6.If you have an ICErender license and you you want to shade the model before inserting it into ICE:
a.Click Shade Now.

b.If you want to cancel shading, click Cancel Shading.

c.When the shading is complete, click Finish.
Tip: If you have an ICErender license, you can also shade the model after you insert it into ICE.
7.If you do not want to shade the model or do not have an ICErender license, click Finish.
The model appears on your cursor when it is ready to be placed in ICE.
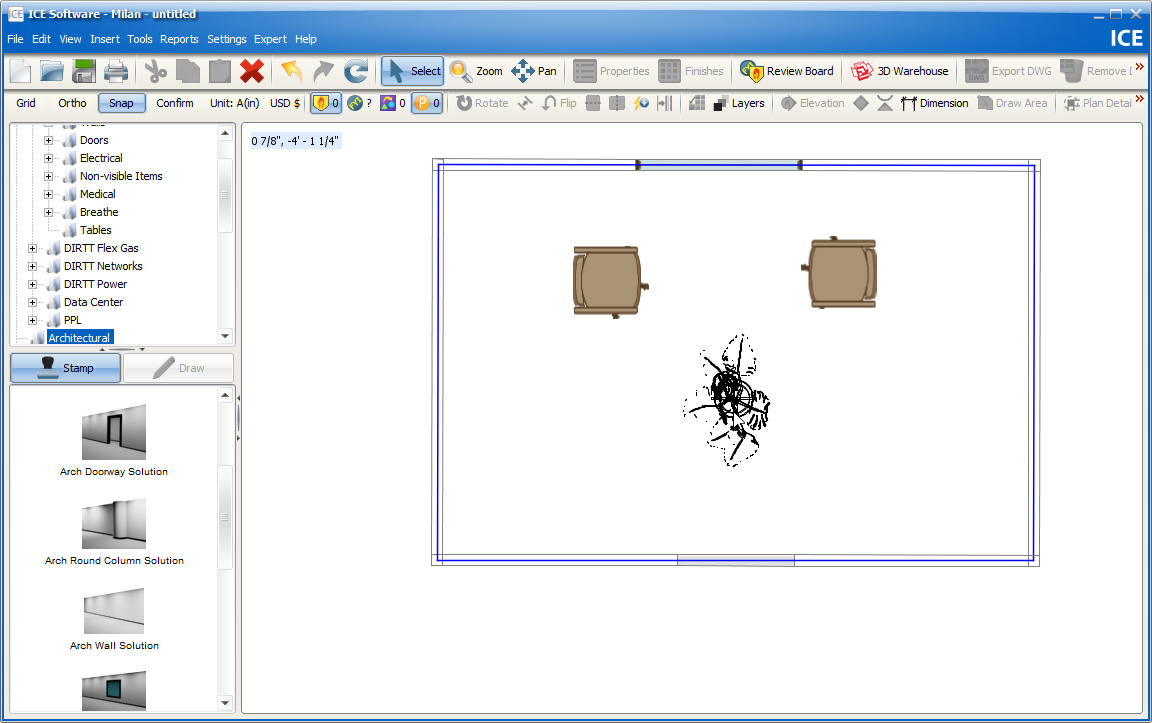
8.If you want to rotate the model before placing it, press the . or , keys.
9.In ICE 2D plan view, click to place the model.
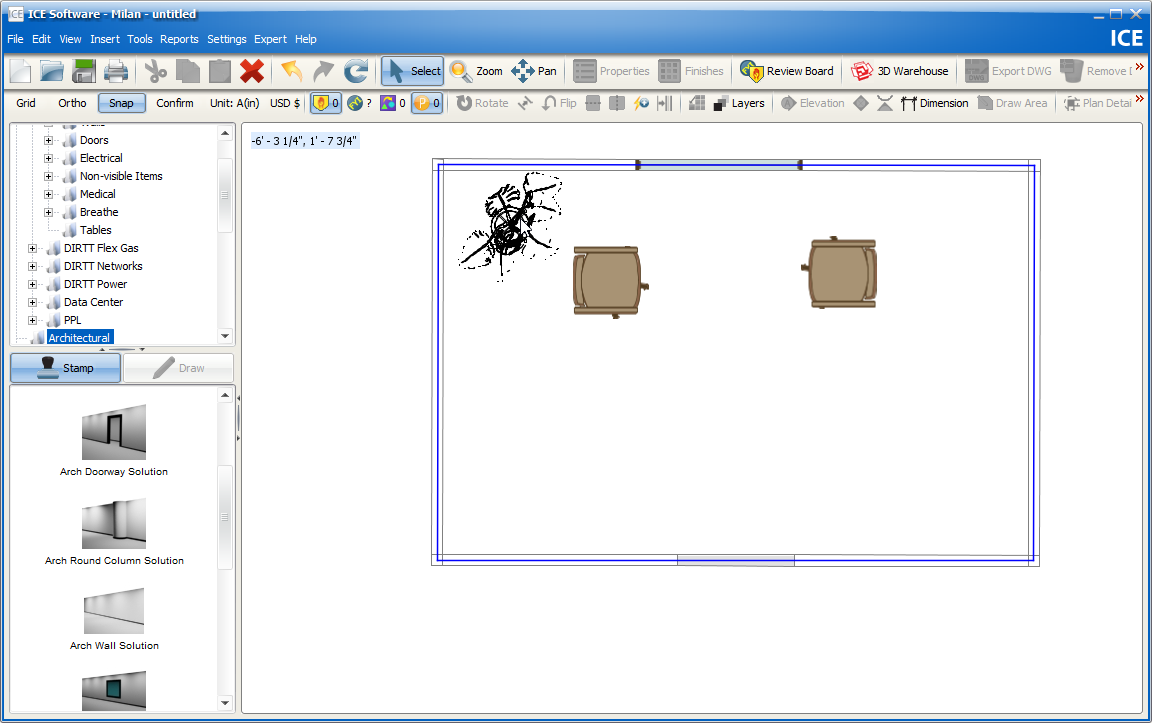
In ICE 2D and 3D, you see the SketchUp model:
Related Links: