ICEscapes is the 3D medium through which the viewer experiences their VR tour. For a more detailed look at ICEscapes, click here.
ICEscapes is available as a separate, add-on license. ICEvr can still be used without ICEscapes, but without the cityscape, landscape, date, time of day, and other features ICEscapes provides.
1.Click the ICEscapes button in ICE 2D plan view to open ICEscapes.

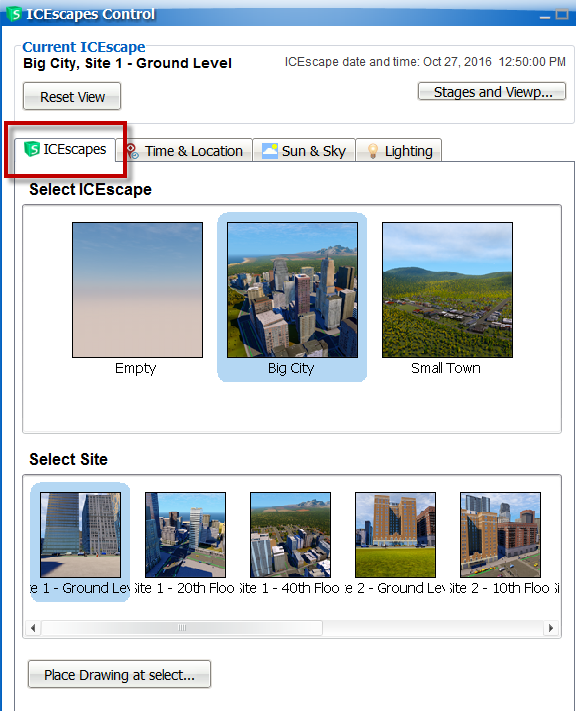
2.In the ICEscapes dialog, click on the ICEscapes tab. Select the desired ICEscape as well as a site within the ICEscape. Then click.

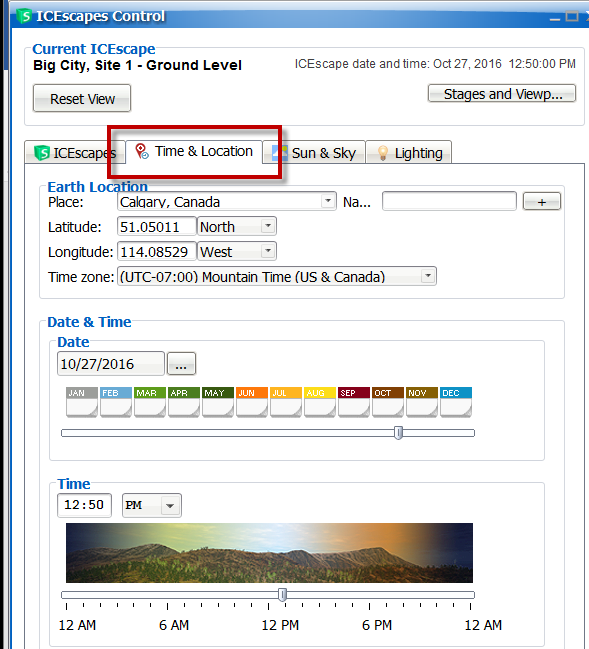
3.In the ICEscapes control window, click on the Time & Location tab. Use the Time slider to set an ideal time of day depending on the file (consider windows, reflections, etc.). A date in the summer in early afternoon is an ideal setting for even lighting.

|
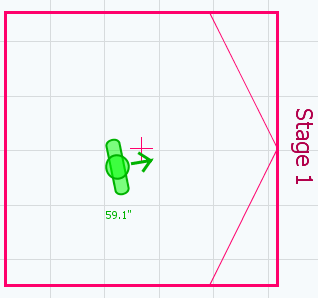
When ICEvr users are connected, notice the green avatar in ICE 2D plan view. This indicates where the viewer is positioned in the file, as well as the direction that they are facing. This avatar will move in real time when the demonstrator navigates in the ICEscapes window or when the viewer walks around during their VR experience.

|
See Also:
•ICEscapes Guide


