Use Viewpoints to transport an ICEvr viewer directly to a stationary location that faces a specific direction. In the stationary space, the viewer can freely navigate.Viewpoints show the ICEvr user a specific point of view.
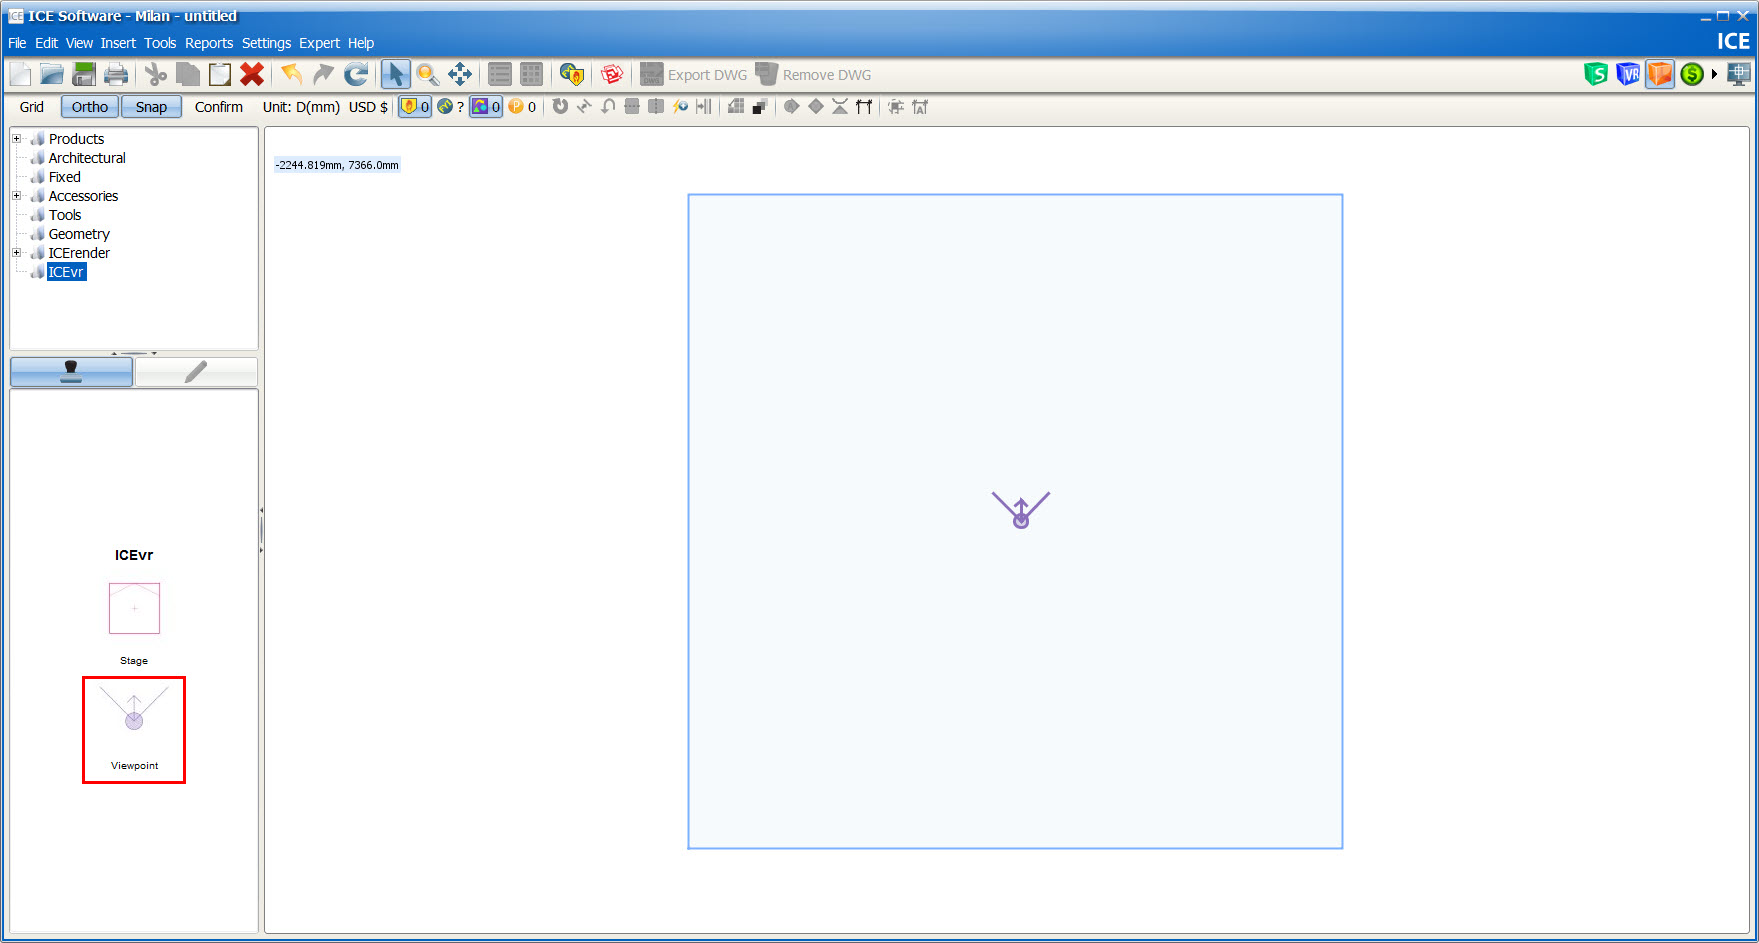
1.Open the ICEvr folder in the Product Tree.
2.Select Viewpoint.
3.Stamp the Viewpoint into ICE2D plan view.
Note: The Viewpoint can be rotated prior to stamping by using period and comma keys.
|
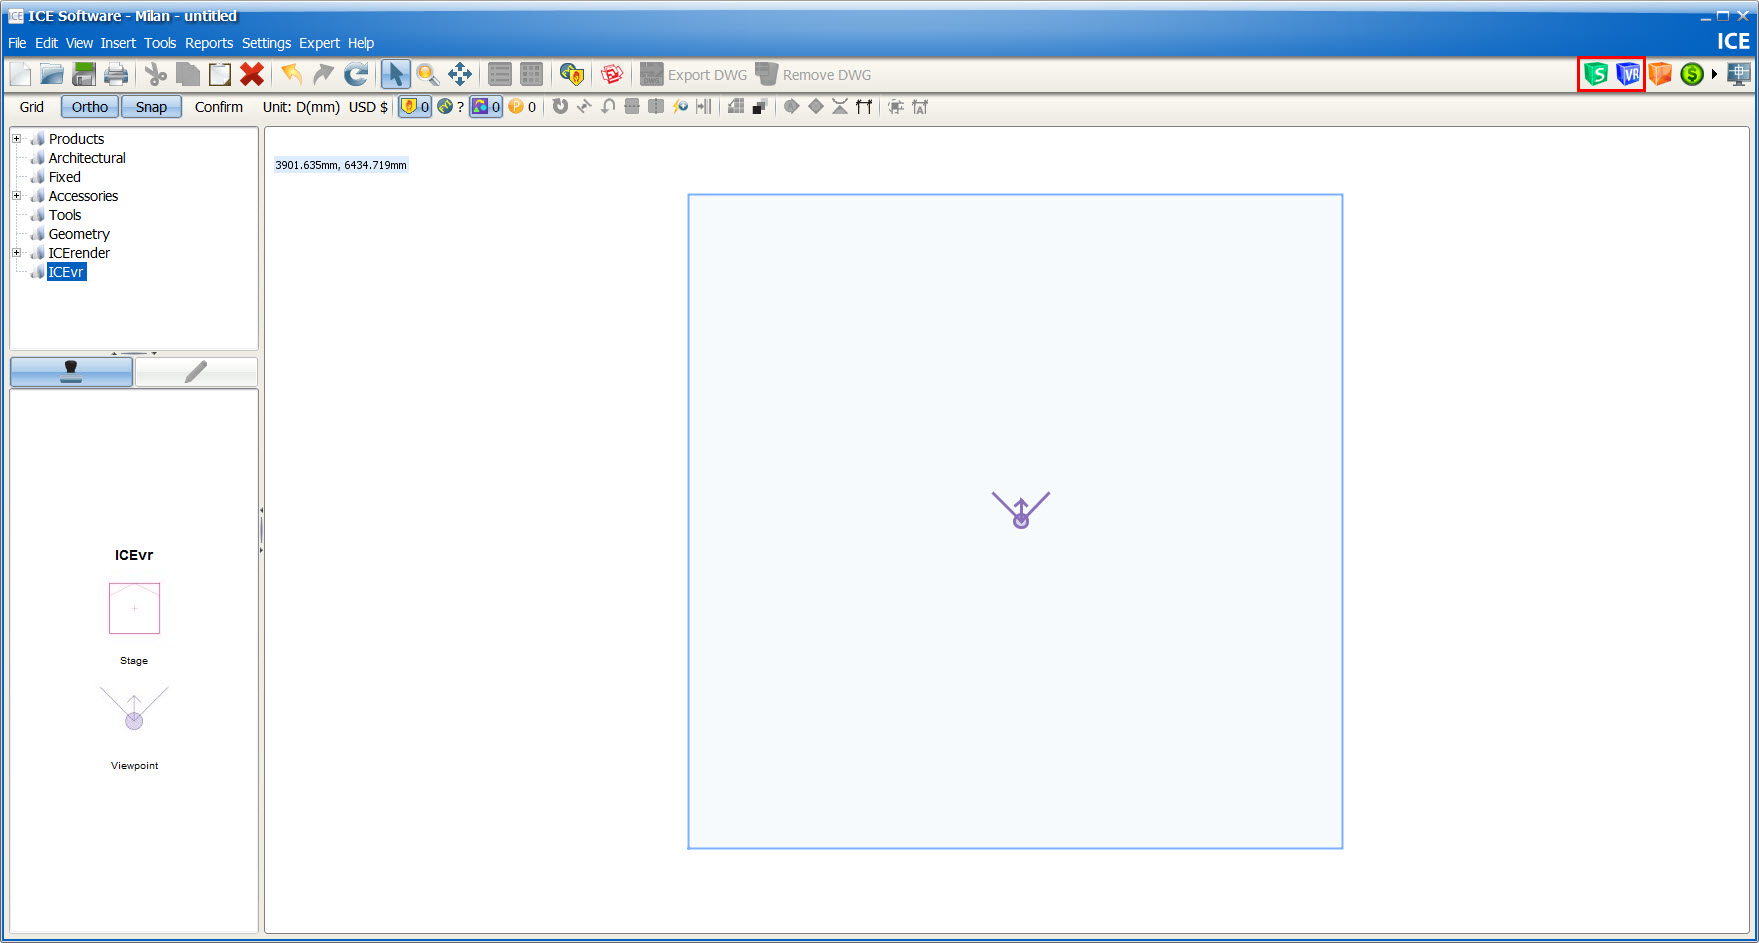
1.Launch ICEscapes or ICEvr.
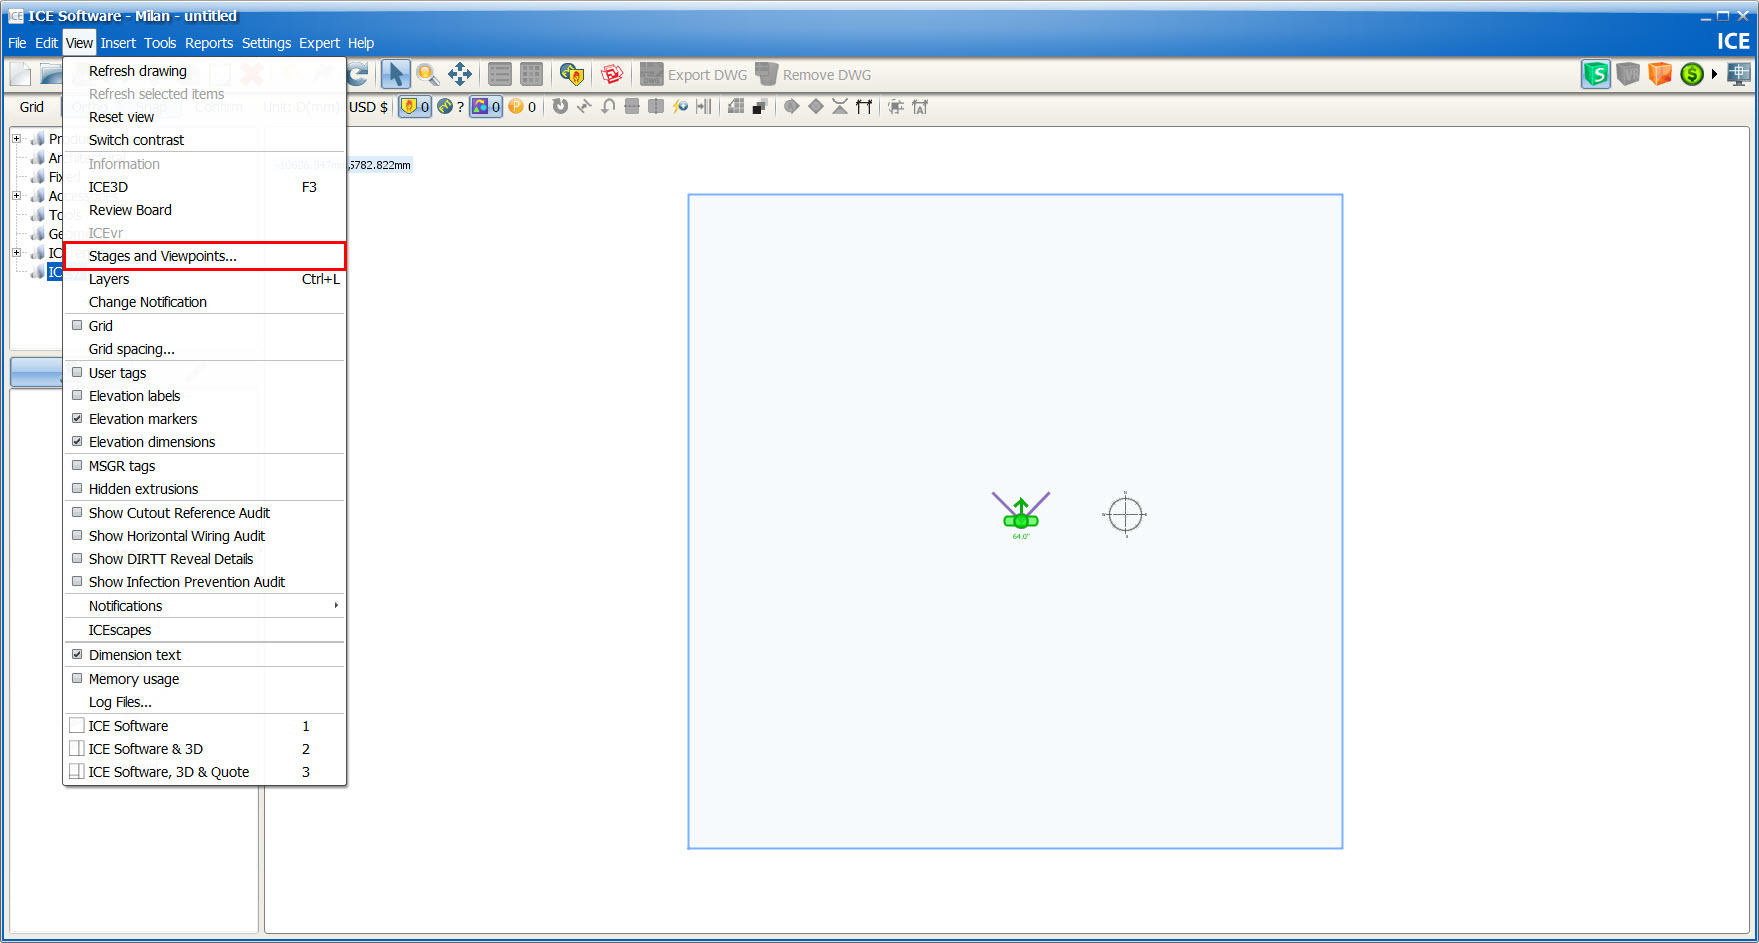
2.In ICE 2D plan view, open the View menu and select Stages and Viewpoints.

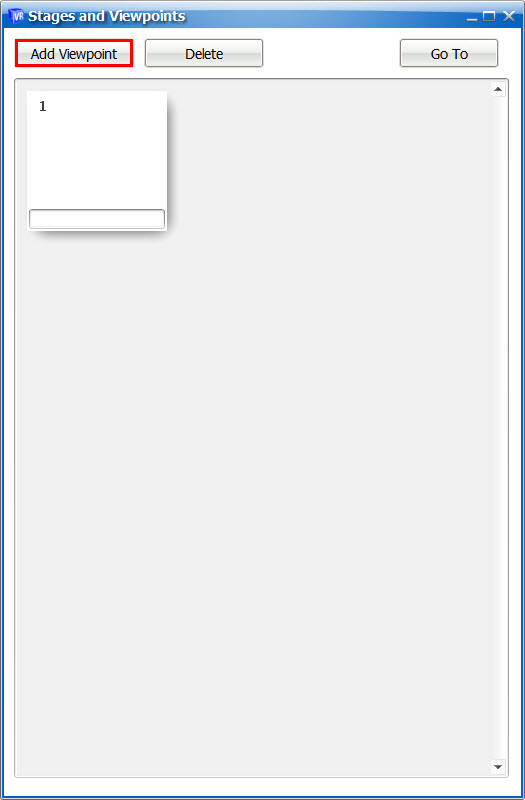
3.In the Stages and Viewpoints dialog, select Add Viewpoint.
Note: If you are using ICEscapes, the viewpoint will be added where the green avatar in ICE 2D plan view is facing.
|
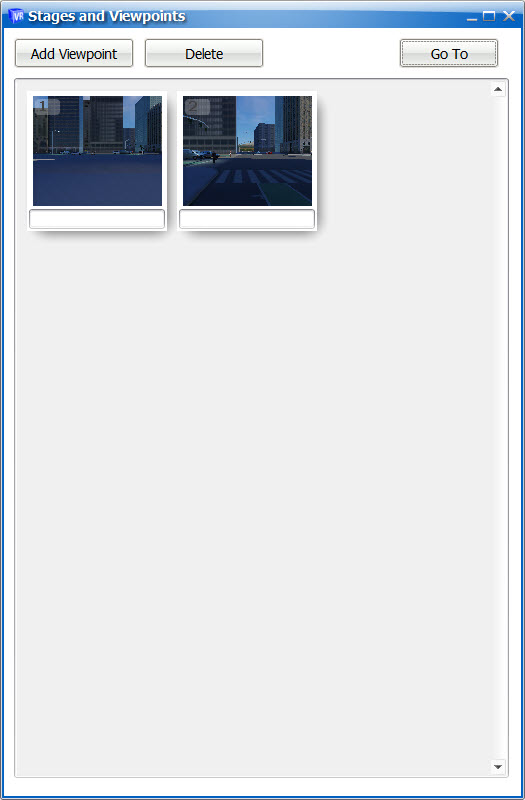
1.In the ICE2D plan view, open the View menu and select Stages and Viewpoints.
2.In the Stages and Viewpoints dialog, review the Viewpoints that have been added to the file.
3.To edit the name of the Viewpoint, type into the field below the appropriate thumbnail.
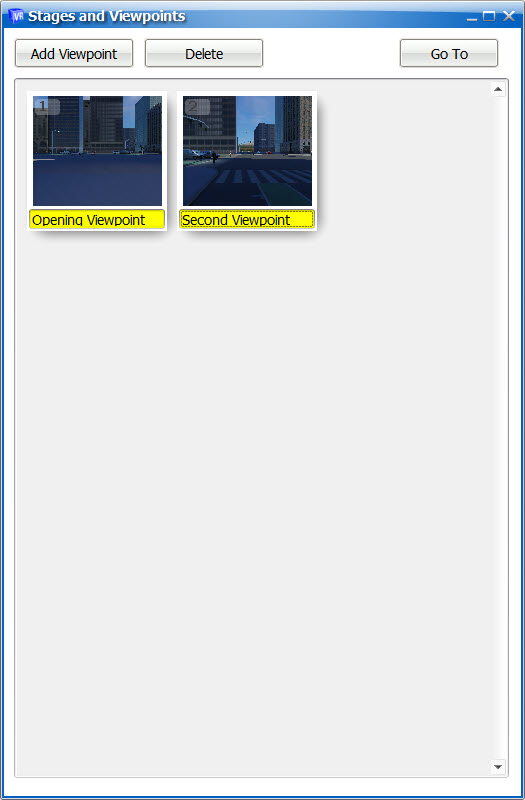
Note: The name of the Viewpoint will also appear in ICE 2D plan view.
4.To navigate to a different Viewpoint, highlight the preferred thumbnail and select Go To.
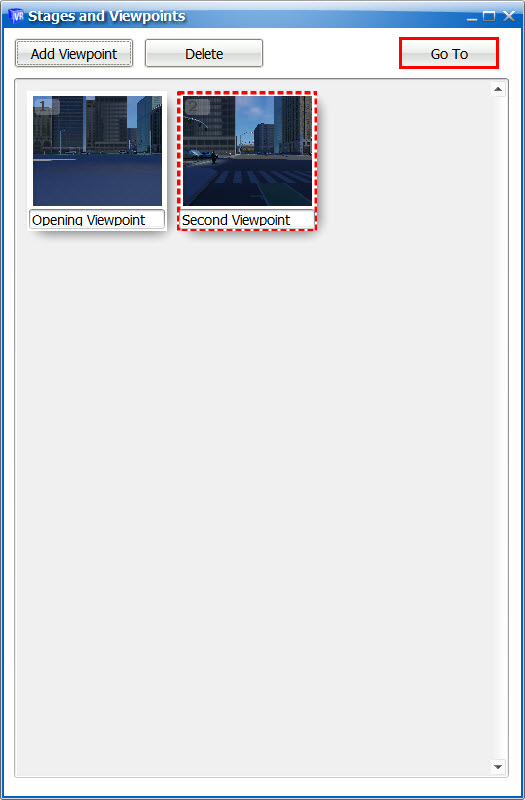
The scene will then change in ICEscapes or ICEvr.
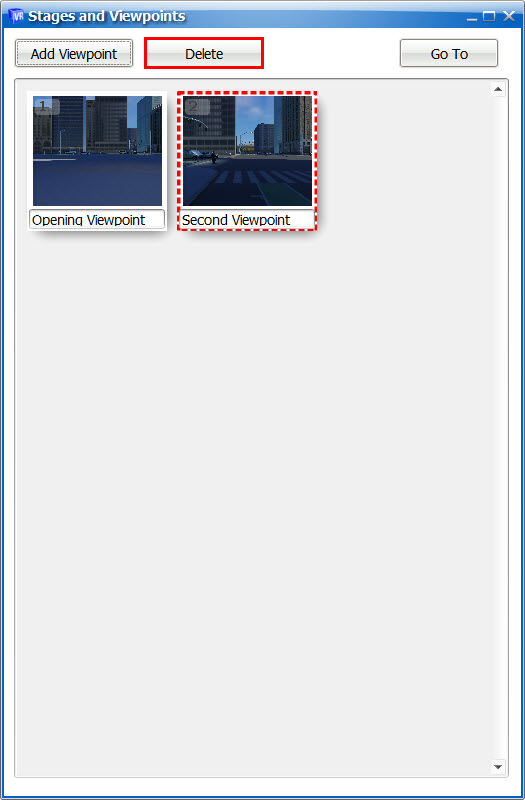
5.To remove a Viewpoint, select Delete.
|
