Draw, edit and adjust custom-shaped Floors in your layout.
What are we talking about:
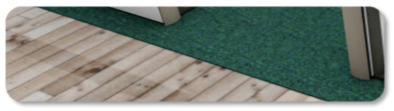
Floors aren't always square or rectangular, sometimes they incorporate odd angles or shapes. See how easy it is to create accurate, custom-shaped Floors in ICE.
What's in it for you:
•Draw custom-shaped Floors for your specific projects •Use multiple Floor Finishes within a layout
How you do it:
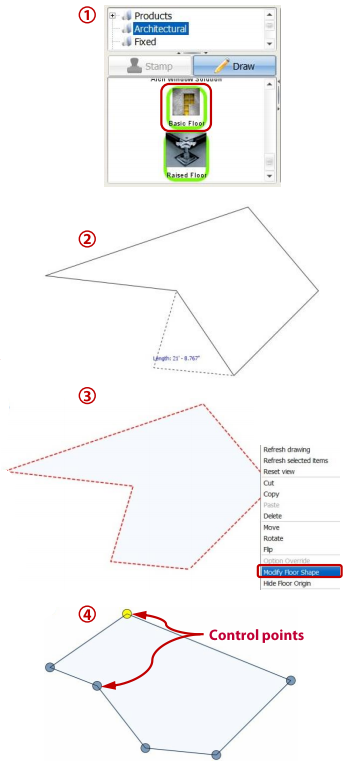
1.In the Product Tree, select the Architectural folder and then Basic Floor; this also works for Raised Floor
2.There are two ways to draw Floors in ICE: a.Click and drag to create a rectangular Floor shape that can be edited later, or; b.Click point-by-point to create a specific custom-shaped Floor
For creating irregular Floor shapes we recommend using Option B, since each point you create can Snap to either the Grid or to another Floor shape.
3.To edit the shape of the Floor, select it, right-click, and chose Modify Floor Shape
4.Adjust the Floor by highlighting a blue control point (turning it yellow) and dragging it to a new location; double-click the Floor edge to add new control points
5.Right-click to finish editing your Floor shape
Advanced ICE tips:
•Use the "Confirm" button while drawing Floor shapes to chose a precise length and angle for each side •Floor shapes only Snap to the Grid or other Floor shapes. They do not Snap to i-Lines, Custom Items, etc. •Floor reflectivity settings are universal for your file, so ALL Floor shapes will either reflect or not. If you need multiple reflectivity (carpet and marble for example) create the non-reflective surface our of Custom Objects.
|
|