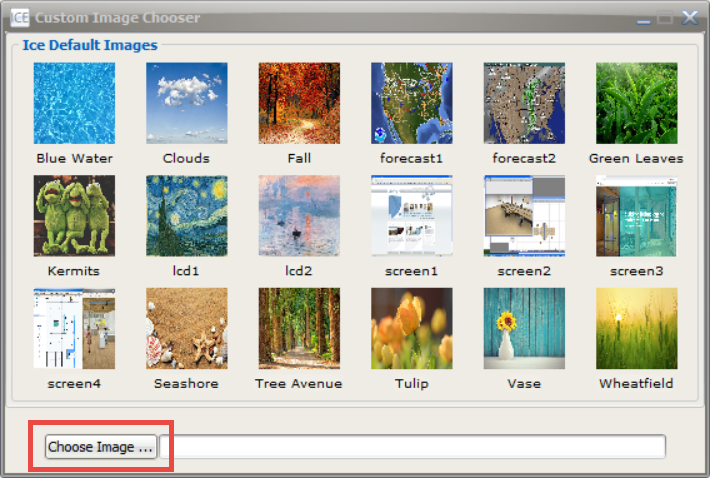
The Custom Image Chooser allows you to select default images or upload your own custom image to use in your design, like in Office Accessories with screens. The Custom Image Chooser supports both JPEG and PNG images.
To access the Custom Image Chooser:
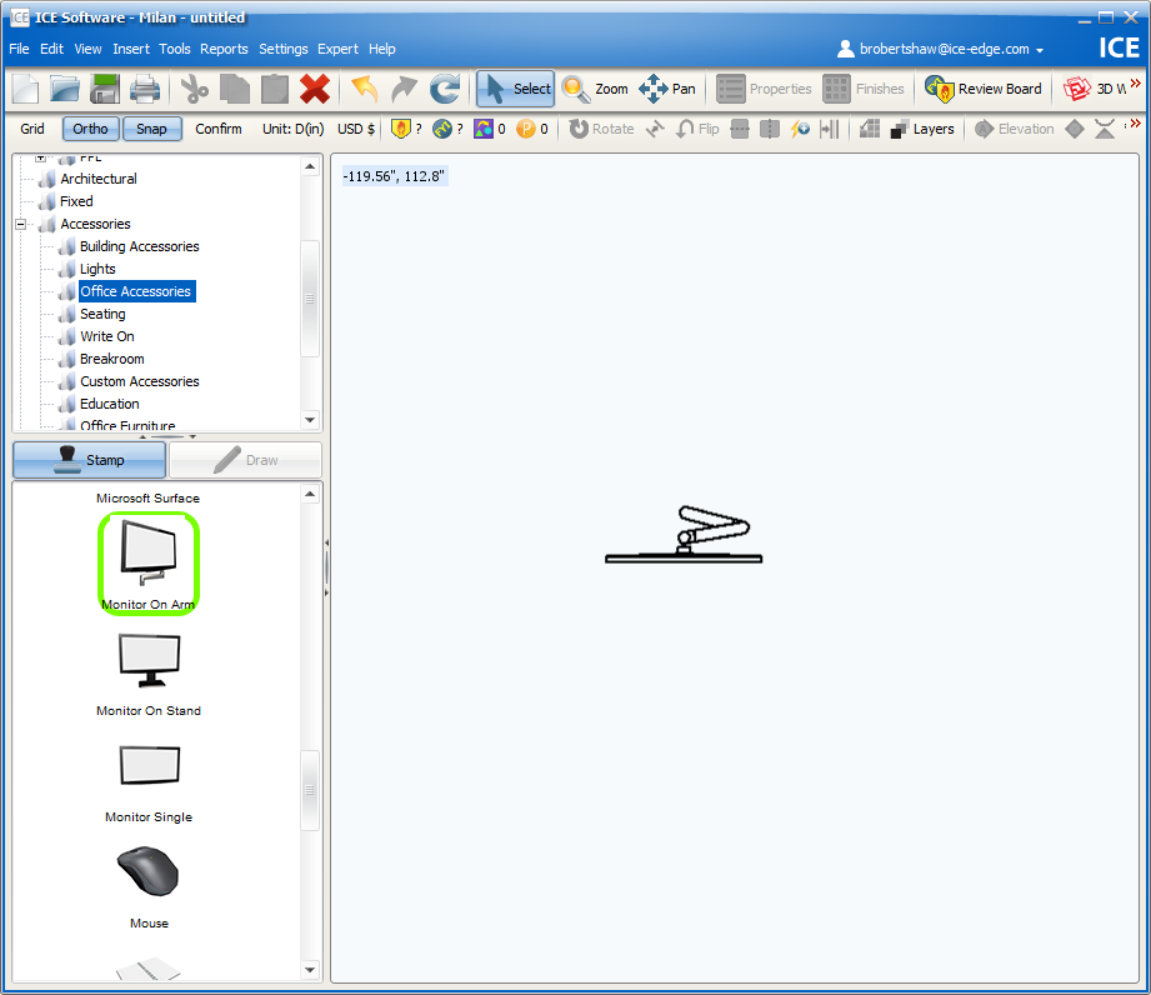
1.Stamp an object into 2D plan view that can contain a unique image, such as an iPad, computer or binder.
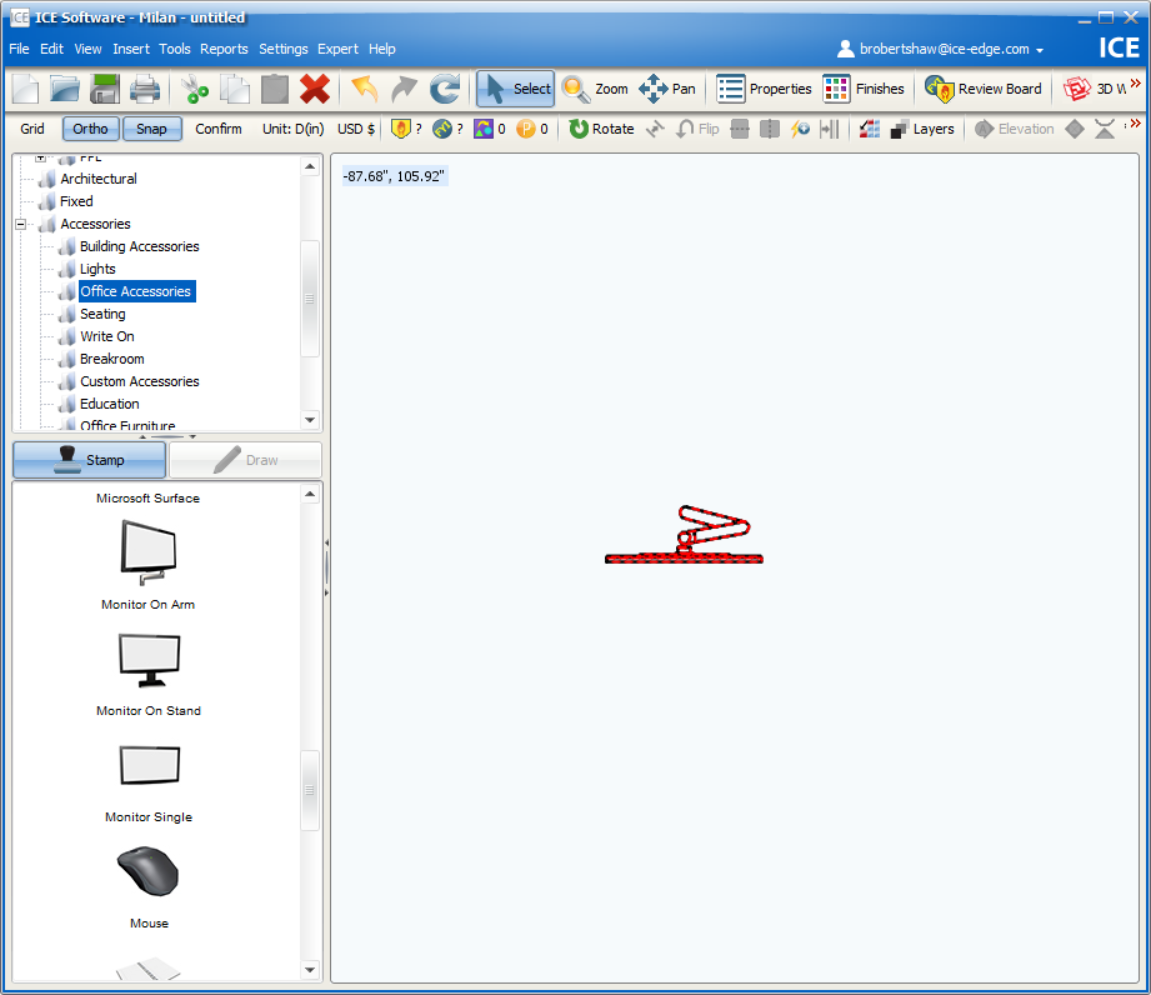
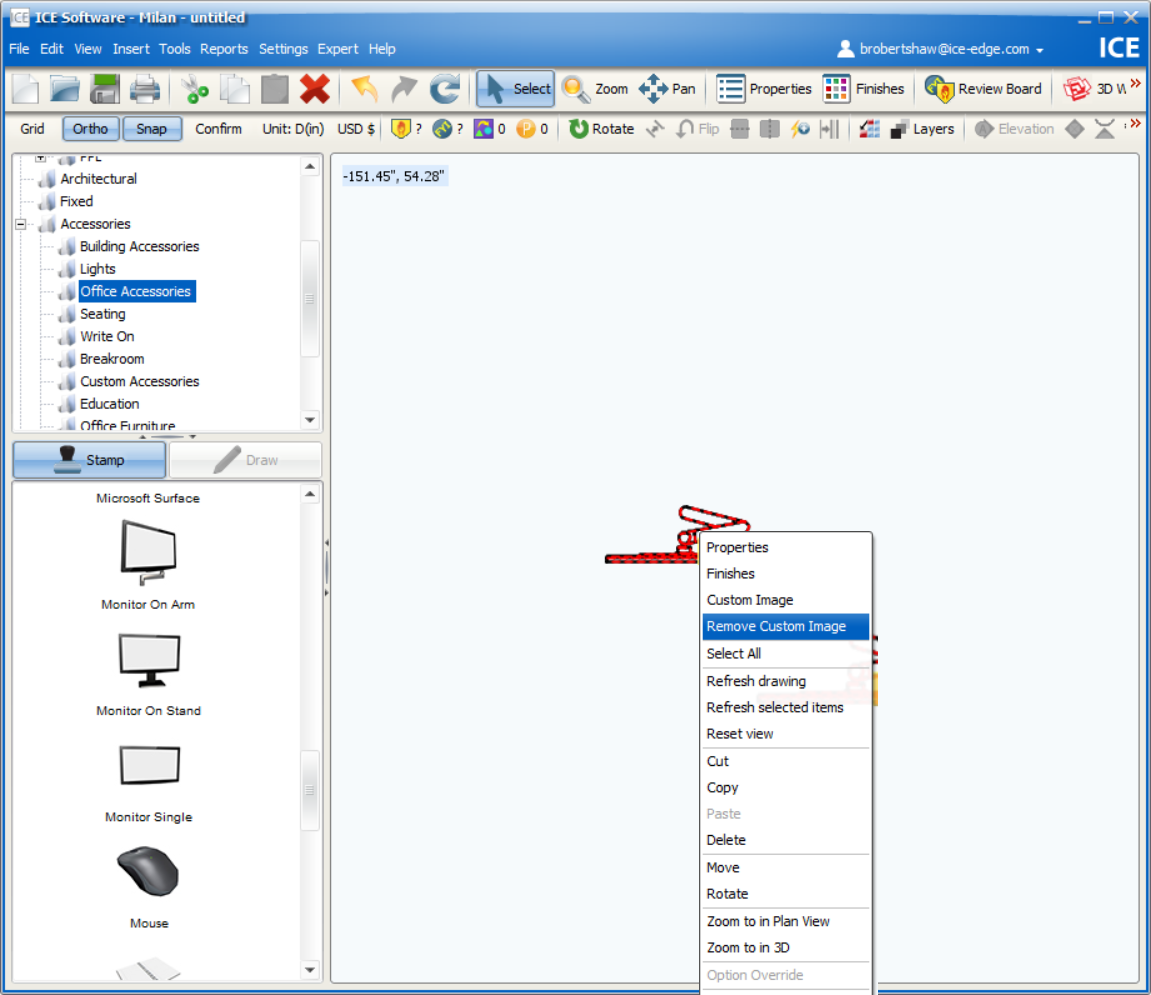
2.Select the object in 2D plan view or 3D view.
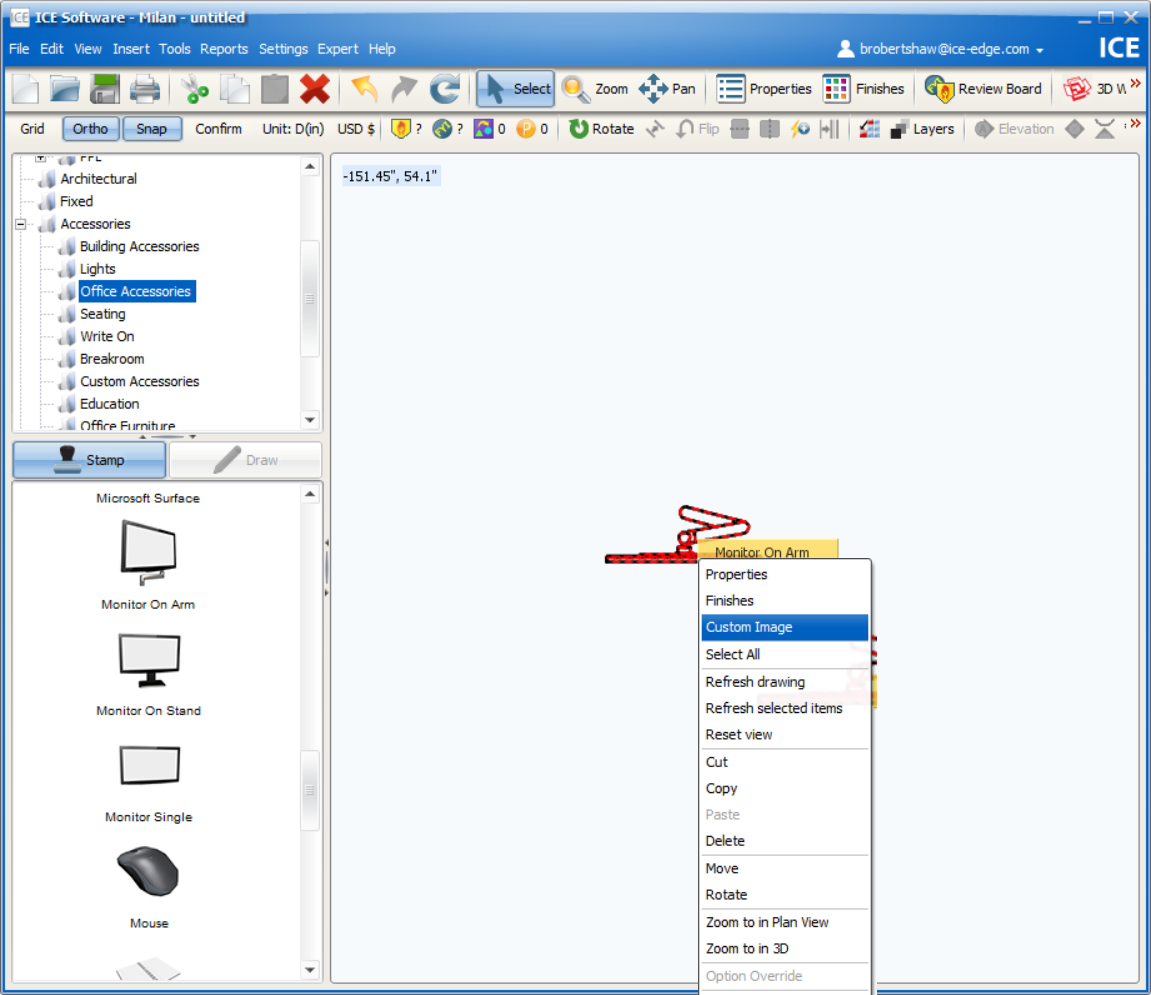
3.Right-click the object and select Custom Image from the drop down list of options that appears.
4.The Custom Image Chooser will open.
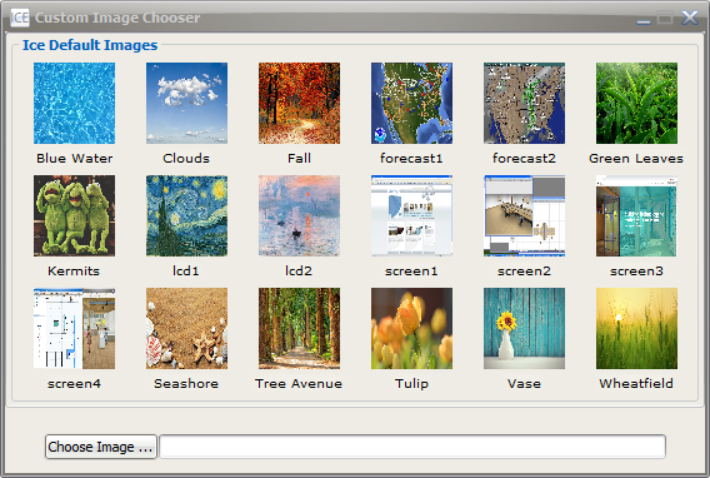
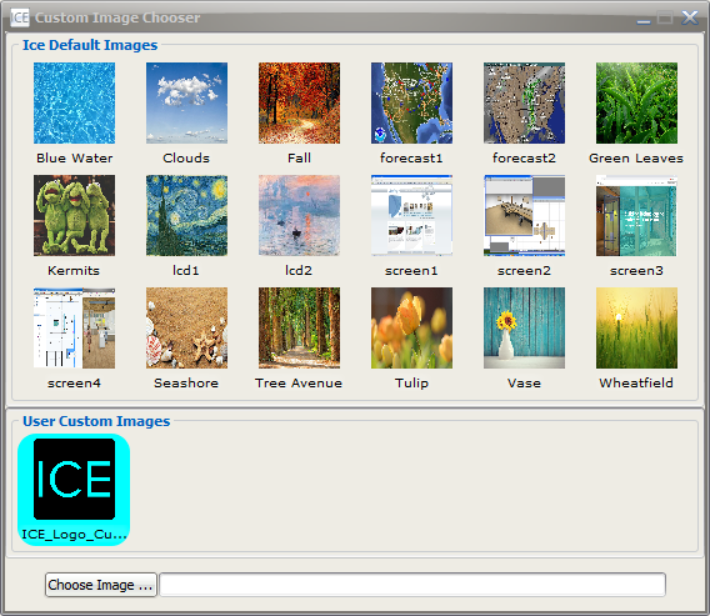
5.Select one of the Ice Default Images or upload your own custom image.
To upload a custom image:
1.Open the Custom Image Chooser using the steps above.
2.Click Choose Image... at the bottom of the Custom Image Chooser.
3.Navigate to where your custom image is saved and select it.
4.Click Open.
5.The custom image will appear under a separate heading in the Custom Image Chooser, called User Custom Images.
To remove a custom image from an object:
1.Select the object in 2D plan view or 3D view.
2.Right-click the object and select Remove custom image from the drop down list of options that appear.
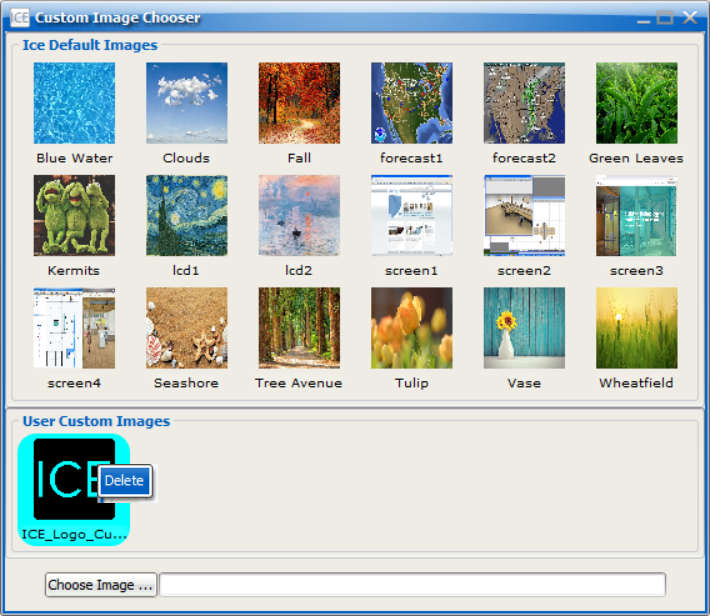
To delete a custom image from the Custom Image Chooser:
1.Open the Custom Image Chooser using the steps above.
2.Locate the image you want to delete from the User Custom Images section.
3.Right-click the image and select Delete from the menu that appears.
Related Links: