Stack wall styles include a combination of solid face-mounted tiles and glass center-mounted tiles. You can create and edit stack wall styles in the Style Manager. The Style Manage allows you to edit the frame set (multi-style layout) for walls and place glass tiles above or below solid face-mounted tiles.
The easiest way to create a Stacked Wall Style is to edit one of the pre-existing Stacked Wall Styles in ICE and Save in ICE with a new name.
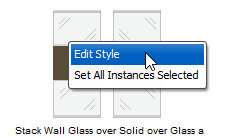
1.In the Product Palette, right-click on an existing stack wall style, and choose Edit Style.
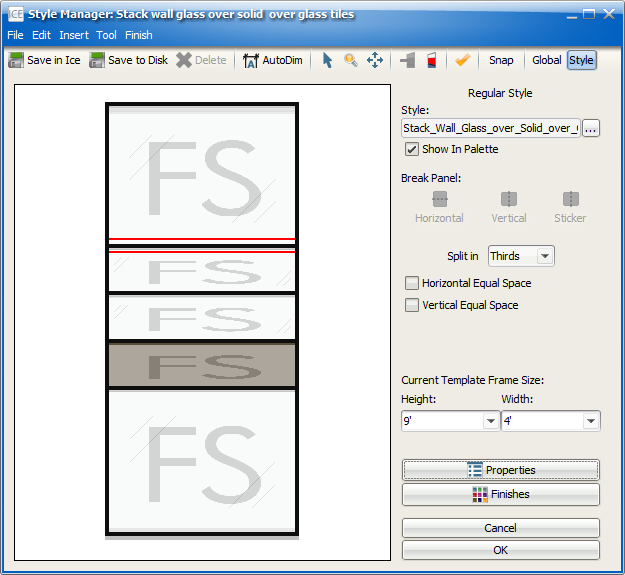
The Style Manager opens.
2.On the Style Manager toolbar, click the Edit Multi-Style Layout button.
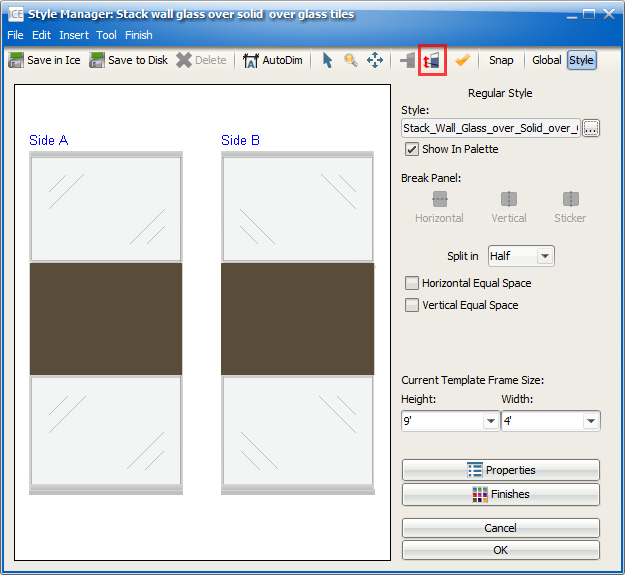
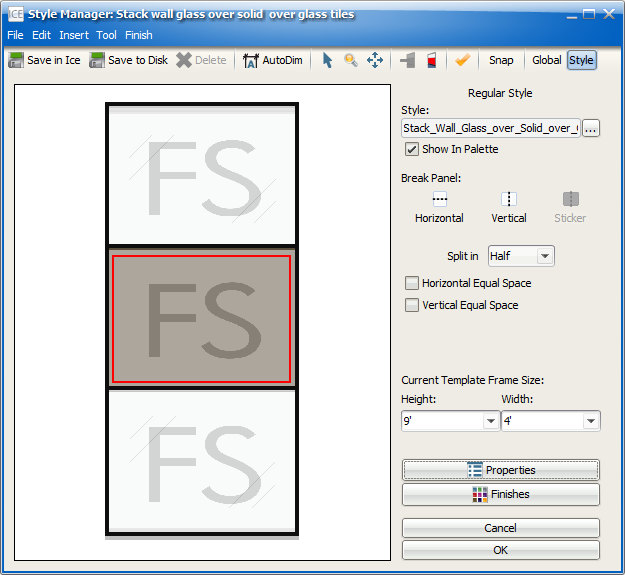
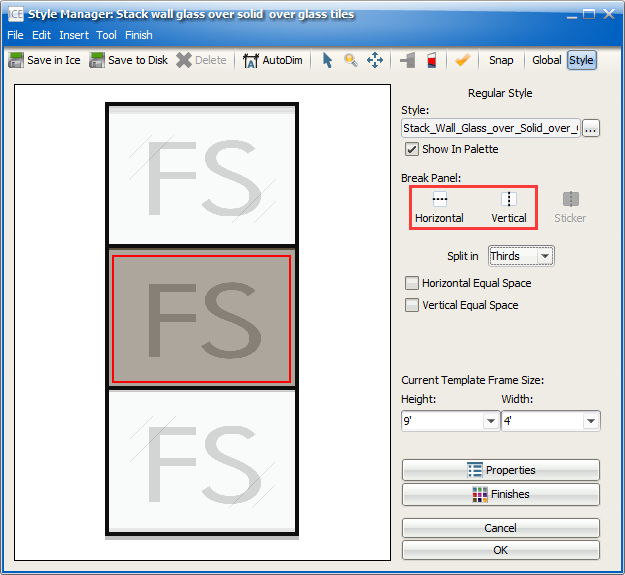
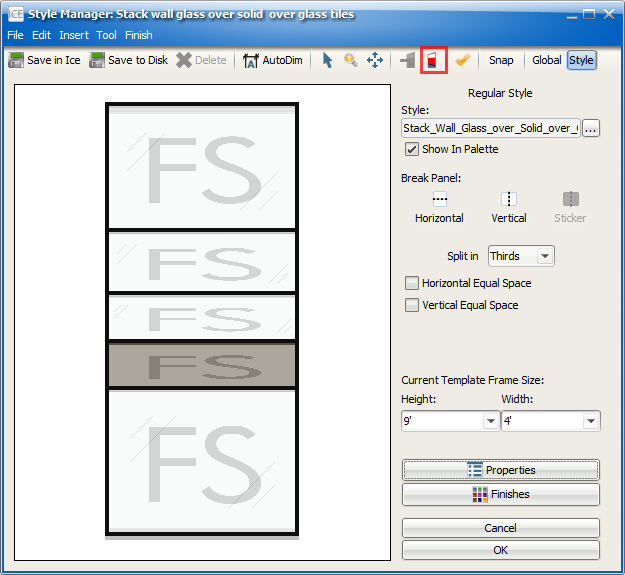
The Multi-Style Layout opens. The Style Manager displays the style as an elevation; frame sets are labeled FS.

3.If you want to split a FS, select it.
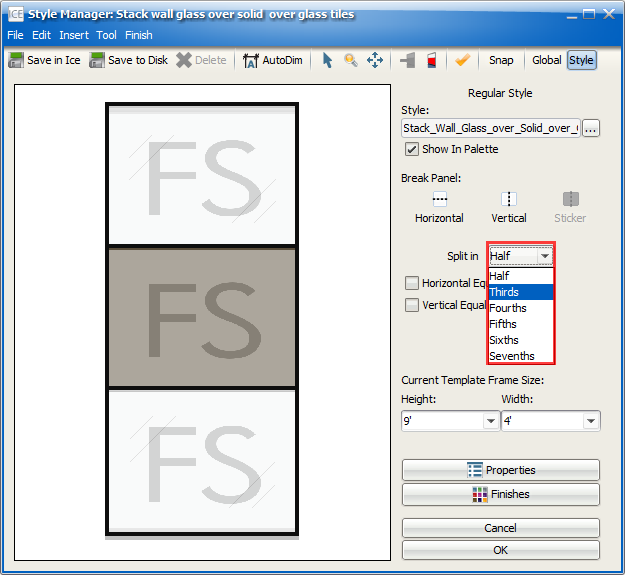
4.In the Split In menu, choose one of the following options:
▪Half: One split, resulting in two tiles
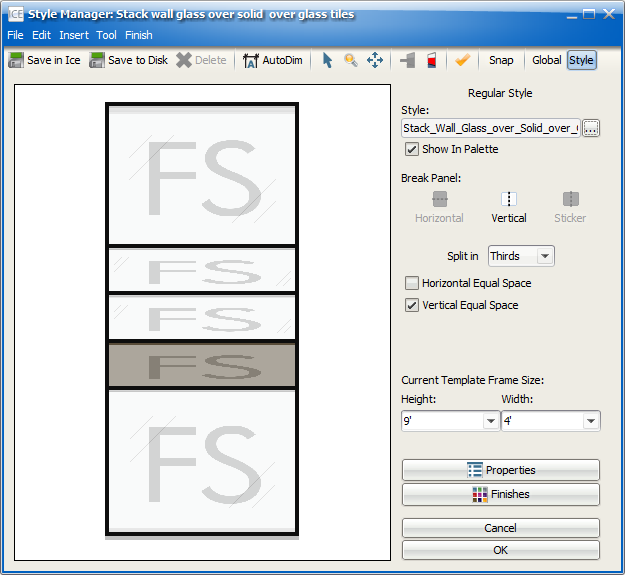
▪Thirds: Two splits, resulting in three tiles
▪Fourth: Three splits, resulting in four tiles
▪Fifths: Four Splits, resulting in five tiles
▪Sixths: Five splits, resulting in six tiles
▪Sevenths: Six splits, resulting in seven tiles
5.In Break Panel, to choose a horizontal or vertical split, select Horizontal or Vertical .
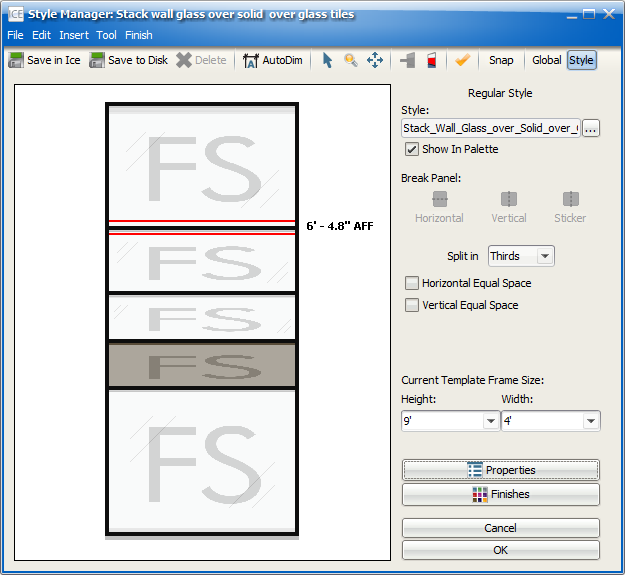
6.If you want your FS tiles to be equally spaced and do not want to move your extrusions, click Yes.
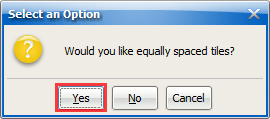
The selected FS splits. If you did a horizontal split, a check mark appears in the Vertical Equal Space box. If you did a vertical break, a check mark appears in the Horizontal Equal Space box. These check marks indicate that you split your FS so that the tiles would be equally spaced. As long as these check boxes remain selected, you will not be able to move your Muntin (horizontal) or Mullion (vertical) extrusions. If you want to move the extrusions and resize the tiles, you must first deselect the check box.
7.If you want to adjust the height of your extrusions, click No.
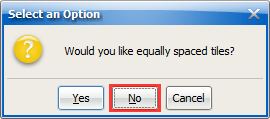
The selected tile splits. If you did a vertical split, the Vertical Equal Space box becomes active, but no check mark appears. If you did a vertical break, the Horizontal Equal Space box becomes active, but no check mark appears. You can move your extrusions, resizing your tiles.

8.If you want to change the extrusion height and Vertical Equal Space or Horizontal Equal Space is deselected, select the extrusion you want to move.
9.Move the extrusion:
oDrag the extrusion to a new location.
oClick Properties, and under Extrusions, use the properties to specify the extrusion location.
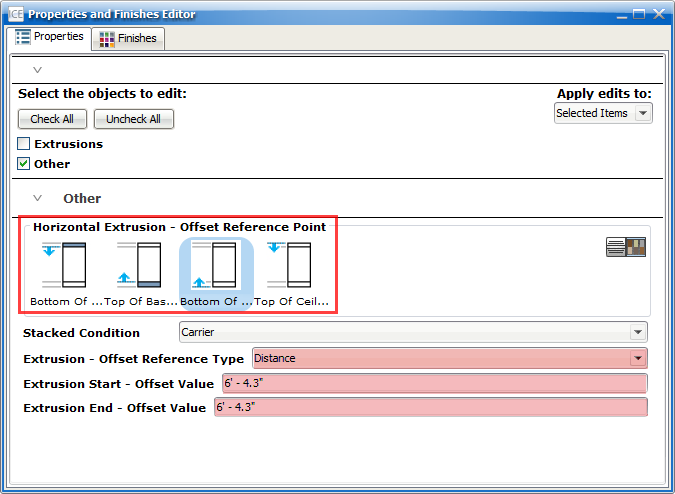
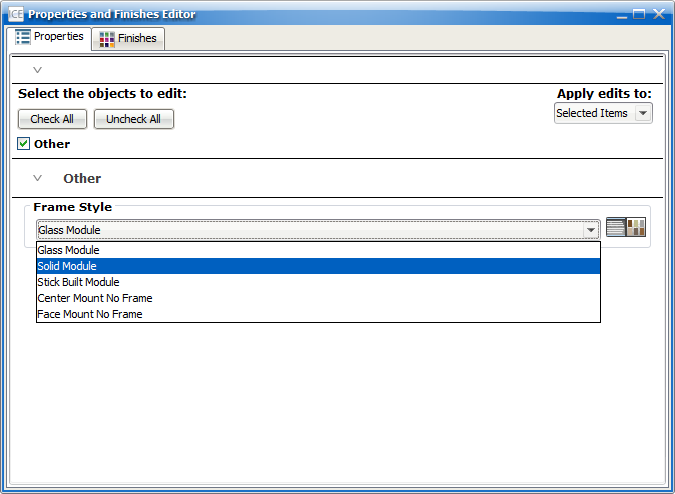
10.If you want to change the style for a frame set, select the FS, and click Properties.

The Properties and Finishes Editor opens.
11.In the Frame Style menu, choose a different style.
12.To return the the main view in the Style Manager, click the Edit Inserts & Tiles button.
In the Style Manager, you can change glass tile or solid tile finishes. You can also move horizontal extrusions between tiles. For more information, see the links below.
Related Links:
Topic last updated on 3/16/2023.