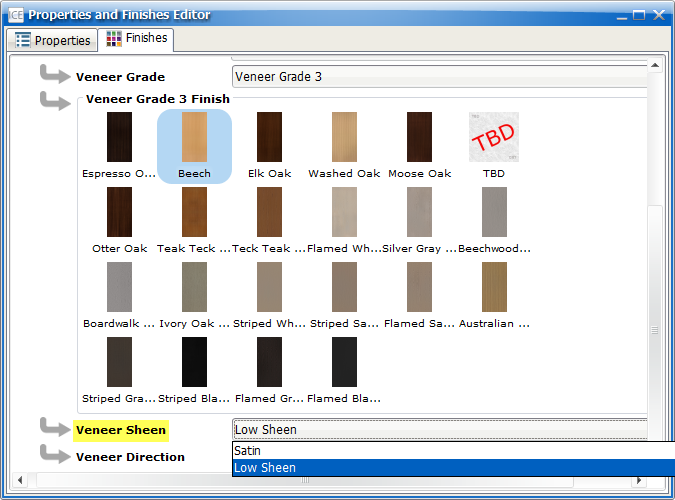
You can use the Veneer Sheen option in the Finishes Editor to specify the sheen for your veneers. The sheen is the amount of shine that the veneer has. Currently there are two Veneer Sheen options in the Finishes Editor:
•Low Sheen
•Satin
Low Sheen is now the standard Veneer Sheen option. However, the standard Veneer Sheen option for old standard veneers was Satin. Some new standard veneers do not have the Satin option available. The Veneer Sheen option only becomes active if both sheen options are available. If only the Low Sheen option is available, you can see Veneer Sheen in the Properties Editor, but the menu remains inactive and grayed out.
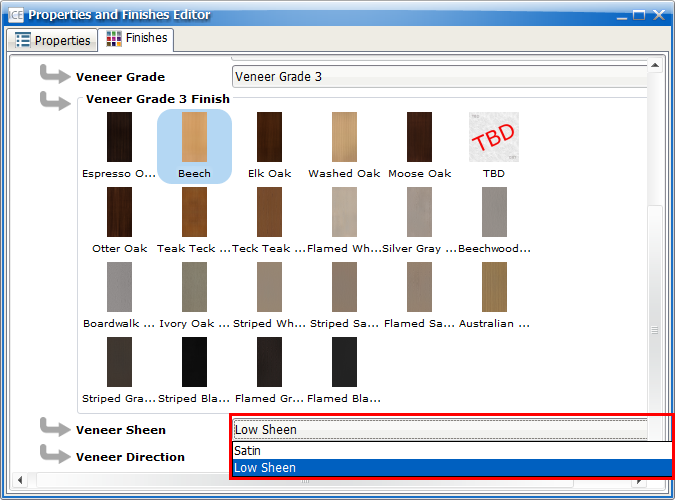
This image shows the Veneer Sheen option with an active menu that displays Low Sheen and Satin options:
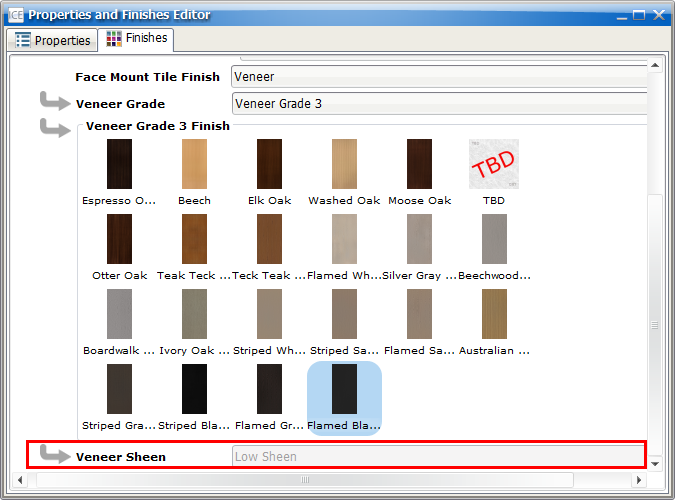
This image shows the Veneer Sheen option with an inactive, grayed out menu that only displays the Low Sheen option:
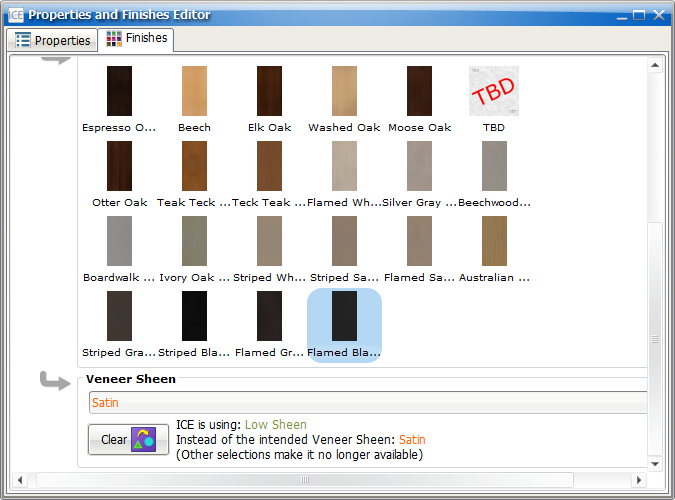
Caution: If you choose the Satin Veneer Sheen option, and then change to a veneer that only has the Low Sheen option, the Properties Editor displays Tension, indicating that Low Sheen is the only valid option for your newly selected veneer.
To Choose a Veneer Sheen Option
1.In ICE 2D plan view, select the veneer items you want to update.
2.On the ICE 2D toolbar, click Finishes.
3.If you want to choose a different veneer finish,
a.Under Veneer Grade, choose the veneer finish grade.
b.Under Veneer Grade # Finish, choose the veneer.
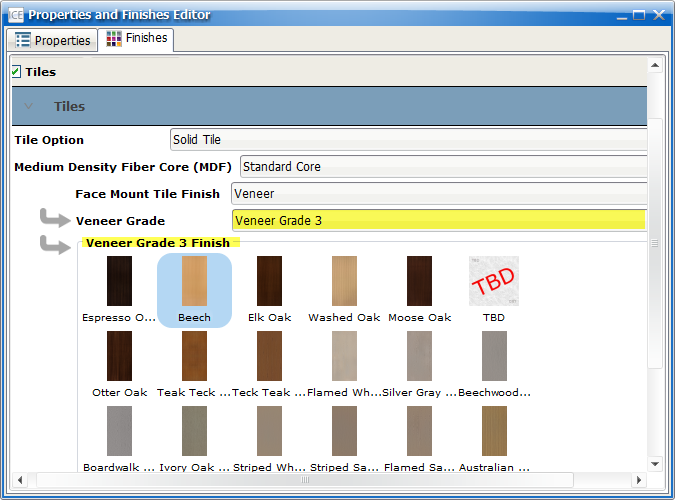
If the veneer that you choose has more than one Veneer Sheen option, the Veneer Sheen menu becomes available. If the veneer only has the Low Sheen option available, the menu remains unavailable and appears grayed out.
4.If the Veneer Sheen menu is available, choose Satin or Low Sheen.
In your ICE file, the selected veneers update.