You can use the ICE Intersection Details tool to create labeled details and corresponding tags for each unique intersection type in the project. These intersection details appear in ICEcad and ICE 2D plan view.
The DIRTT Wall Shop Drawing Template contains a labeled guideline for Intersection Details, as shown here:

To Add Intersection Details
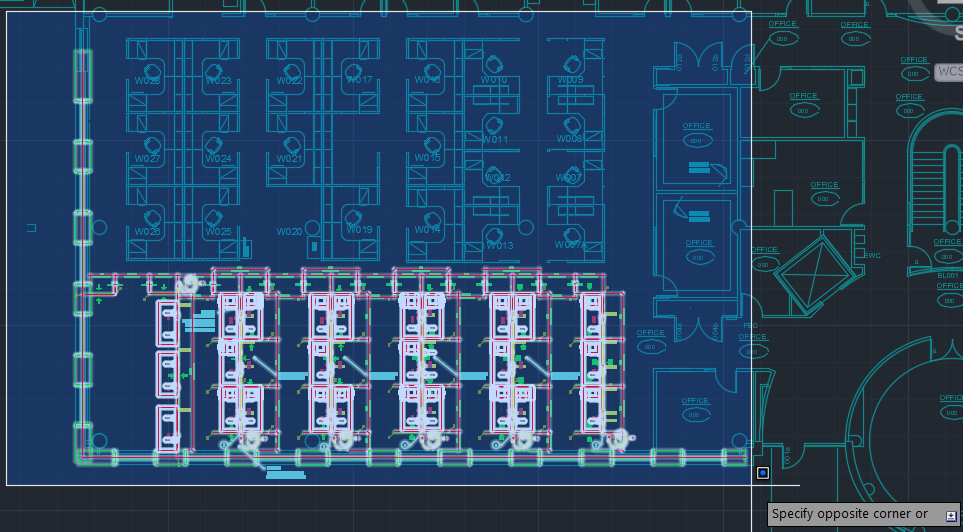
1.In ICEcad, box select your plan.
This image shows a drawing being box selected:
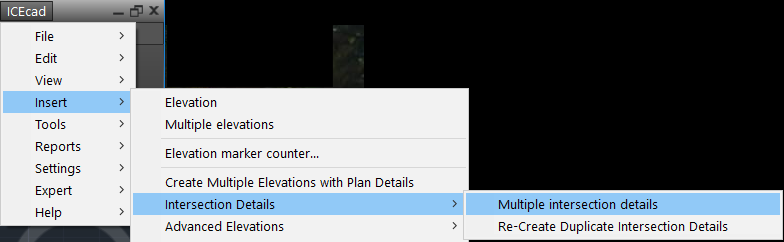
2.In the ICEcad menu, open Insert > Intersection Details, and choose Multiple Intersection Details.
ICEcad prompts you to choose the location for the Intersection Detail. This example image shows the Select Location text attached to the drawing tool:

3.Click the Intersection Details guideline.

ICEcad prompts you to choose the return point for the Intersection Detail. The Return Point is the ending point for the row of details. As you line the drawing tool up with the Intersection Details guideline, a green dotted line appears, connecting the Location to the Return Point.
4.Click a point to the right of the guideline.

In ICEcad and ICE 2D plan view, the Intersection Details appear. In ICEcad, they appear beside the Intersection Details guideline. This example image shows Intersection Details in ICEcad and ICE 2D plan view:

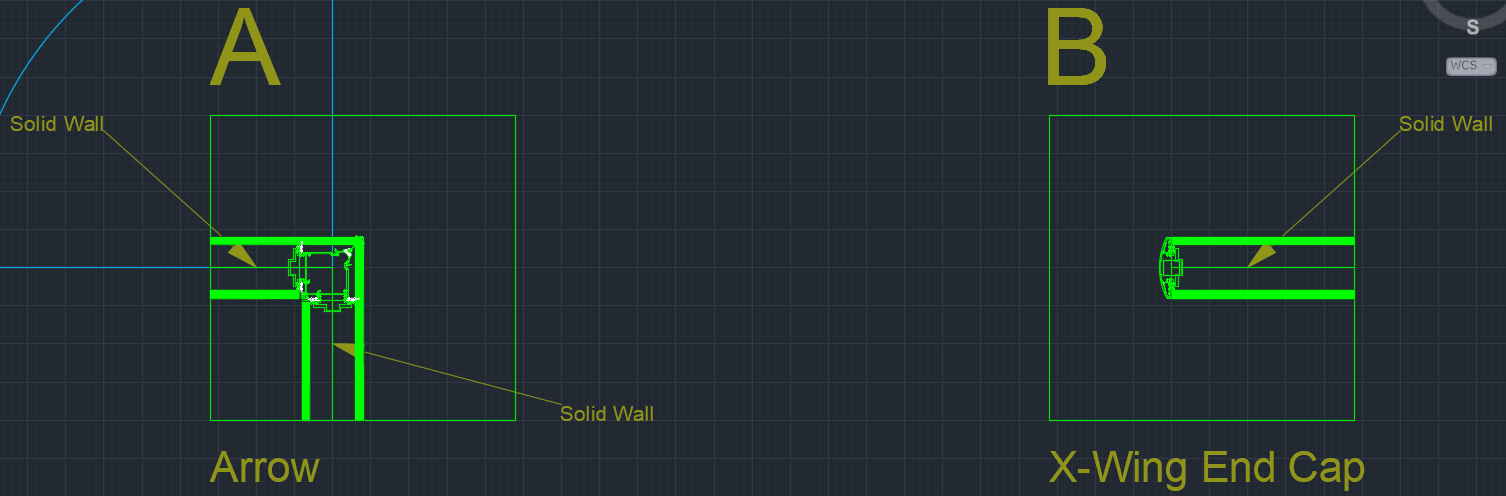
This image provides a close up view of Intersection Details in ICEcad: