The Offset i-Line - Copy function allows you to create a series of evenly spaced, parallel i-Lines. You select one i-Line in your layout as the starting point for these parallel lines. Then, you define the distance that will appear between the i-Lines. When you place copies of the i-Line, they appear parallel to the original and evenly spaced at the distance you entered.
Confirm On
If you have the Confirm function turned on, use these steps to copy an i-Line to using the Offset i-Line function. If you have the Confirm function turned off, follow the Confirm Off steps below.
1.Select the i-Line.
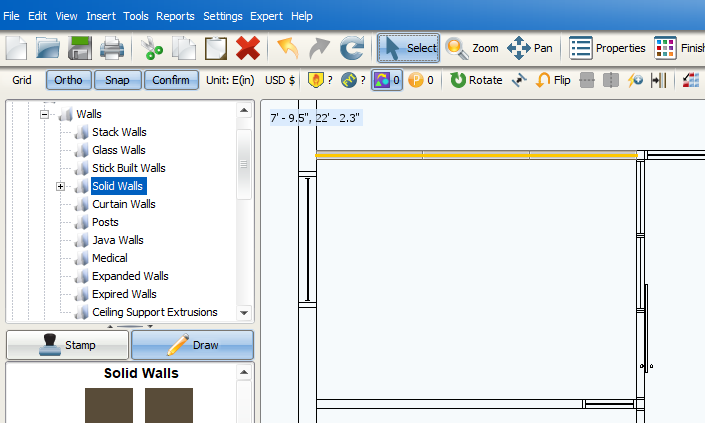
2.On the ICE 2D plan view toolbar, click Offset i-Line.

A prompt appears, asking you to choose the side of the i-Line that you want to move the i-Line towards.
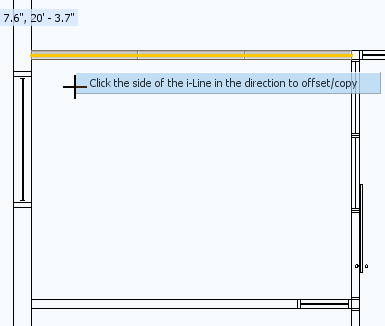
3.In plan view, click on the side of the line where you want to place the copy of the i-Line.
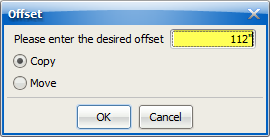
The Offset dialog box appears.
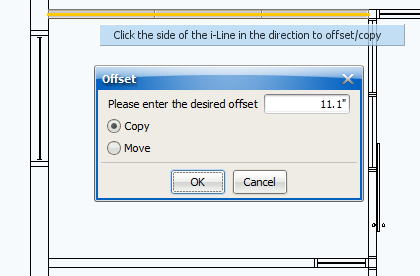
4.If copy is not selected, click Copy.
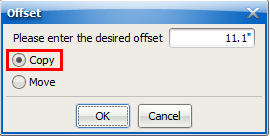
5.In Please enter the desired offset, type the offset (the distance between i-Lines), and click OK.
A second i-Line appears at the offset distance that you entered. It is parallel to the first i-Line.
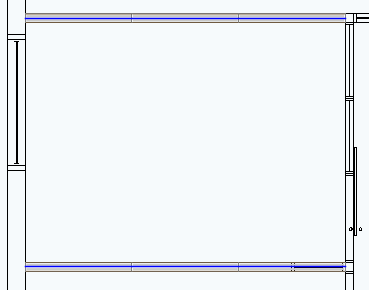
6.If you want to copy additional i-Lines, repeat steps 1-5.
If you have the Confirm function turned off, use these steps to copy an i-Line to using the Offset i-Line function.
1.Select the i-Line.
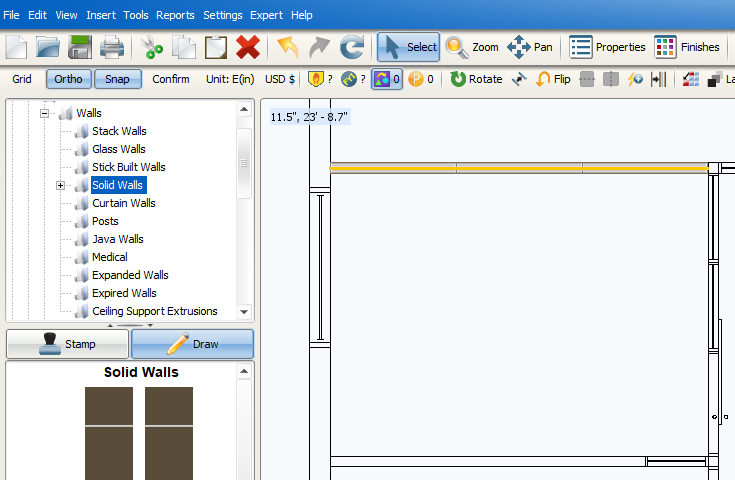
2.On the ICE 2D plan view toolbar, right-click Offset i-Line.

The Offset dialog box appears.
3.If copy is not selected, click Copy.

4.In Please enter the desired offset, type the offset (the distance between i-Lines), and click OK.

A prompt appears, asking you to choose the side of the i-Line that you want to move the i-Line towards.

5.In plan view, click on the side of the line where you want to place the copy of the i-Line.
A second i-Line appears at the offset distance that you entered. It is parallel to the first i-Line.

6.If you want to copy additional i-Lines to the same offset, repeat steps 1-5.
Related Links: