To make changes to your Custom Library, go to Edit > Custom Libraries to open the Custom Library Editor or use the Quick Add option in the Finishes editor of a given product.
On this page:
•Adding a custom item
•Copying a custom item
•Editing a custom item
•Quick Add a custom item
Adding a custom item
1.Open the Custom Library Editor by navigating to Edit > Edit Custom Libraries.
2.In the top left, choose what catalog your new custom item will apply to.
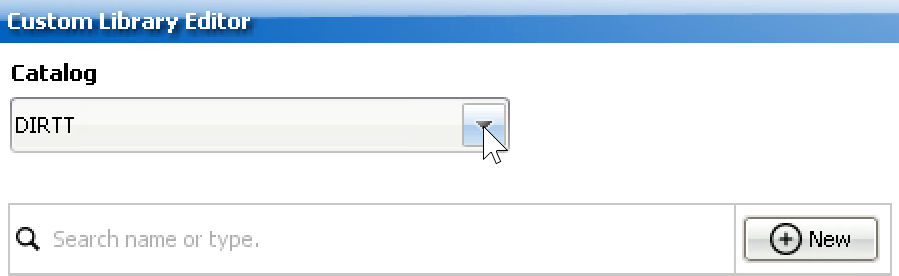
3.Click New.
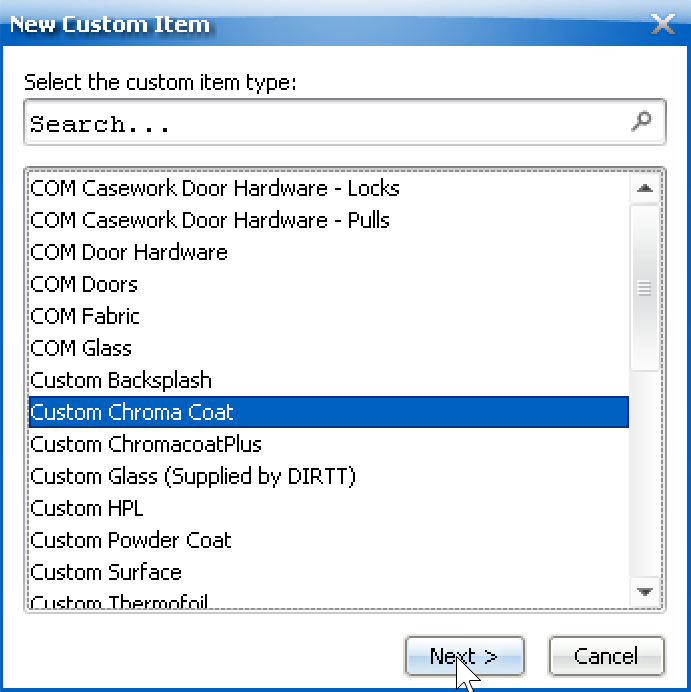
4.Search for and select the custom item type you want. Then click Next.
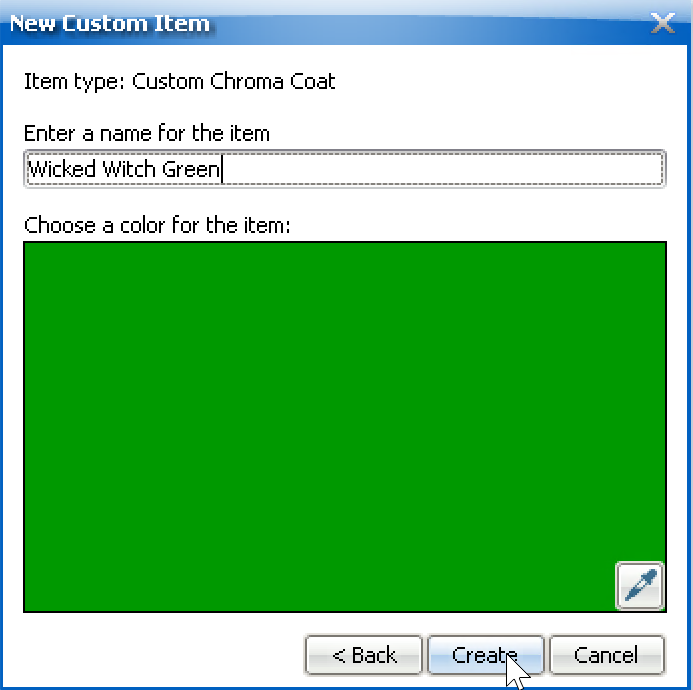
5.Enter a name for the item.
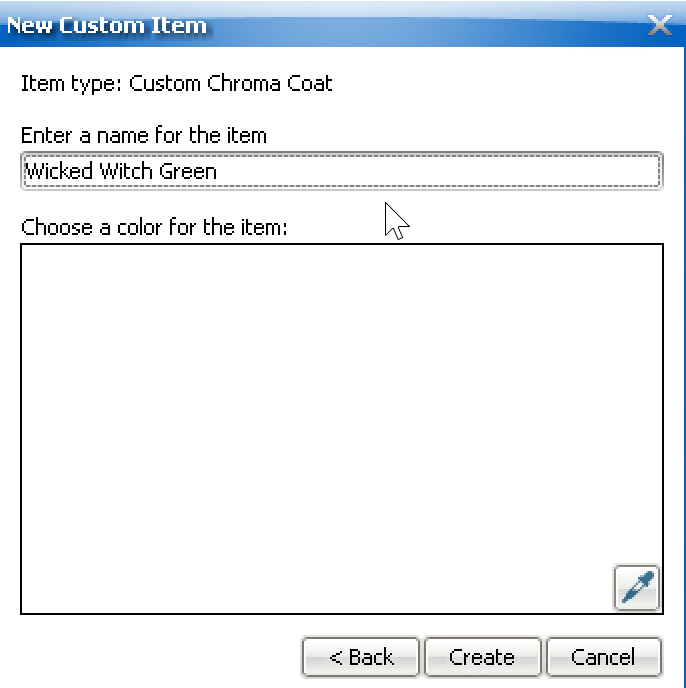
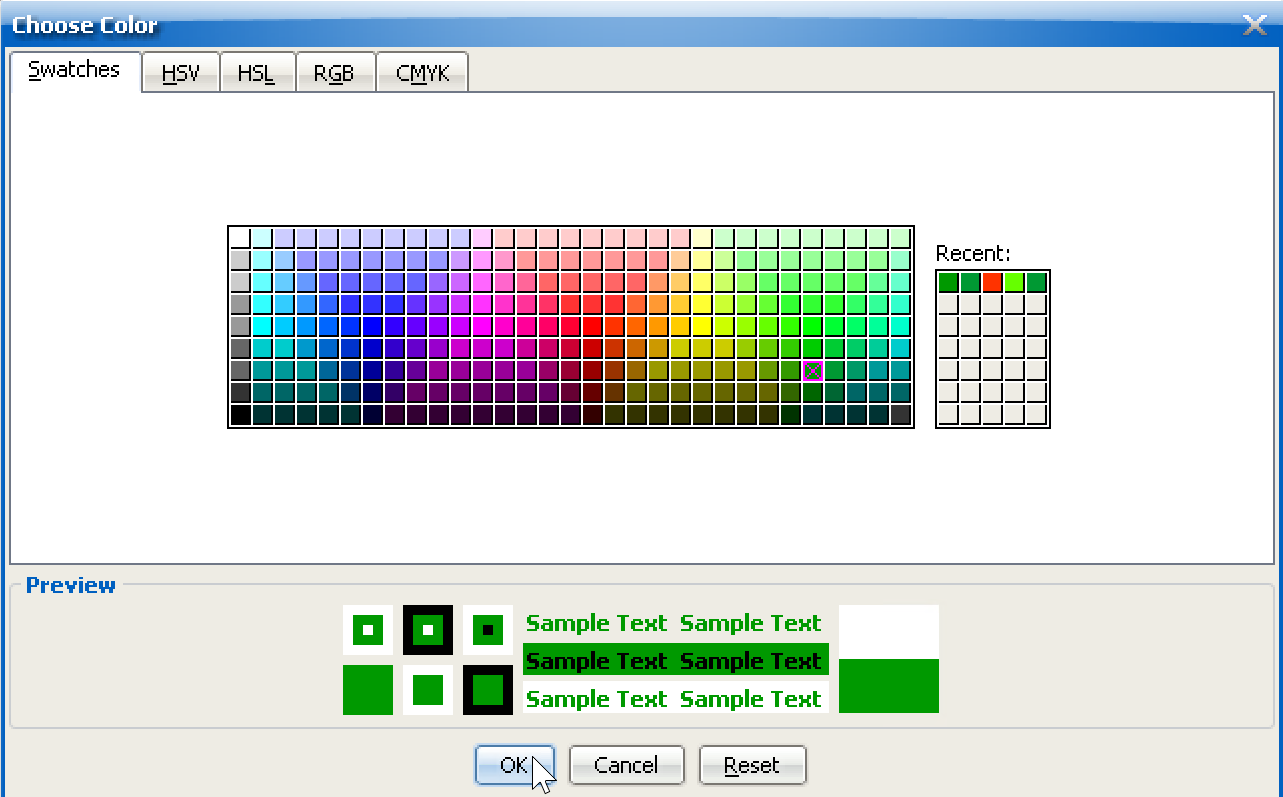
6.Choose a color for the item: either click inside the white box to bring up the swatches panel or use the eyedropper icon in the bottom right to sample something from your screen.
7.Click Ok.
8.Click Create.
9.Your new custom item is now shown in the Custom Library list.
Tip: The number over the color square indicates how many times the custom item is used in the file.
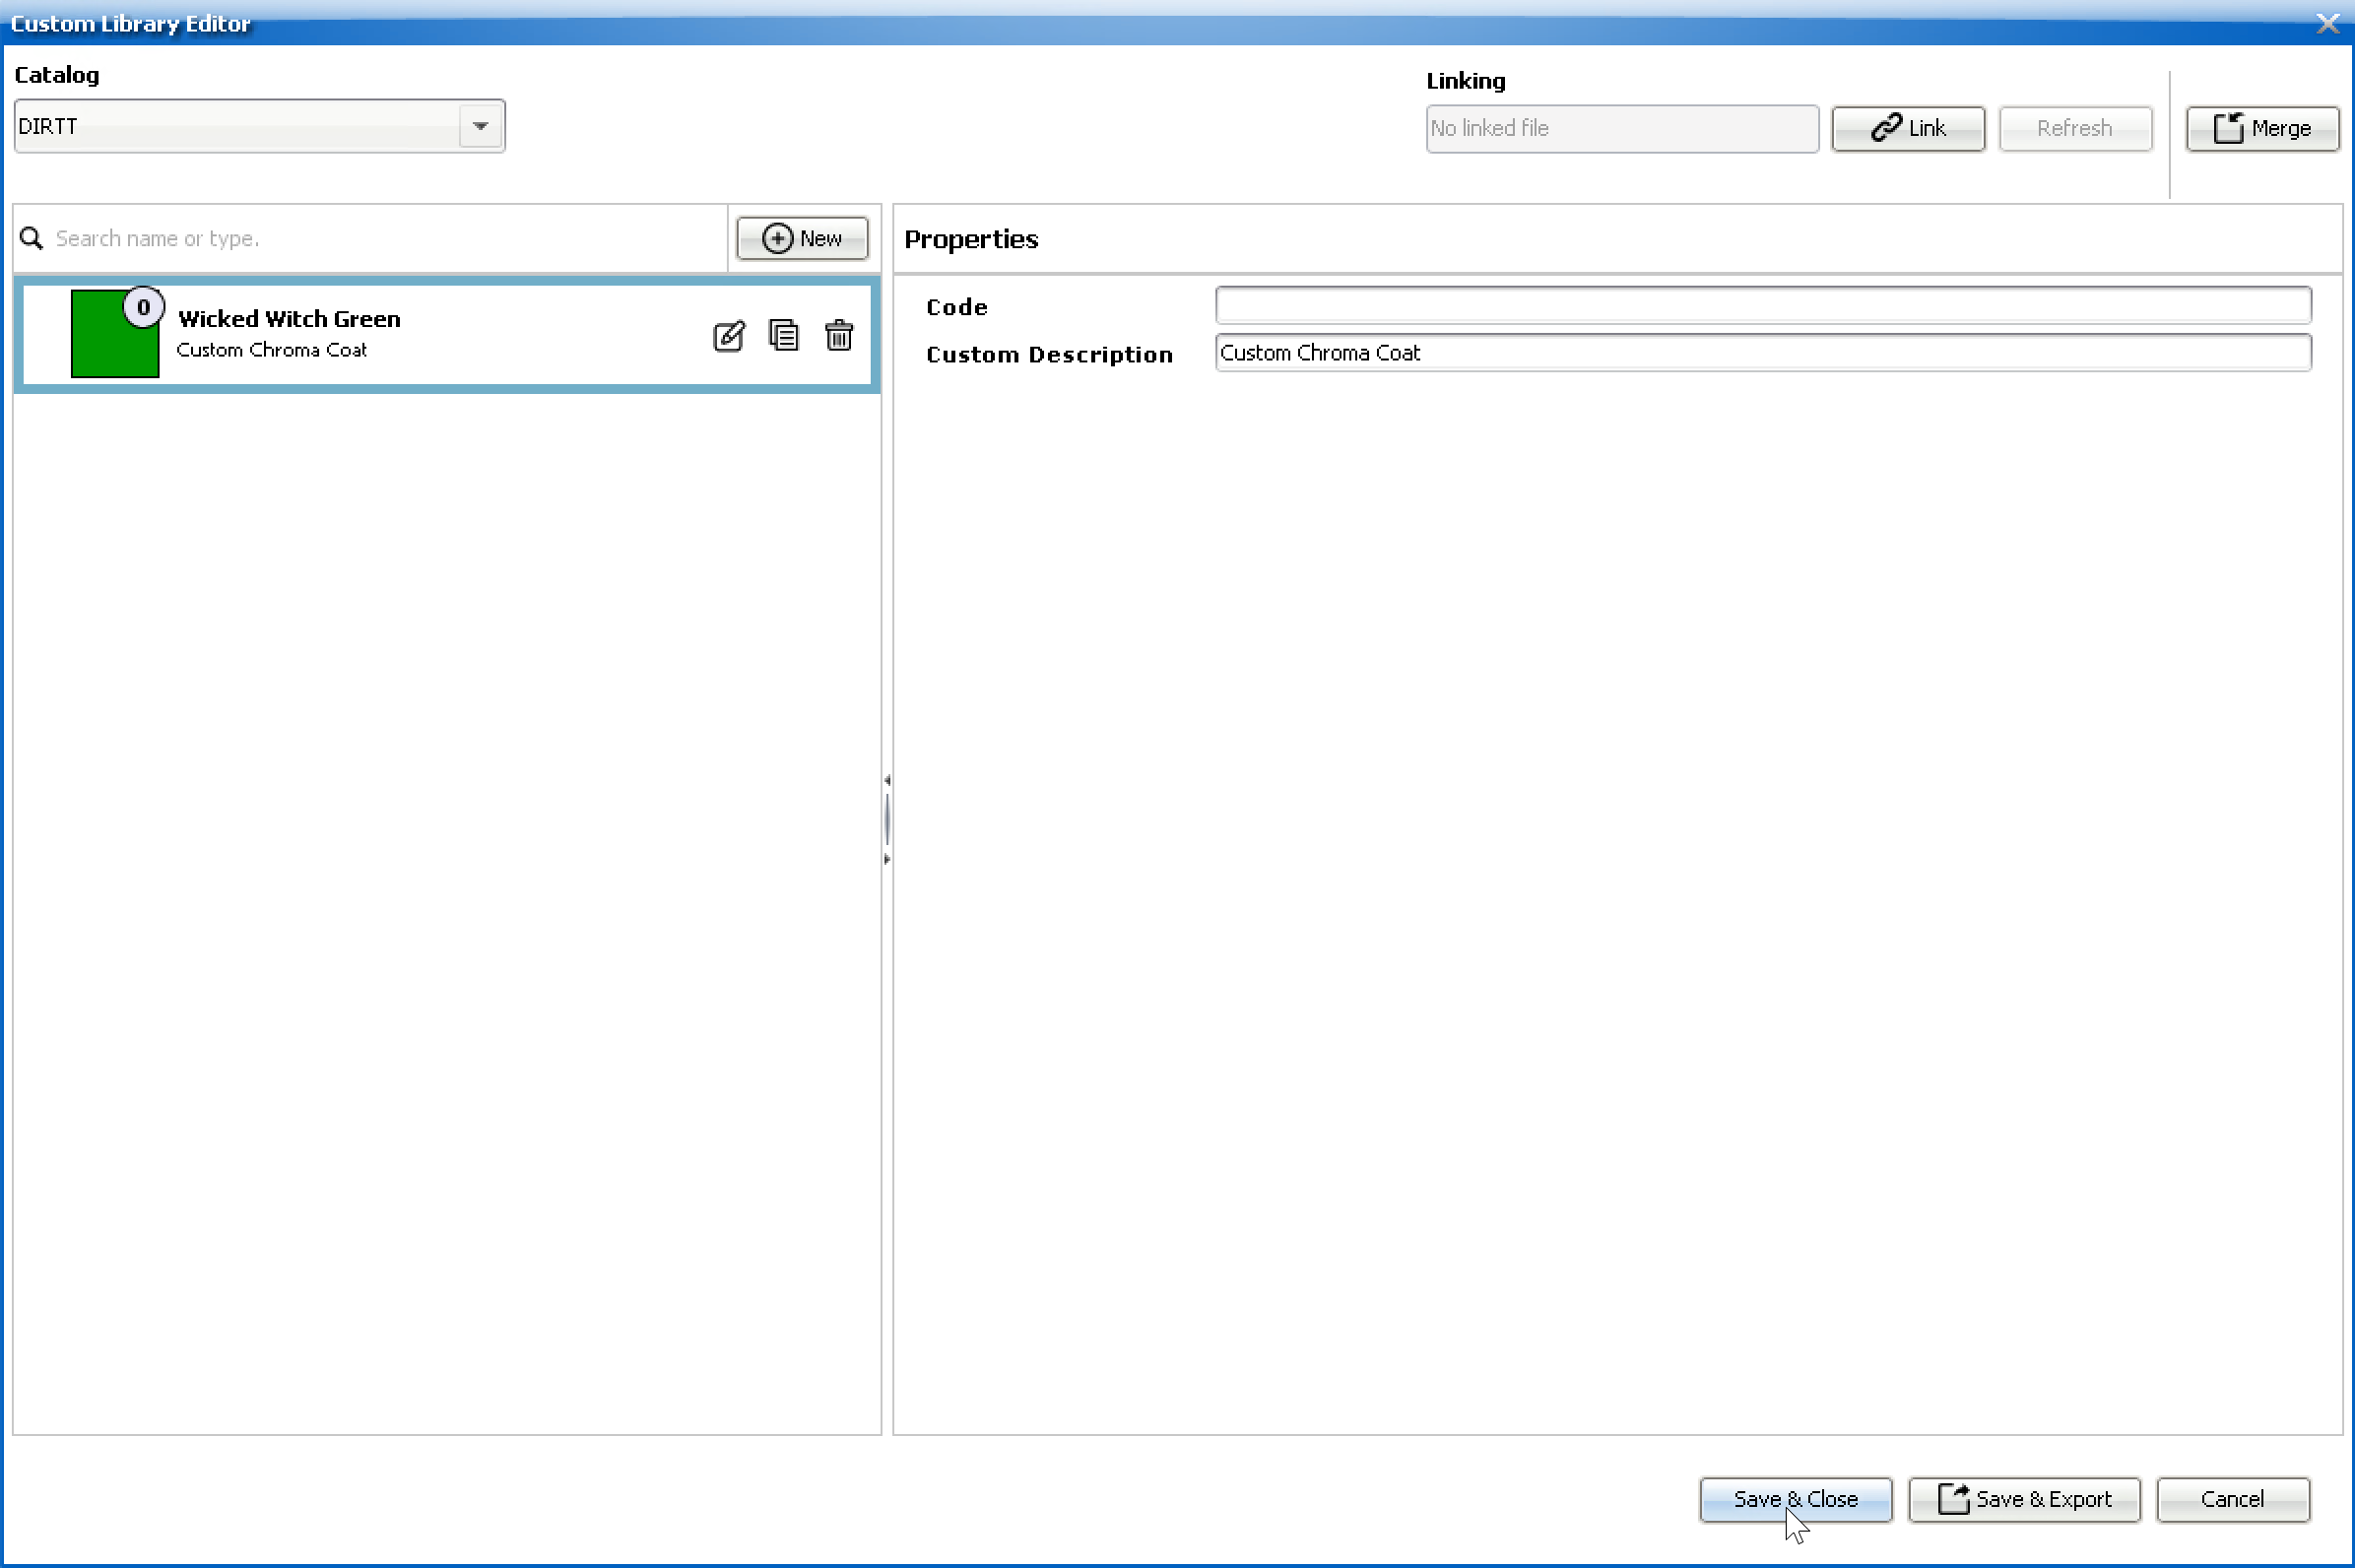
10.When you are done making changes to the Custom Library, click Save & Close.
Note: Any changes you make in the Custom Library Editor will not update in ICE until you click Save & Close. If you try to close without saving, you will see a dialog prompting you to either save or discard the changes.
Copying a custom item
1.Open the Custom Library Editor by navigating to Edit > Edit Custom Libraries.
2.Select the custom item you want to duplicate.
3.Click the copy icon on that item.
![]()
4.The item is now copied below the original with a number after the name.
5.You can now edit the copied item as desired.
Editing a custom item
1.Open the Custom Library Editor by navigating to Edit > Edit Custom Libraries.
2.Select the custom item you want to modify.
3.Click the edit icon.
![]()
4.Make your desired edits to the relevant fields shown.
5.When finished, click OK.
6.When you are done making changes to the Custom Library, click Save & Close.
Note: Any changes you make in the Custom Library Editor will not update in ICE until you click Save & Close. If you try to close without saving, you will see a dialog prompting you to either save or discard the changes.
Quick Add option
Another easy way to add and use custom items in a file while you work is to use the Quick Add option in the Finishes Editor.
1.Open the Finishes editor on an elevation you want to modify.
2.Select what type of finish you want.
3.Under each drop-down, choose the desired specifications and select COM/ Custom.
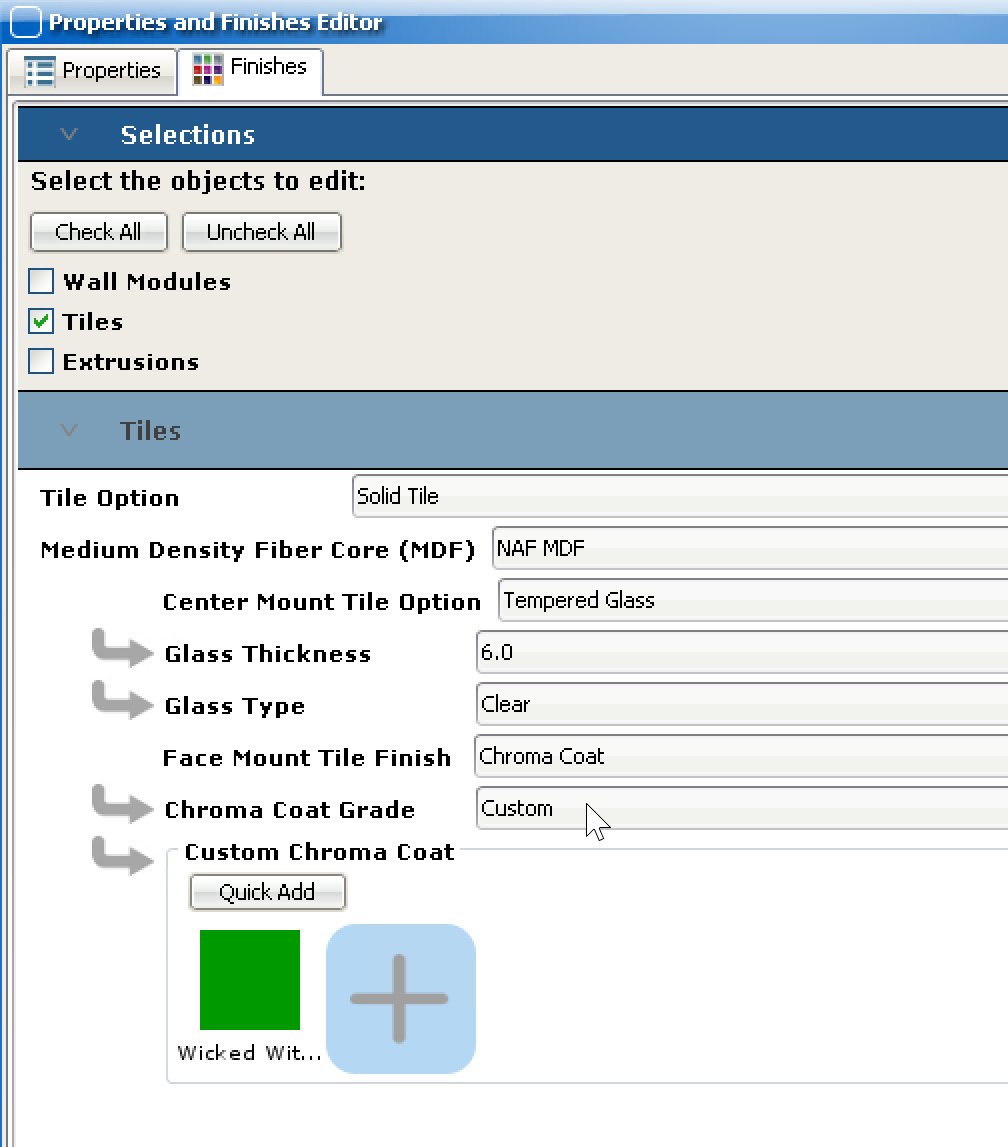
4.If you have an available custom item of that type already in your Custom Library, it will display here.
Tip: Double-clicking a custom item will open the Custom Library Editor.
5.If you want to add a new one, click Quick Add.
6.Fill out the required fields.
7.Clicking Add & Close will close the Quick Add window and take you back to the Finishes Editor where the newly created item is now selected. Clicking Add & Edit will open the Custom Library Editor.