What Are We Talking About?
Control your ceiling grids when using multiple floor areas and align lights and accessories to the grid.
What's in it for you?
•Control your ceiling grids when using multiple floor areas •Alignment trick for Lights and Accessories •Better output for renderings and fly-throughs
Aligning Multiple Grids:
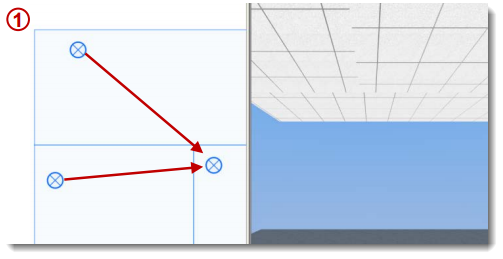
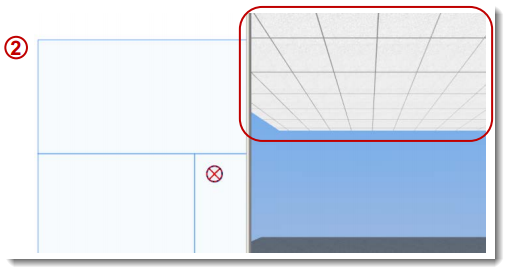
1.Pick one Ceiling Origin icon to be the master for grid alignment. 2.Move all the other Ceiling Origins directly on top of the 'master' Ceiling Origin.
Aligning Lights/Accessories to the grid:
Method A: Placing the grid first
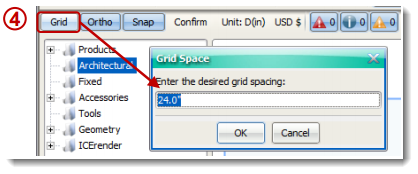
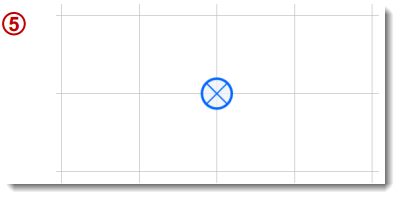
3.If using multiple floor areas, make sure that grids are aligned (see above). 4.Right-click on the planning Grid button in the 2D window and set the spacing to 2'-0". 5.With the 2D planning grid turned ON, move the Floor Origin(s) so the center of the icon aligns with an intersection of the 2D planning grid. 6.Use the planning grid to place your Lights/Accessories.
Method B: Placing the lights first
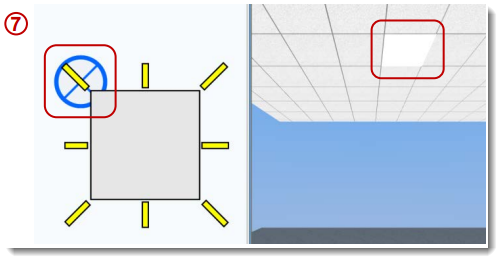
7.Move the Ceiling Origin(s) so the icon aligns with a 2x2 Ceiling Light Accessory (found in the Accessories/Lights folder) as shown in image 7. 8.Space all other lights accordingly, based on the location of the light placed in Step 1. |
|