To draw an Inspire wall in your design, follow these steps:
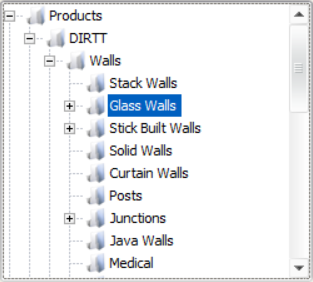
1.In the product palette, navigate to the Glass Walls or Stick Built Walls folders.
Note: The folder you select will depend on your project needs; Glass walls will ship assembled, while stick built walls ship disassembled.
2.Select the Inspire sub-folder. This will limit the amount of tension notifications that appear.
Note: Inspire walls can also be drawn using any of the solutions in the Glass Walls or Stick Built parent folders, but properties and styles will need to be changed to resolve notifications.
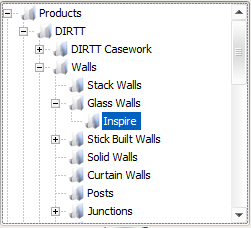
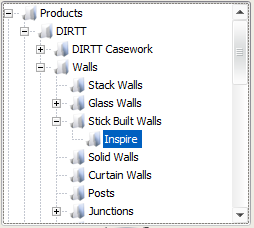
3.Select a solution from the list of options.

Change an Existing Wall to an Inspire Wall
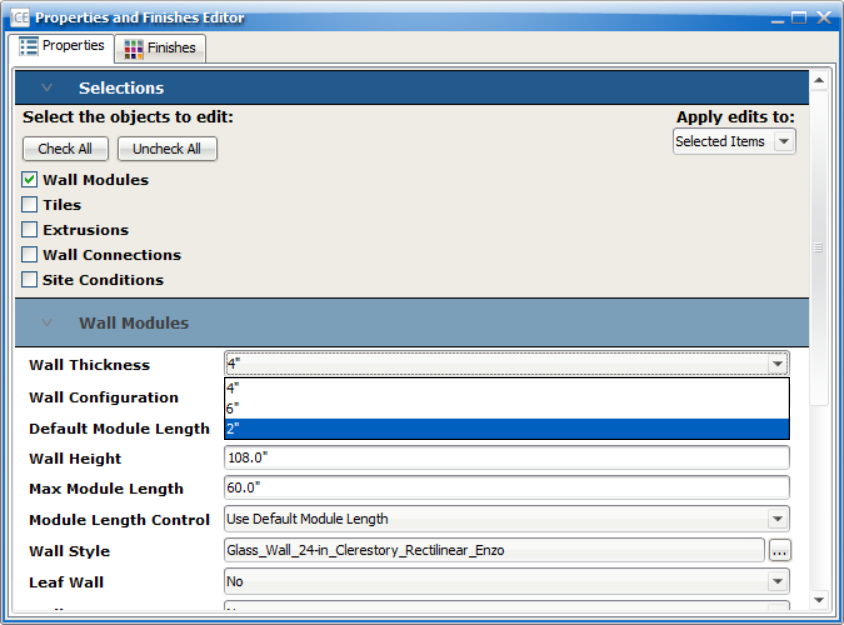
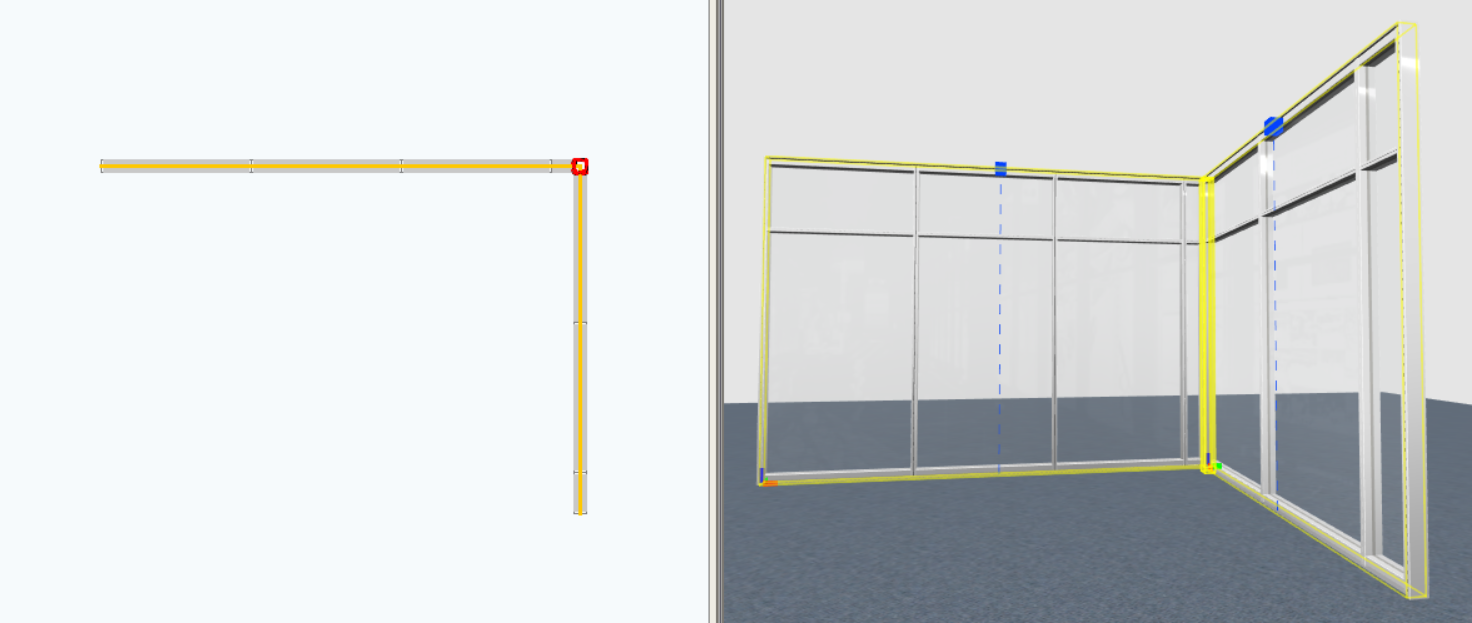
1.Select the existing wall in ICE 2D plan view or ICE 3D.
2.Right click on the wall and select Properties from the list of options.
3.In the Properties Editor, change the Wall Thickness drop down to 2".