1.Select the runs of walls for which you want to create multiple continuous elevations.
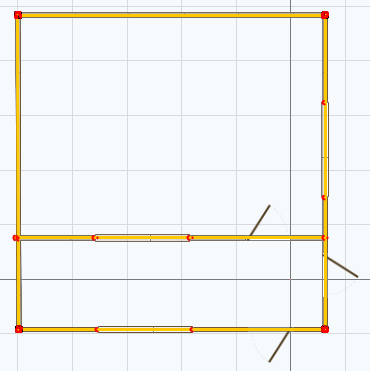
Tip: You can select walls that contain a single i-Lines with runs of walls that combine multiple i-Lines. When you insert continuous elevations, ICE also adds standard elevations for any single i-Line walls included in the selection area.
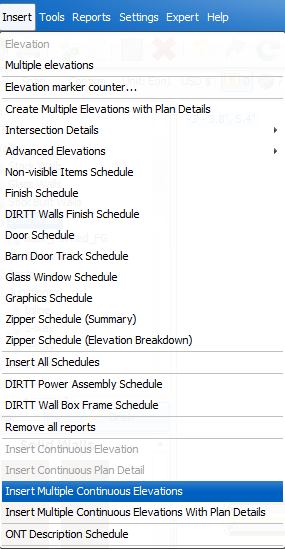
2.In the Insert menu, choose Insert Multiple Continuous Elevations.
This example image shows Insert Multiple Continuous Elevations With Plan Details selected:
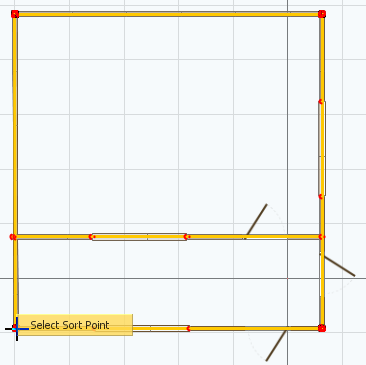
ICE prompts you to choose the sort point. The sort point is a point in the drawing that is the start point for the elevation markers.
3.In your drawing, click the sort point.
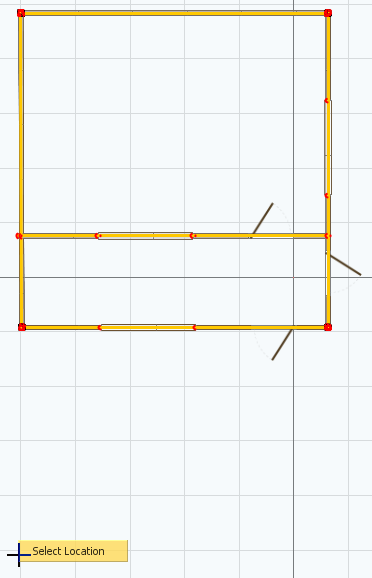
ICE prompts you to choose the location for the continuous elevations and/or plan details.
4.In your ICE file, click where you want to locate the continuous elevations and/or plan details.
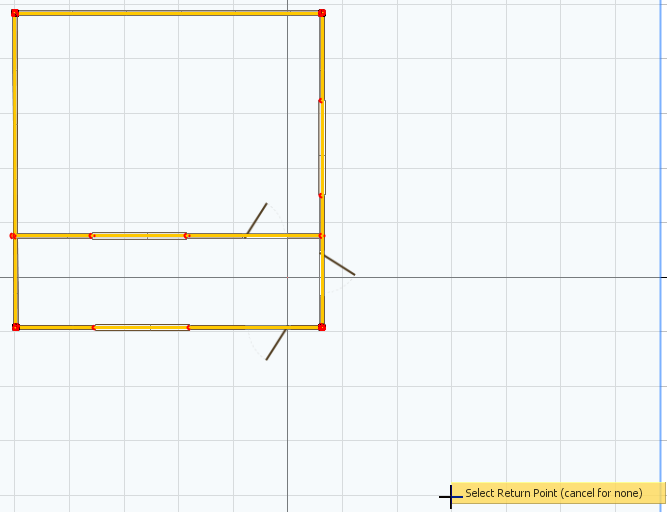
ICE prompts you to choose the return point. The return point is the end point for a horizontal elevation row. If you do not choose a return point, your elevations are spaced horizontally.
5.In your drawing, select a return point:
oIf you want to choose a return point in your drawing, click to choose the return point.
oIf you want place your elevations horizontally and not choose a return point, press ESC.
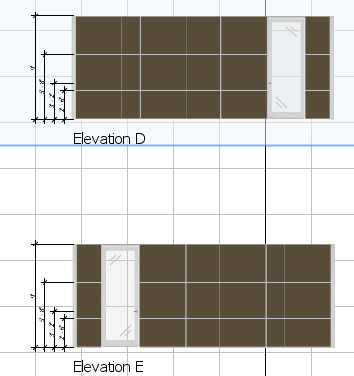
The multiple continuous elevations appear. If your selection area included single i-Line walls, ICE also creates elevations for these walls.
This example shows elevation markers in the layout and vertically spaced elevations. The vertically spaced elevations show that we selected a return point.
Related Links: