You will need to map the IFC files for each version of Revit (2017, 2018, 2019, 2020, etc.) If you install a new version or get a new computer, you will need to map the IFC files again. This only needs to be done once for each version of Revit. To set up IFC Mapping:
1.Click here to download the ICE IFC Class Mapping.txt file.
2.Save the IFC Mapping.txt file somewhere permanent on your computer drive. This file is applicable for every version of Revit.
3.Open Revit.
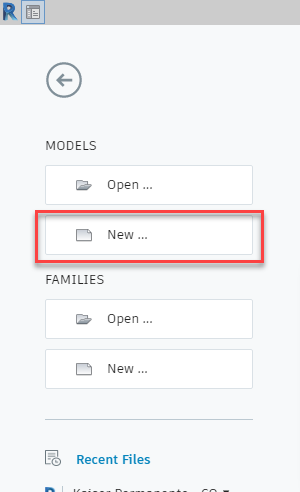
4.Click New.
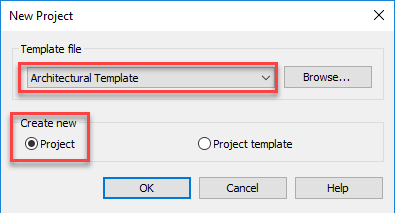
5.Select Architectural Template from the Template File dropdown and click the Project button. Note: You must have a file open in Revit to load to the class mapping file. This can be a blank file like you just created, or an existing Revit file.
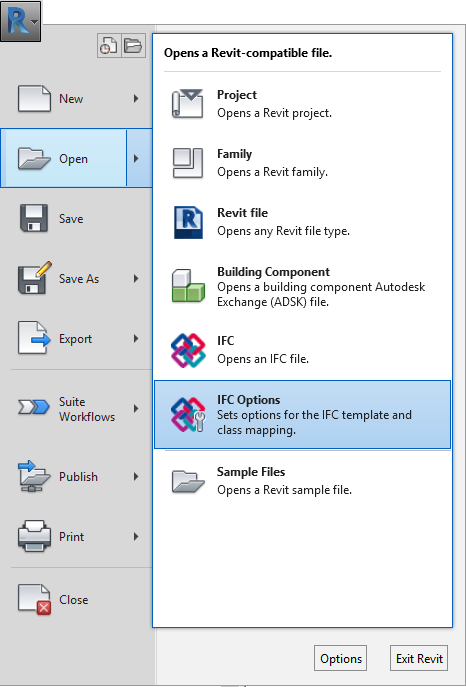
6.Once the project is open, click the File tab.

7.Click Open.
8.Click IFC Options.
9.In Import IFC Options, select the Load button.
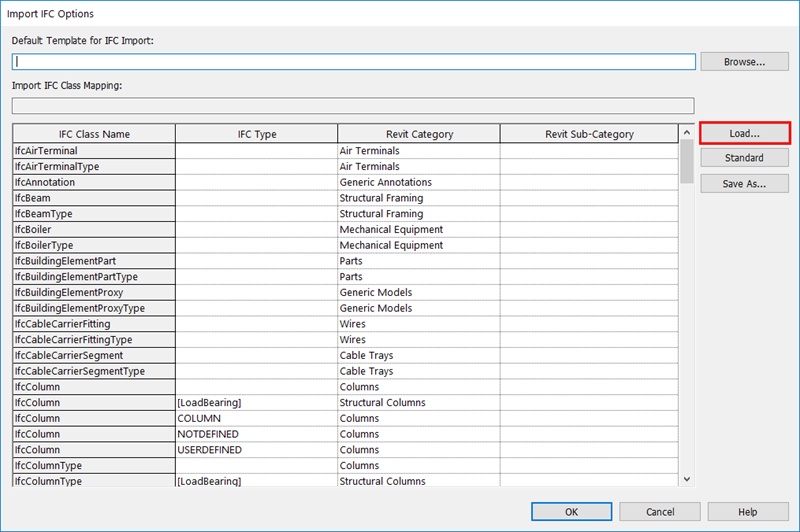
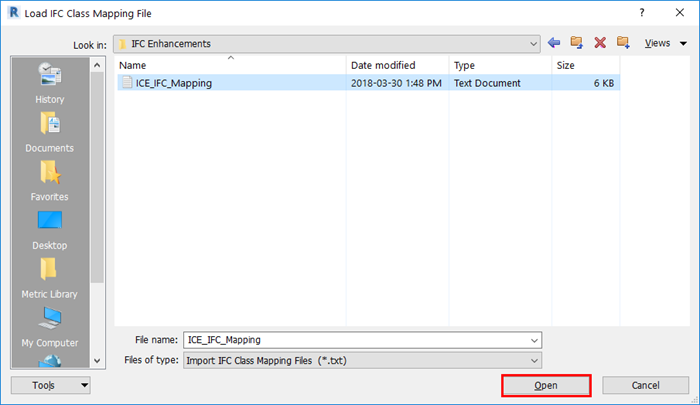
10.In the Load IFC Class Mapping File dialog, navigate to the ICE_IFC_Mapping.txt file. Select Open.
11. In the chart found in the Import IFC Options dialog, the information from the ICE_IFC_Mapping text file fills the IFC Type and Revit Category.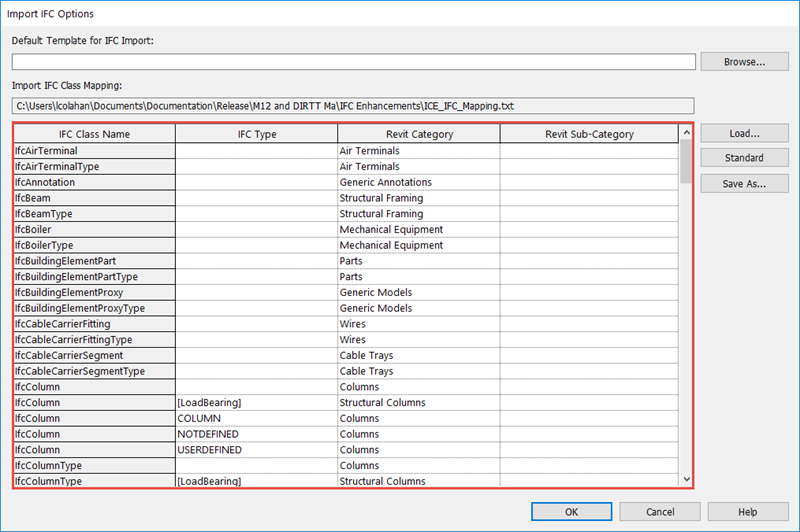
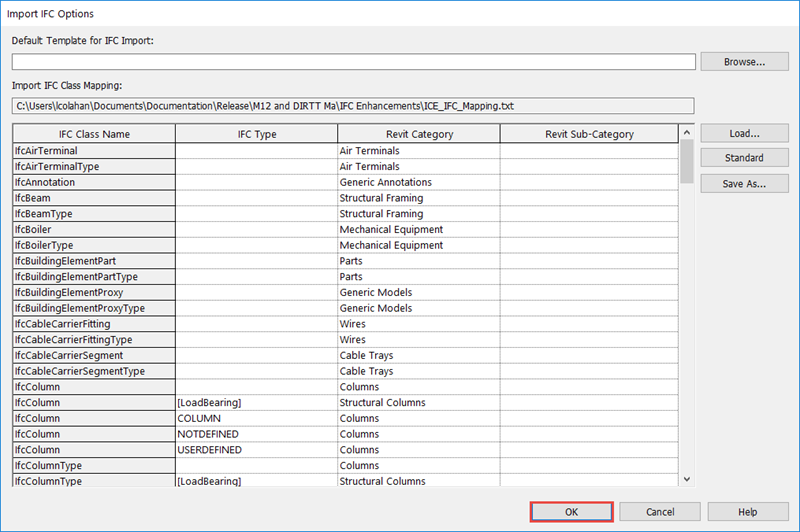
12. In Import IFC Options, click OK.
Note: You do not have to save this Revit file, but you will need to complete the IFC Mapping for each Revit Version you work in (2018, 2019, 2020, etc.).
You’ve successfully completed the IFC Mapping process. Now, when you open your 3D IFC files from ICE in Revit, geometry for the ICE accessories and DIRTT components appear in the correct Revit categories.
Related Links