IFC is the universal language for Building Information Modelling (BIM) software, like Revit. IFC files translate information between ICE and Revit, but they are not Revit files yet. This portion of the process will help you convert your IFC files to Revit projects.
1.Ensure all Revit projects are closed before you begin.
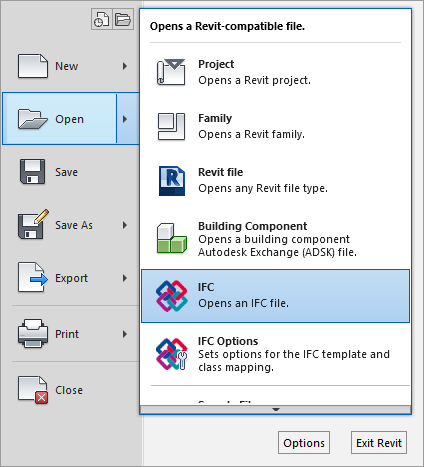
2.In Revit, click the File tab.

3.Click Open, then select IFC.
4.Navigate to the location of the IFC file you created from ICE and select the file.
5.Check on the AutoJoin Elements and Correct lines that are slightly off axis checkboxes in the Open IFC File Window.
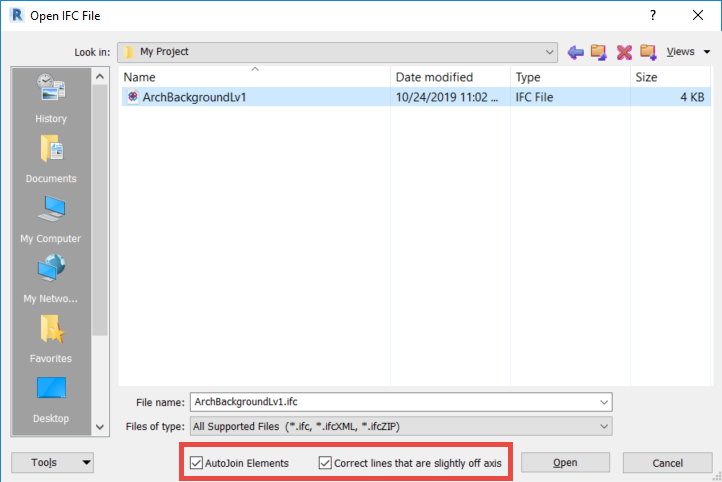
6.Click Open.
7.If warnings appear, click OK. Note: The DXF/DWG lines will not appear in the IFC model.
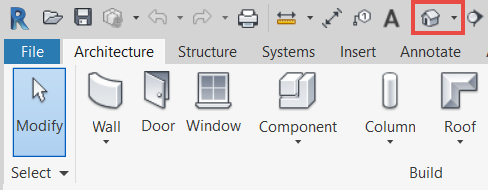
8.Click the house icon to view the IFC model in 3D once it has been imported. Review the DIRTT model to ensure all elements transferred properly.
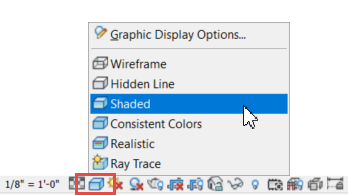
9.Click the Visual Style icon at the bottom of the 3D window and select Shaded from the popup menu. This will make it easier to see if the elements transferred properly.
If the elements did not transfer properly, go back and review your ICE file. Look for any misplaced objects and double-check the correct layers are visible. If tiles appear floating in the 3D view in Revit, please contact info@ice-edge.com.
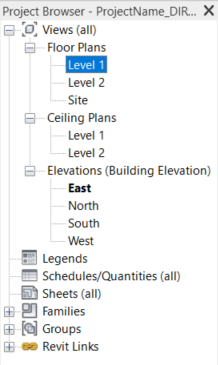
10. Return to the Floor Plan in the Project Browser. You’ll now be translating the Fixed Walls into Grid Lines for a reference point.
11. Click the Architecture tab.

12. Click Grid.

13. Select the Pick Line tool from the context ribbon that appears.

14. Select the Fixed Wall for Grid Line 1.
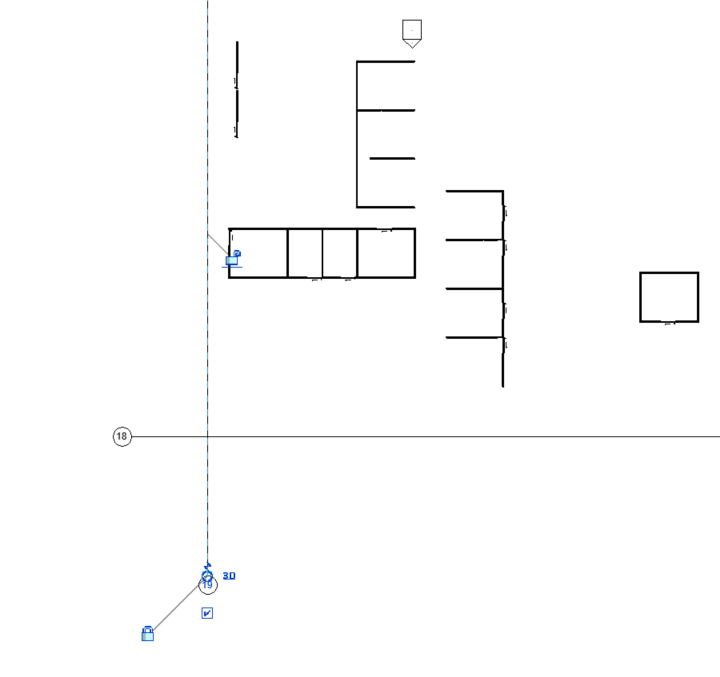
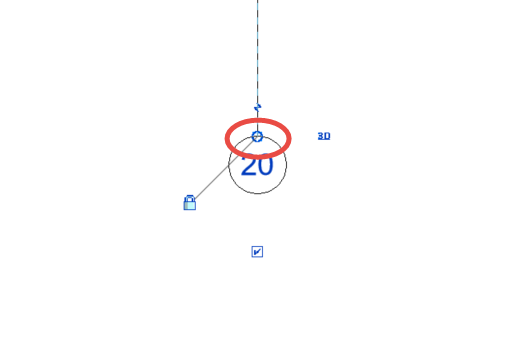
15. Select and drag the Bubble of the Grid Line so the end of the Fixed Wall extends out past the end of the Grid Line.
16. Repeat steps 13-15 for the other Fixed Wall.
17. Press Esc on your keyboard to exit the Modify command.
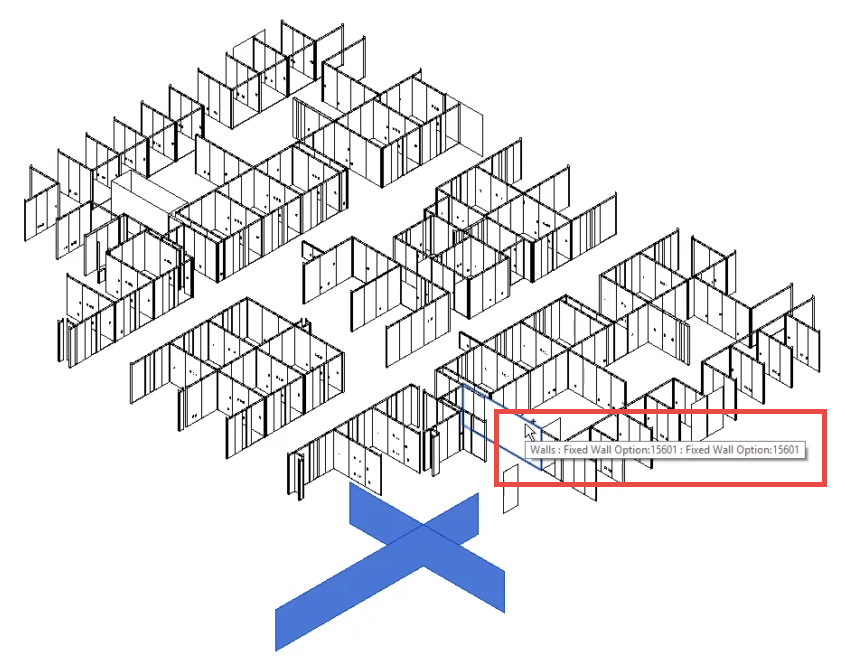
18. In the 3D View, hover over the Fixed Walls in your file. A small tooltip dialog will confirm what type of wall it is.
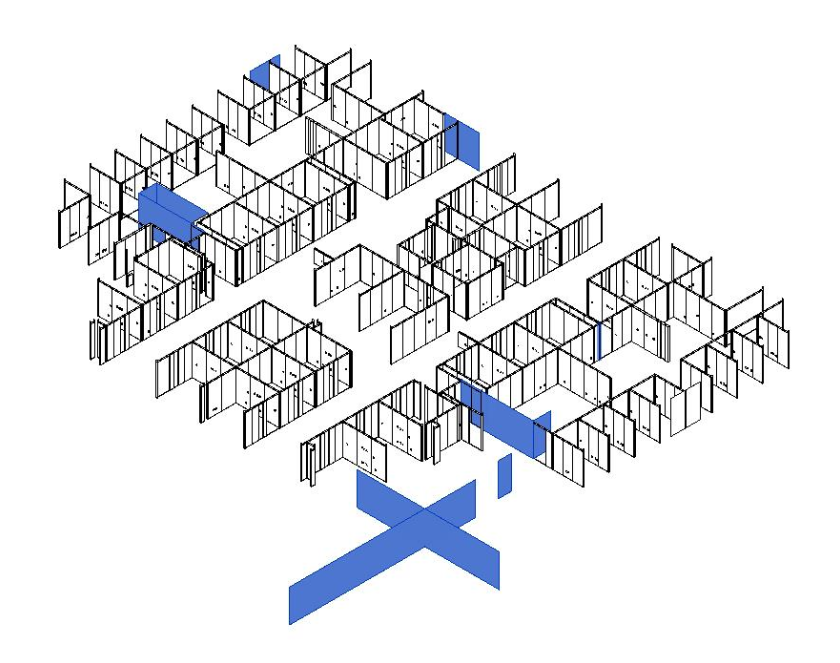
19. Hold Ctrl on your keyboard to select multiple Fixed Walls as you find them.
20. Select all the Fixed Walls in your file.
21. Delete the Fixed Walls once they have been selected. You will not need them now that you have created reference points.
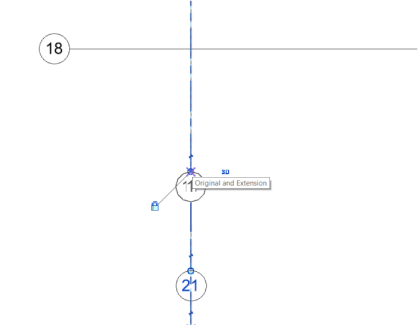
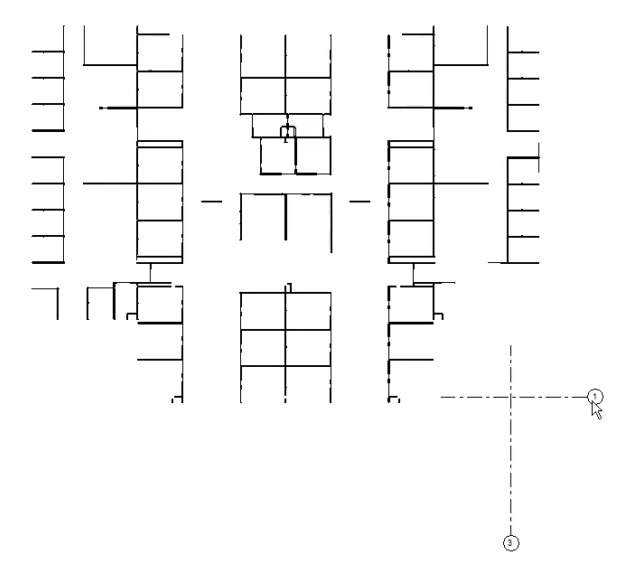
22. Once complete, you will have two Grid Lines that will act as reference points.
23. Double-click the letter or number inside the Bubble to change the Gridline name. Refer back to your Architectural model for the proper location and naming for the gridlines.
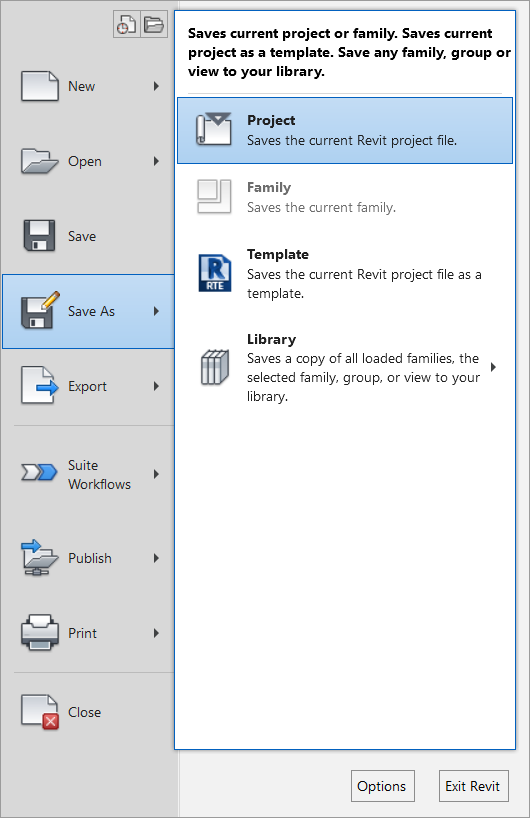
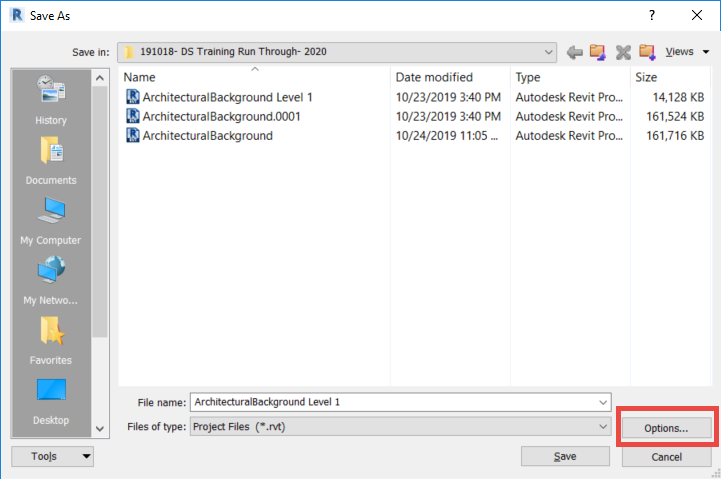
24. Click the File tab.
25. Click Save As.
26. Click Project to save the IFC file as a Revit project.
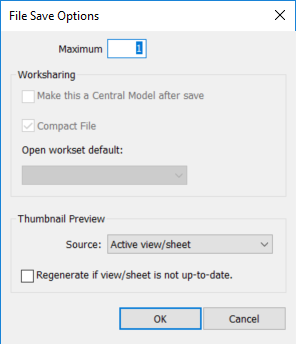
27. Click Options in the Save As window and set the Maximum backups to 1 to limit the number of backups on your computer.
28. Repeat steps 1-27 for each IFC file you exported from ICE.
29. Continue to Inserting Revit Project Files if file coordination is needed.
Related Links