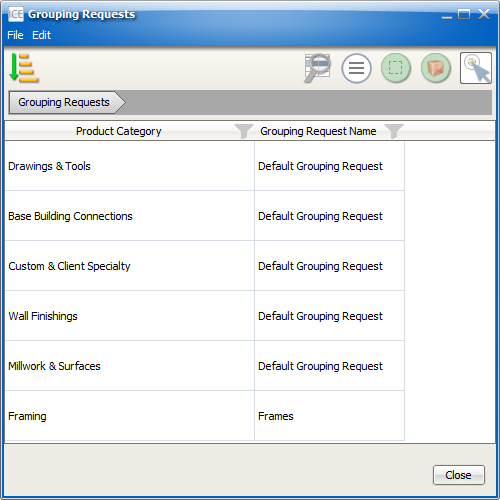
1.In the View menu, choose Grouping Requests.
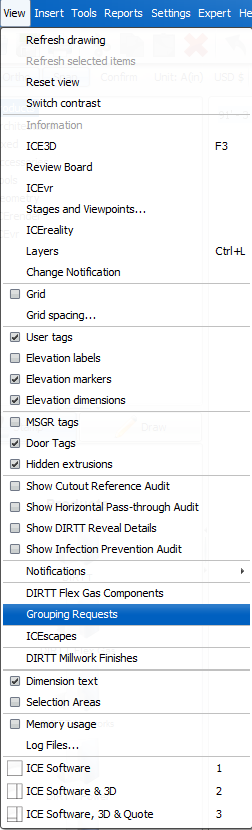
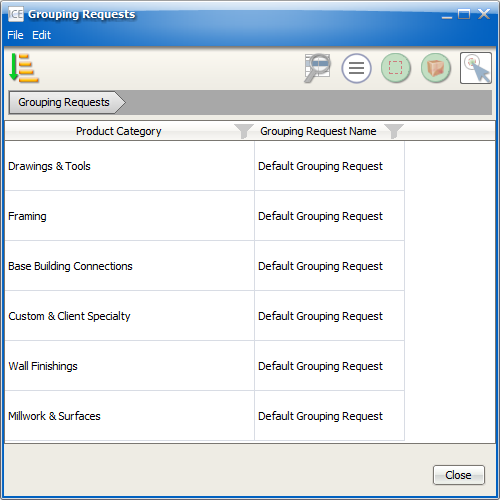
Grouping Requests opens, displaying the Product Categories and Grouping Request Names for all the components in the ICE file.
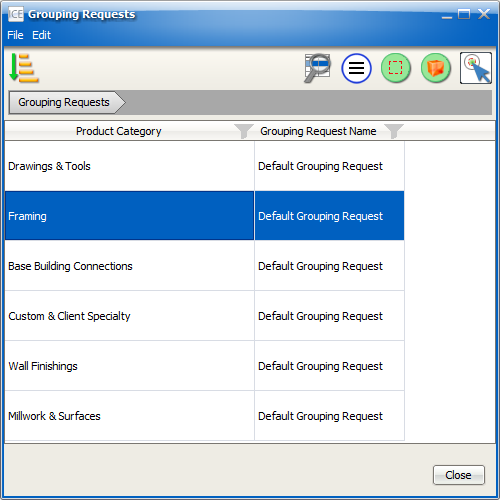
2.To choose a Product Category to group, click it. To choose multiple categories, CTRL + click.
Tip: You can also choose products by subcategory and item. To choose by subcategory, double-click a Product Category and view subcategories in that category. To choose by item, double-click a Product Subcategory and view the items in that subcategory. For more information, see Viewing Product Subcategories and Items.
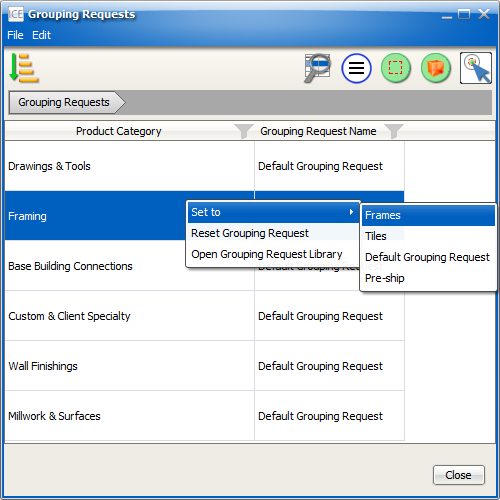
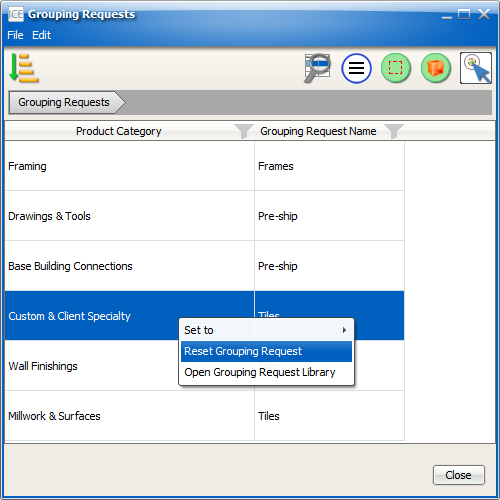
3. To put a product in a Grouping Request, right-click and choose Set to and the applicable Grouping Request Name.
For example, in this image, we set the selected Product Category to the Frames Grouping Request Name:
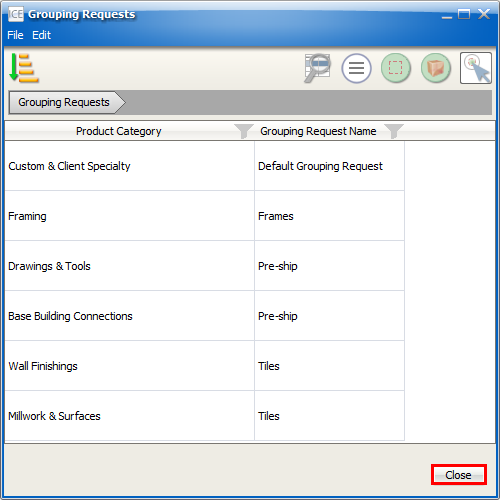
ICE adds your selected Product Category, Product Subcategory, or item to the Grouping Request that you chose. In Grouping Requests, the Grouping Request Name updates.
4.For each product that you want to assign to a Grouping Request, repeat steps 2-3 (as required).
5.If you want to return a product to the default Grouping Request, click it, or CTRL + click to return multiple products to the Default Grouping Request.
6.Right-click and choose Reset Grouping Request.
The Grouping Request name returns to Default Grouping Request.
7.If you want to close Grouping Requests, click Close.
Related Links: