1.In the ICE 2D Product Palette, right-click on the glass wall style that you want to edit and choose Edit style.
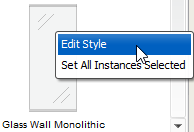
The Style Manager opens for the style.
2.Select the tile that you want to split. Hold down on the CTRL key to select multiple tiles.
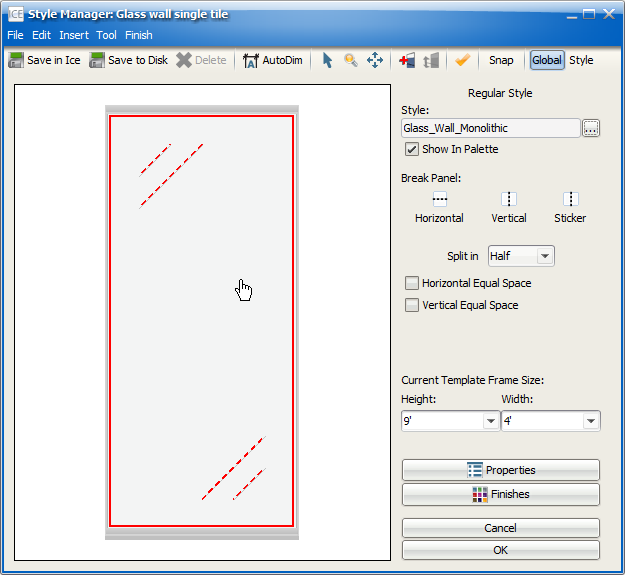
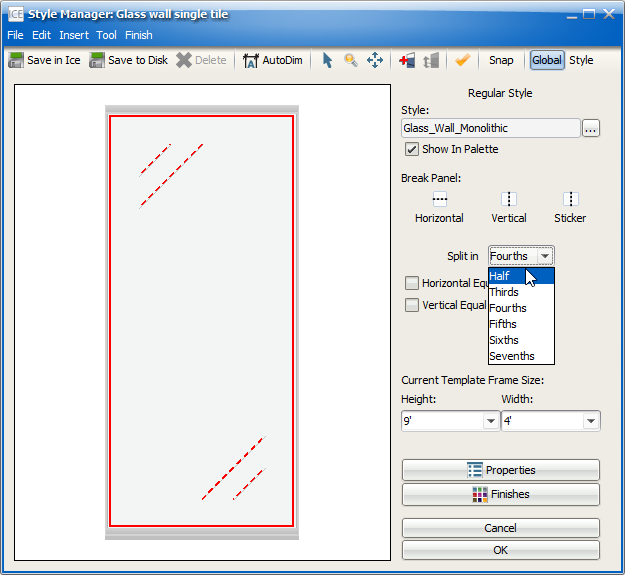
3.In Split in menu, choose the number of splits:
▪Half: One split, resulting in two tiles
▪Thirds: Two splits, resulting in three tiles
▪Fourth: Three splits, resulting in four tiles
▪Fifths: Four Splits, resulting in five tiles
▪Sixths: Five splits, resulting in six tiles
▪Sevenths: Six splits, resulting in seven tiles
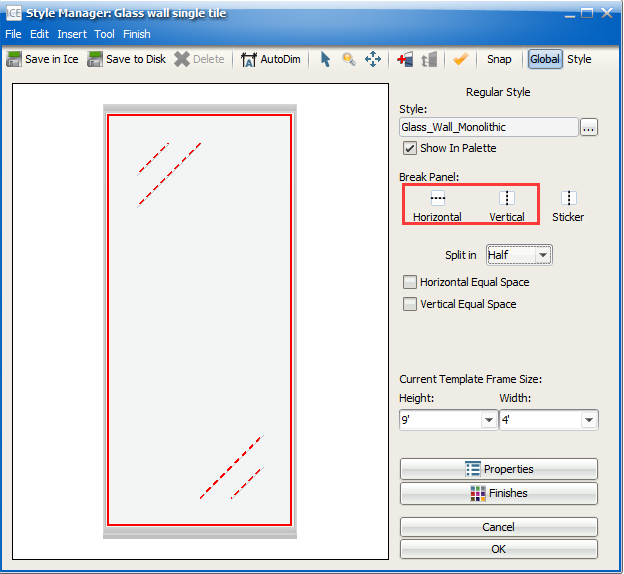
4.Under Break Panel, click on the Horizontal to add Muntin extrusions or Vertical to add Mullions.
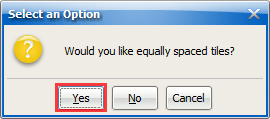
A prompt appears asking you if you want your tiles to be equally spaced.
5.If you want your tiles to be equally spaced and do not want to move your extrusions, click Yes.
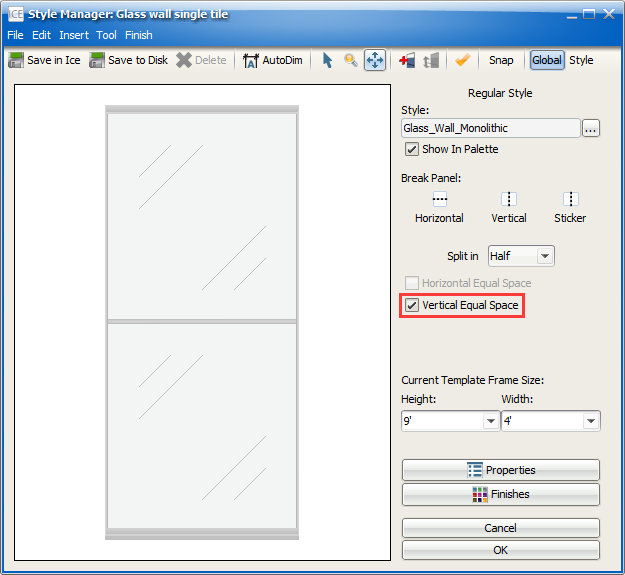
The selected tile splits. If you did a horizontal split, a check mark appears in the Vertical Equal Space box. If you did a vertical break, a check mark appears in the Horizontal Equal Space box. These check marks indicate that you split your tiles so that they would be equally spaced. As long as these check boxes remain selected, you will not be able to move your Muntin (horizontal) or Mullion (vertical) extrusions. If you want to move the extrusions and resize the tiles, you must first deselect the check box.
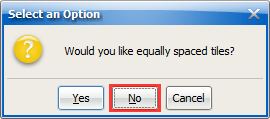
6.If you want to adjust the height of your extrusions, click No.
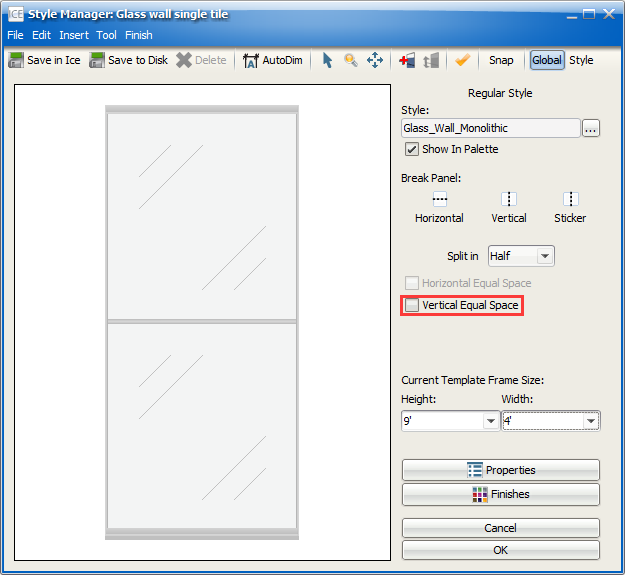
The selected tile splits. If you did a vertical split, the Vertical Equal Space box becomes active, but no check mark appears. If you did a vertical break, the Horizontal Equal Space box becomes active, but no check mark appears. You can move your extrusions, resizing your tiles.
7.If you want to to add additional splits to a tile, repeat steps 1-6.
After you finish adding tile splits, you can move your horizontal extrusions or change tile finishes. For more information, see the links below.
Related Links:
Topic last updated on 3/16/2023.