Stages are set zones within an ICE file that provide ICEvr users with pre-defined area to move around. Stages are ideal for a free-roaming VR experience, like that provided by VIVE. With Stages, you don't need to focus on a specific location and direct the user to look at it. Instead, you send them to a general area that they can explore in VR. Once transported to a Stage, the ICEvr user is free to move around.
 To Set up a Stage:
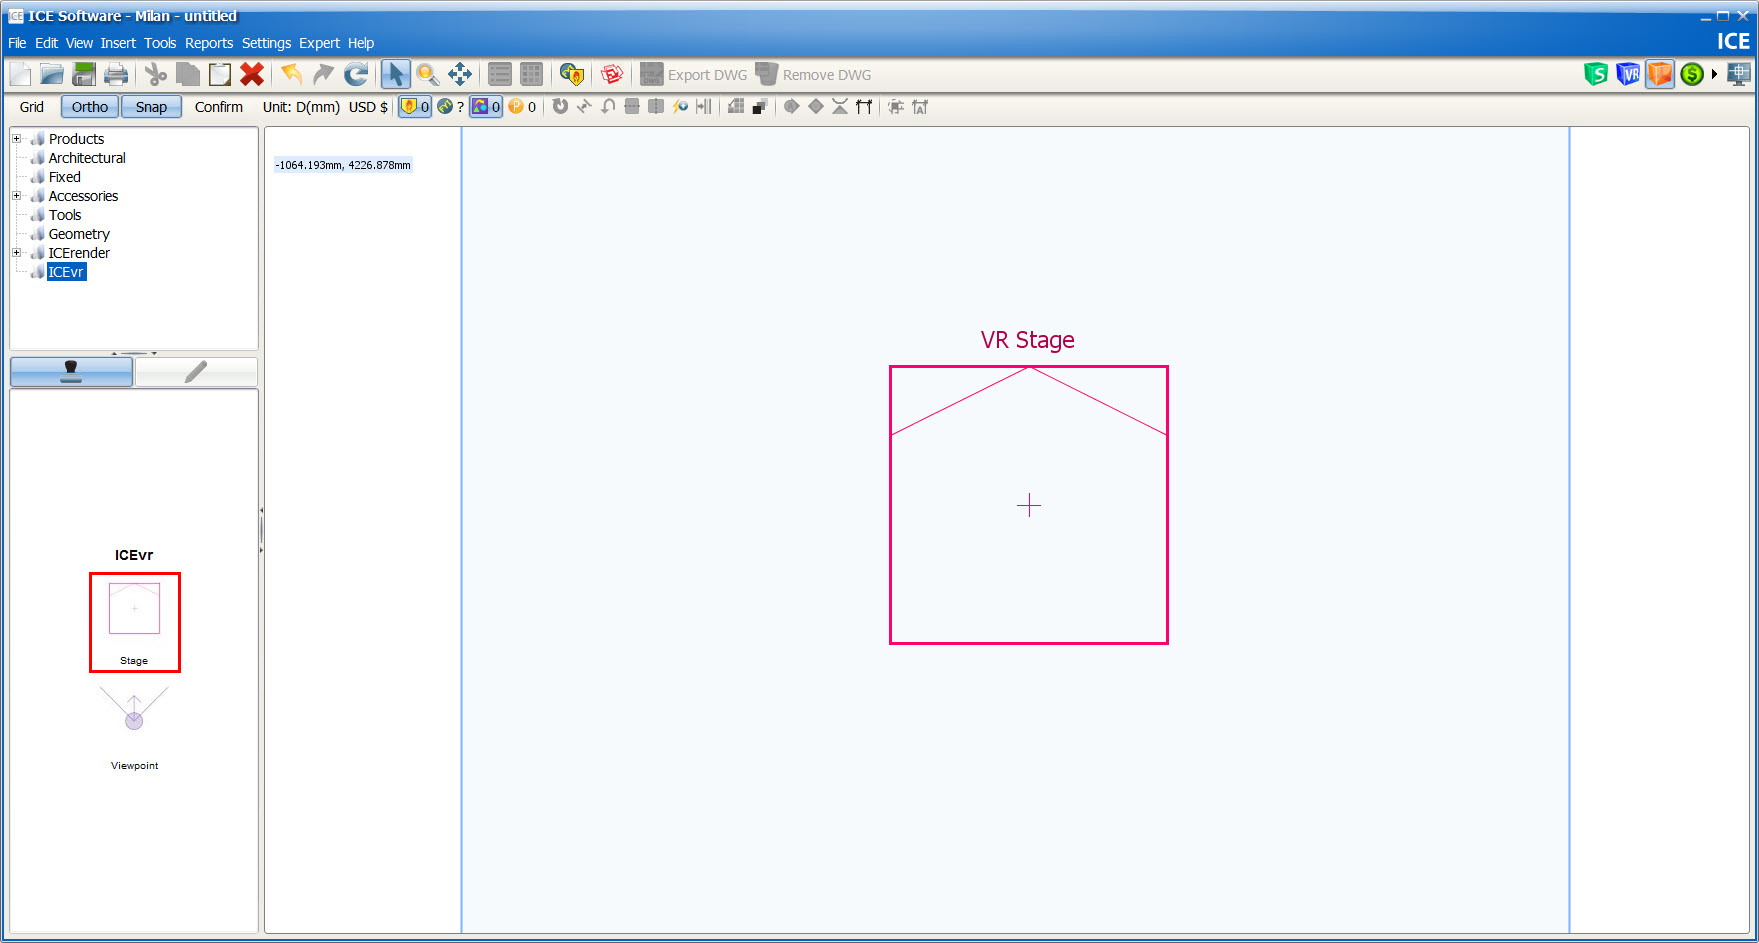
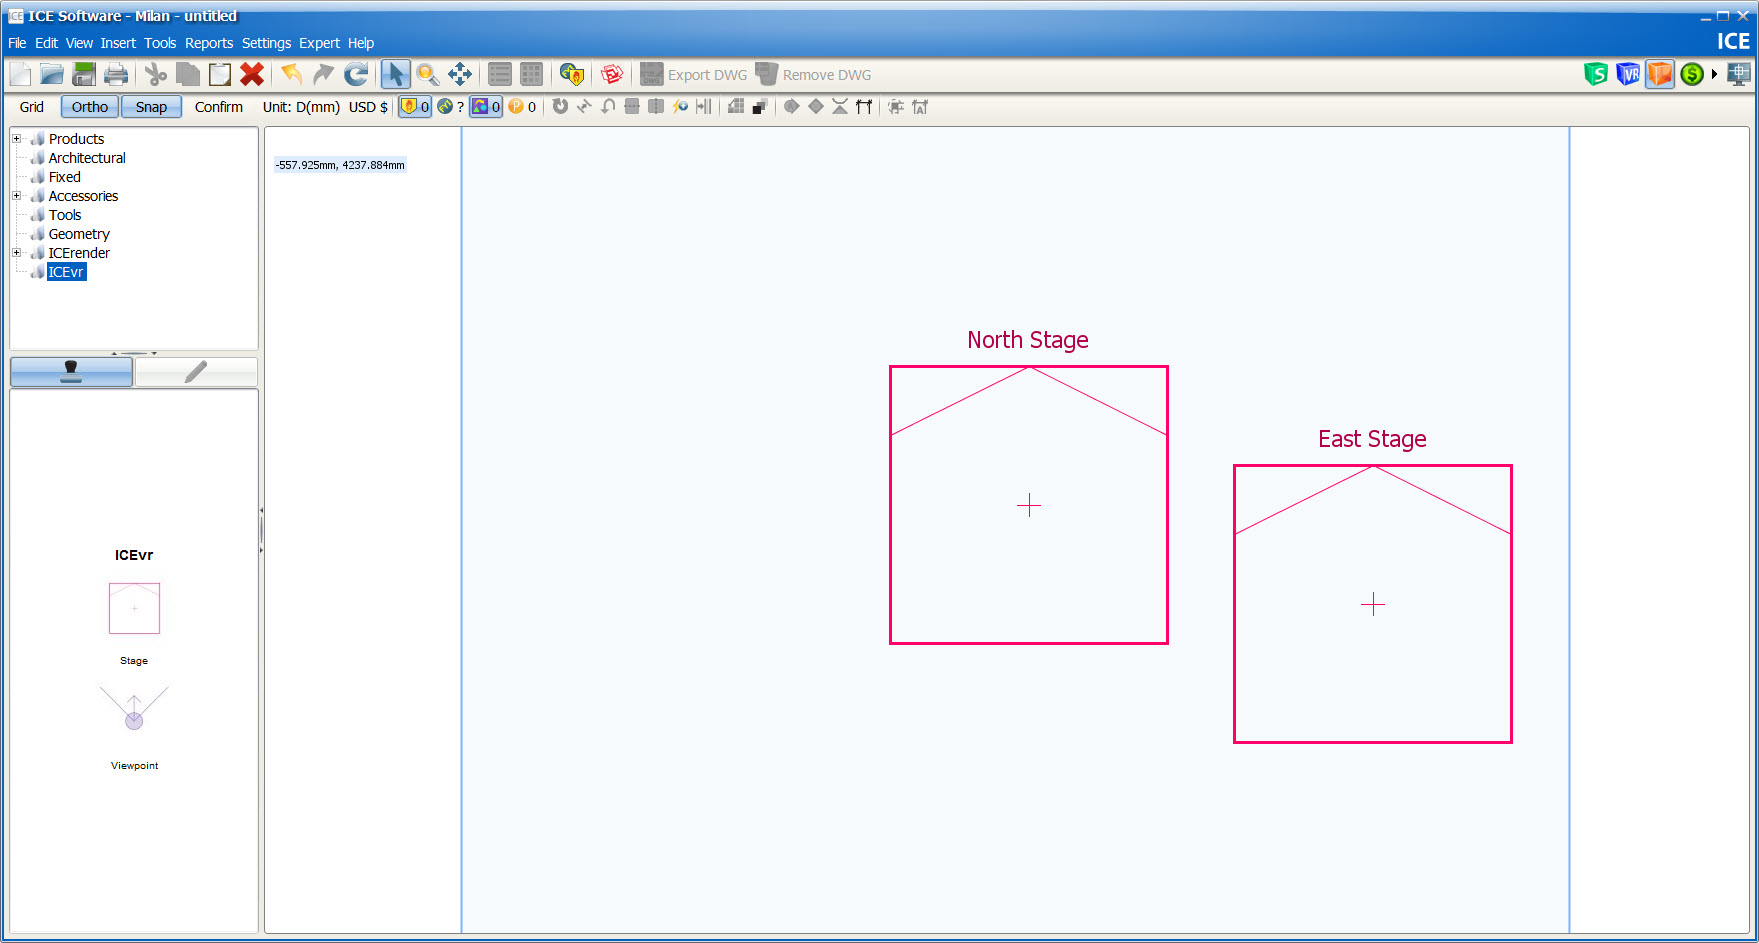
1.Open the ICEvr folder in the Product Tree.
2.In the Product Palette, select Stage.
3.Stamp the Stage into the ICE 2D plan view.
Note: Rotate the Stage prior to stamping by using period and comma keys.
|
1.Select the Stage in the ICE2D plan view.
2.Right-click and select Properties.
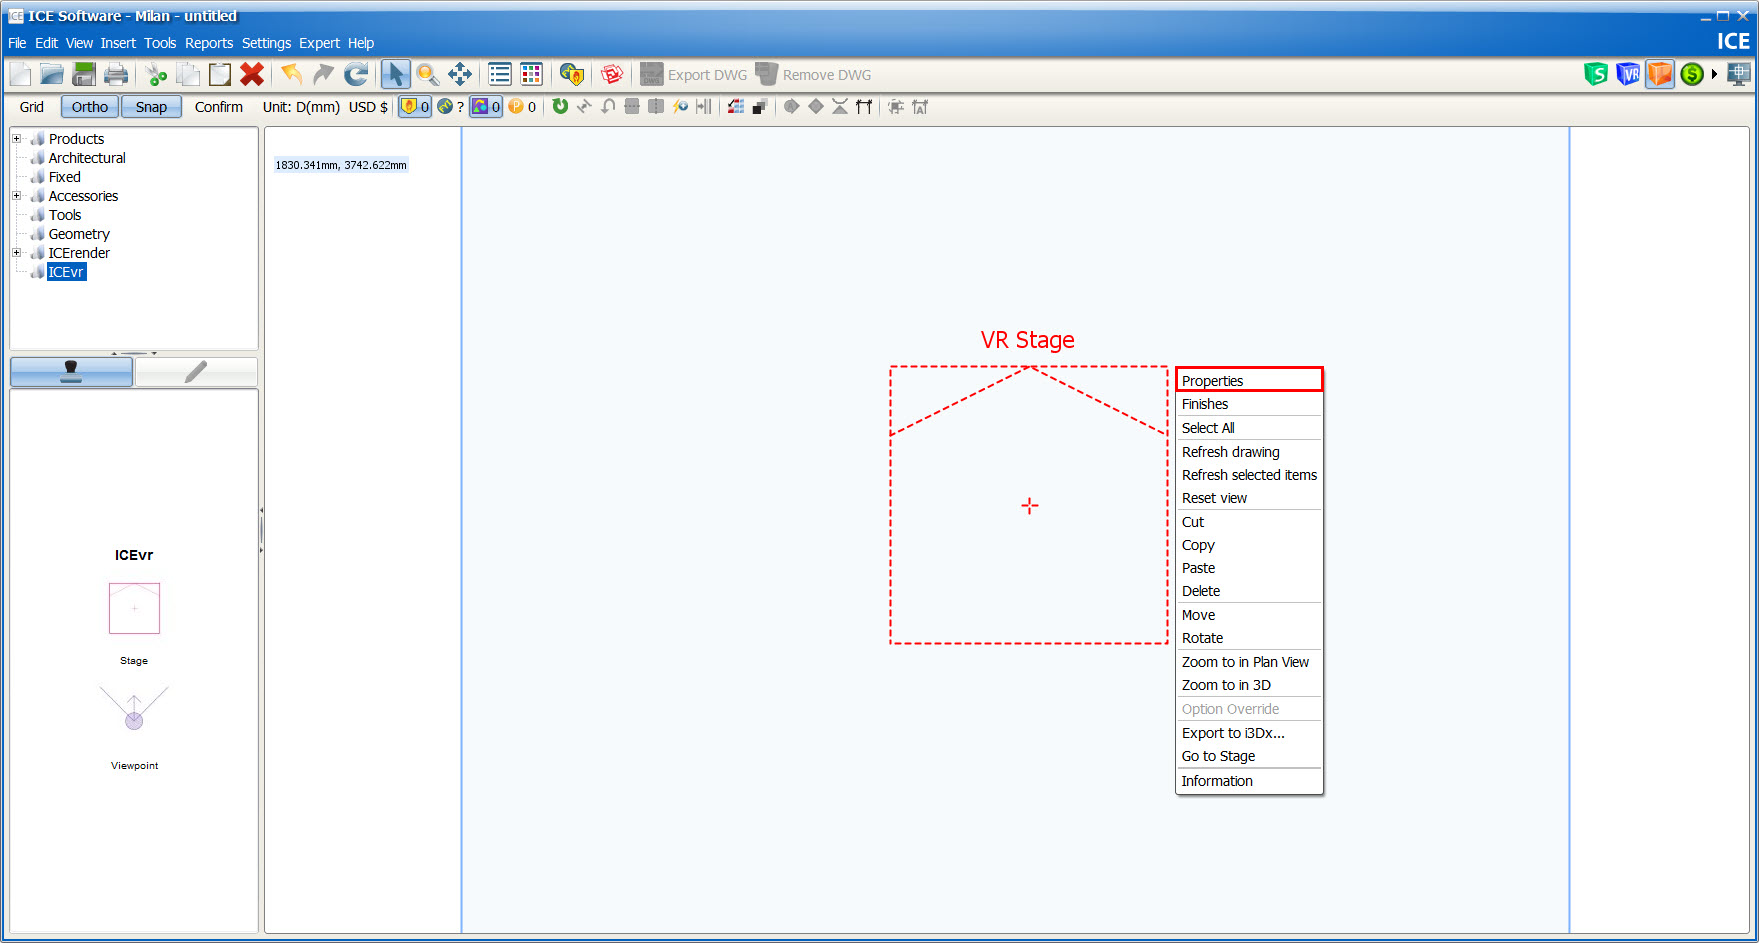
3.In the Properties and Finishes Editor, enter the preferred values in the Width and Depth fields to increase or decrease the size of the stage.
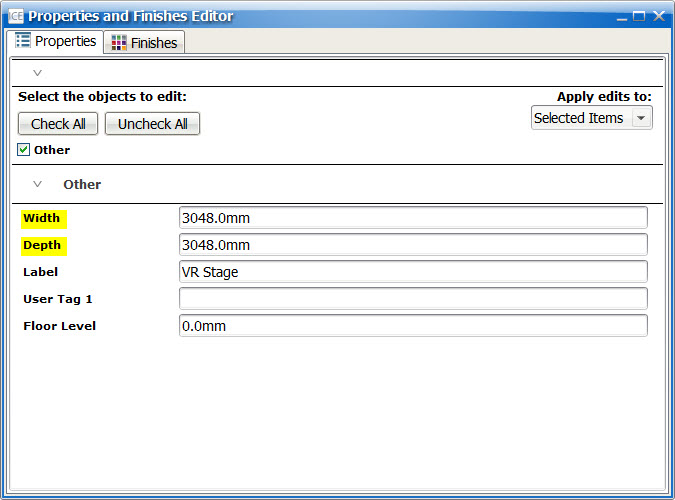
Note: The viewer’s field of vision is not impacted by the Stage boundaries.
|
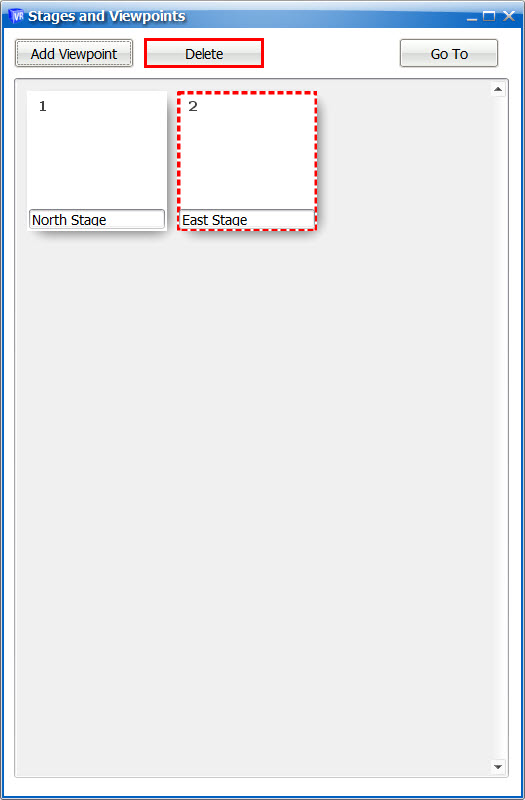
1.In the ICE2D plan view, open the View menu, and select Stages and Viewpoints.
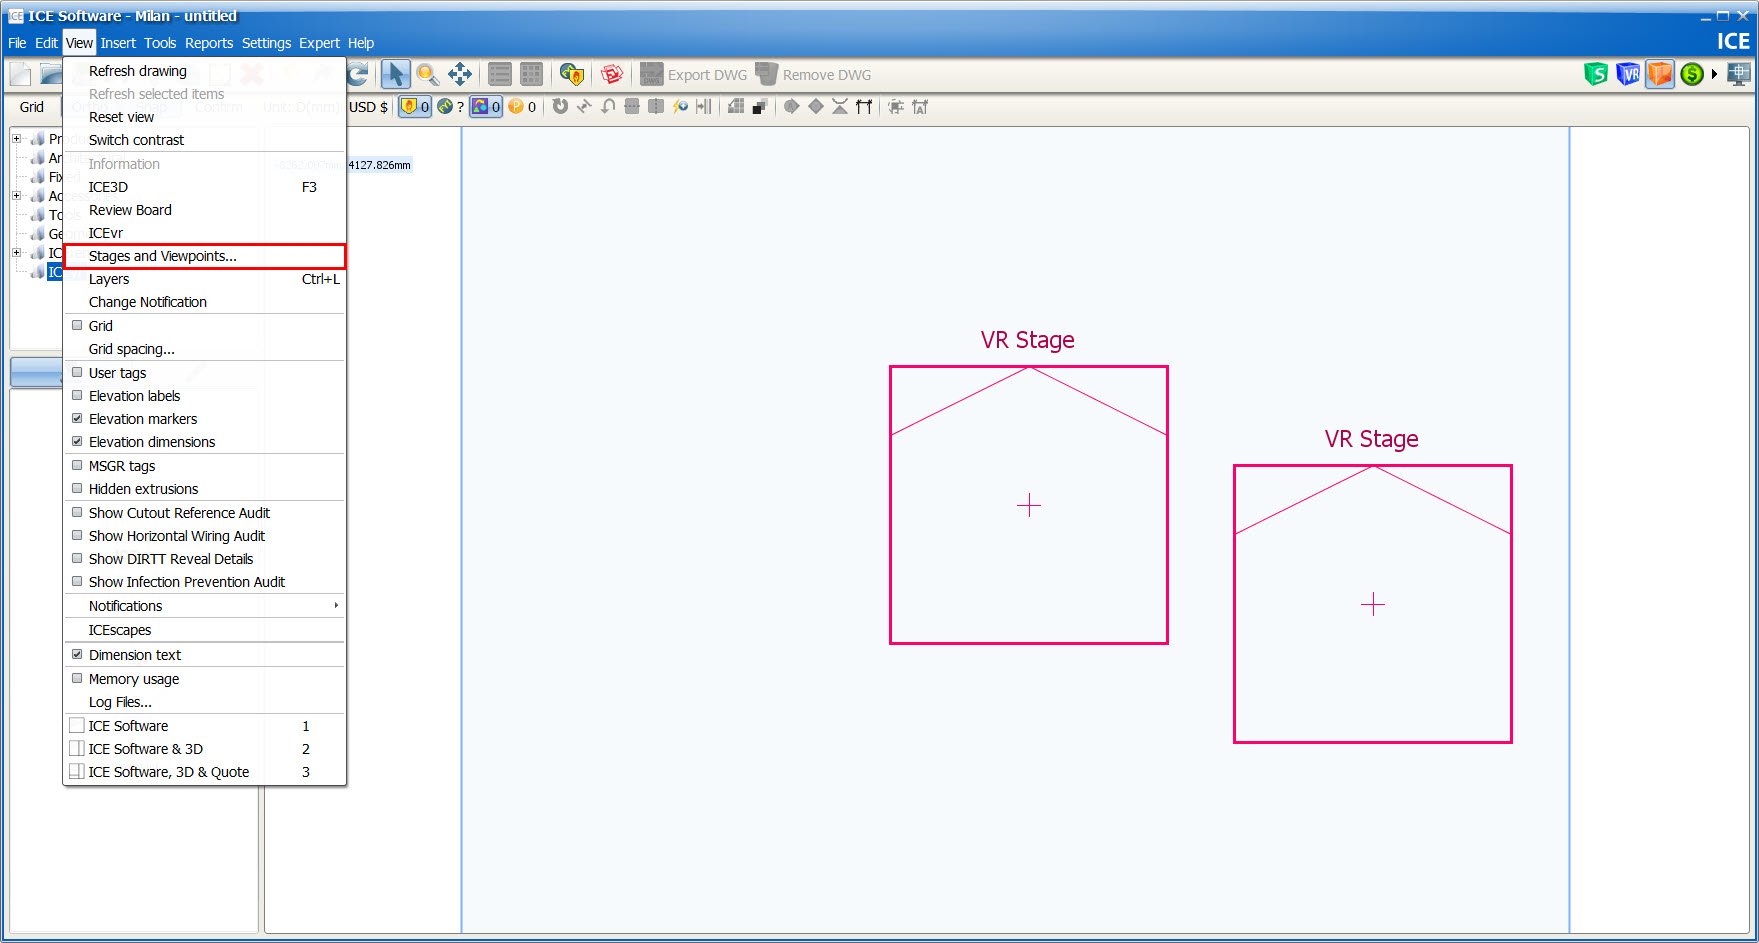
2.In the Stages and Viewpoints dialog, review the Stages that have been added to the file.
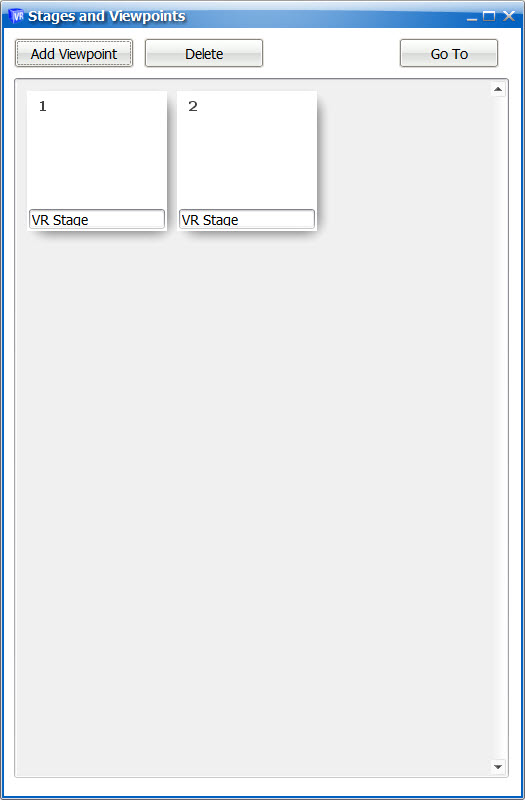
3.To edit the name of the Stage, type into the field below the appropriate thumbnail.
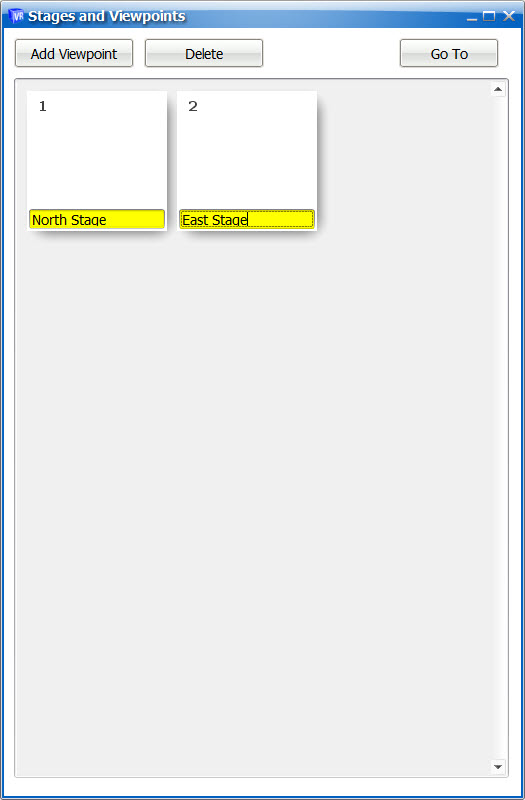
Note: The name of the Stage will also appear in the ICE2D plan view.
4.To navigate to a different Stage, highlight the preferred thumbnail and select Go To.
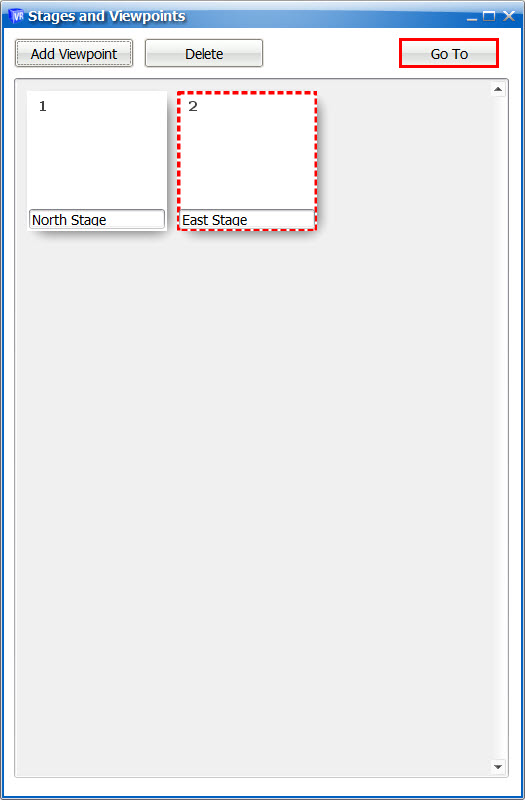
5.To remove a Stage, select Delete.
|