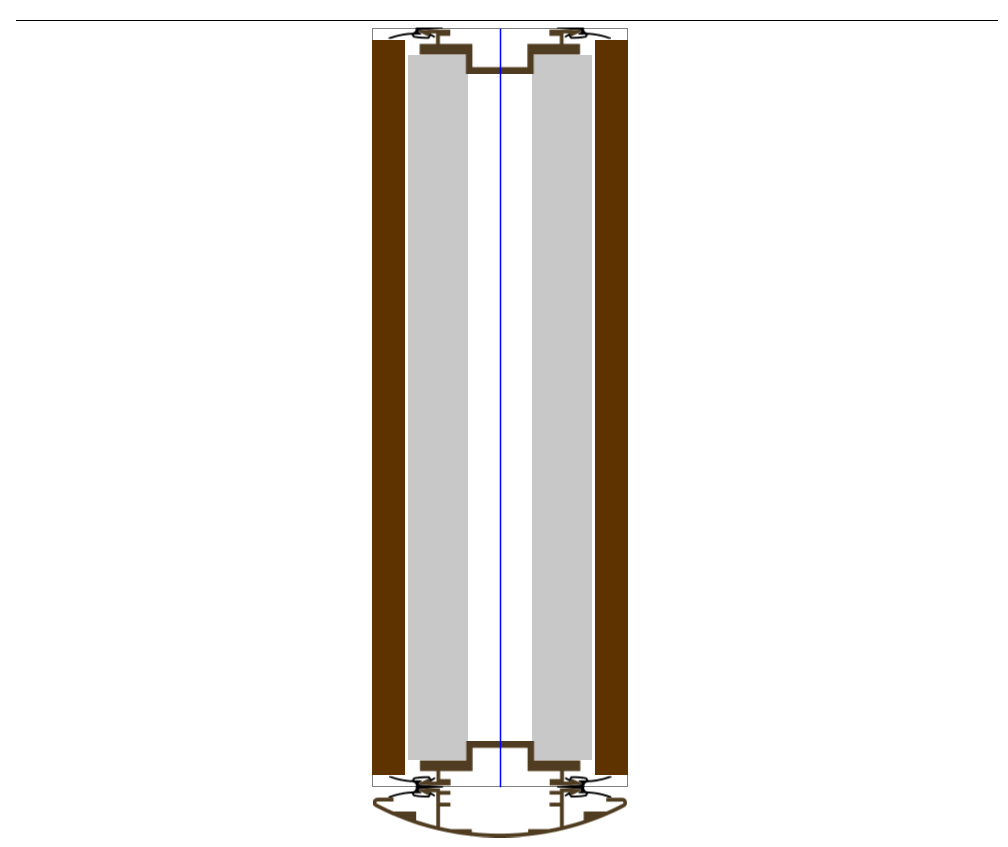
You can use Snap Lines to force a DIRTT wall to snap to a specific location.
When you use a snap line to place a DIRTT wall, ICE does not make a connector piece to attach the DIRTT wall to an existing walls. If you want your wall to snap to an existing wall and receive the correct wall connections, use a fixed wall. the snap line is used, it will NOT make a connector piece that will attach a DIRTT wall to an existing wall. Fixed walls need to be used to make correct wall connectors.
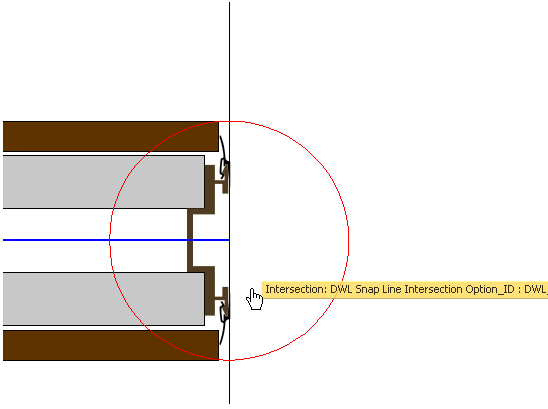
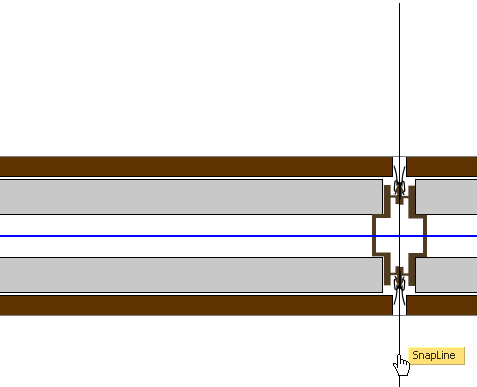
Ceiling Height Changes in a Continuous Wall
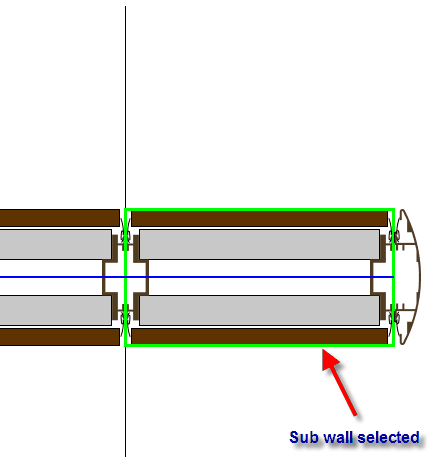
You can use Snap Lines to show where a continuous wall needs to have a height change for a ceiling condition. The Snap Line causes a separate sub-wall to be formed on a continuous i-Line. You can then select the sub-wall and changes its height in the Properties Editor.
Instawall Snap Lines
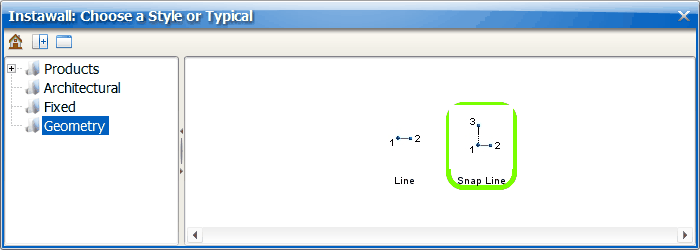
You can select DXF or DWG lines in ICE and use Instwall to change them into Snap Lines. When the Instawall: Choose a Style or Typical dialog opens, navigate to the Geometry folder and select Snap Line.
Intersections
You should not have Snap Lines in an intersection. You can use Snap Lines to get your wall in the right place. However, you should delete Snap lines after you place the wall so that ICE can make correct intersection. If you leave snap lines in an intersection, a notification symbol will appear and indicate that there is a segment that is too small.
Using Snap Lines to Place DIRTT Walls
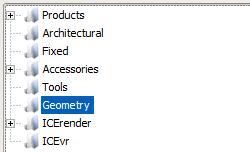
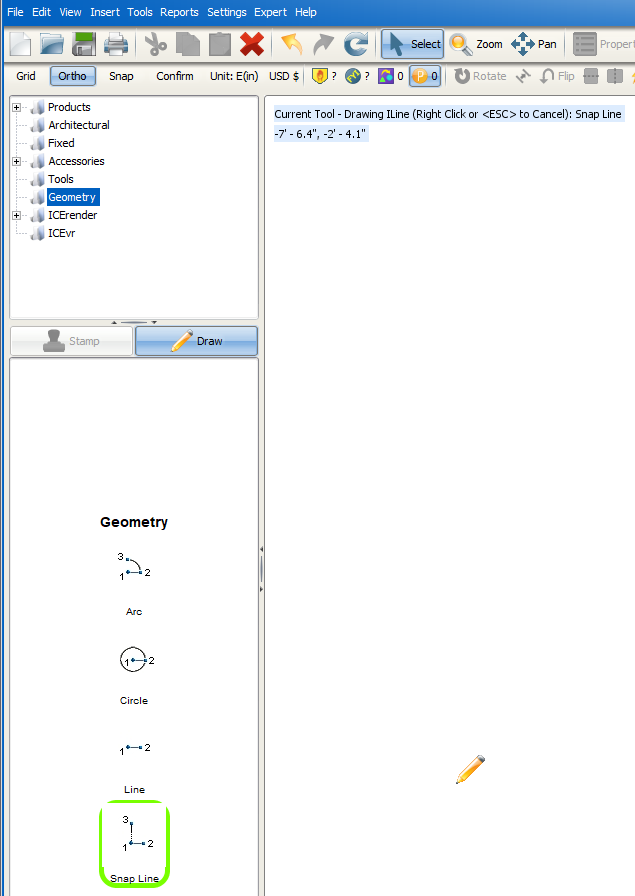
1.In the Product Palette, select the Geometry folder.
2.Select Snap Line.
A drawing tool appears on your cursor.
3.In ICE 2D plan view, where you want to draw the snap line, click and drag your mouse.
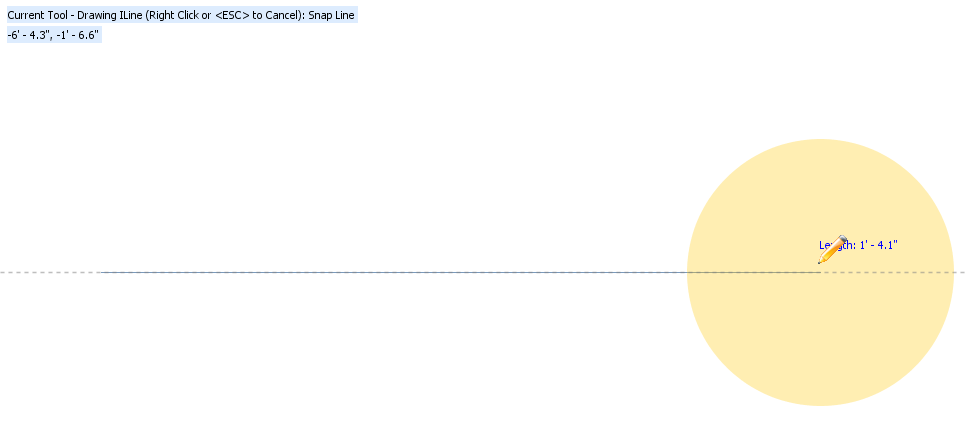
4.When you finish drawing the Snap Line, release your left mouse button.

5.Draw or extend a DIRTT wall so that it snaps to the Snap Line.
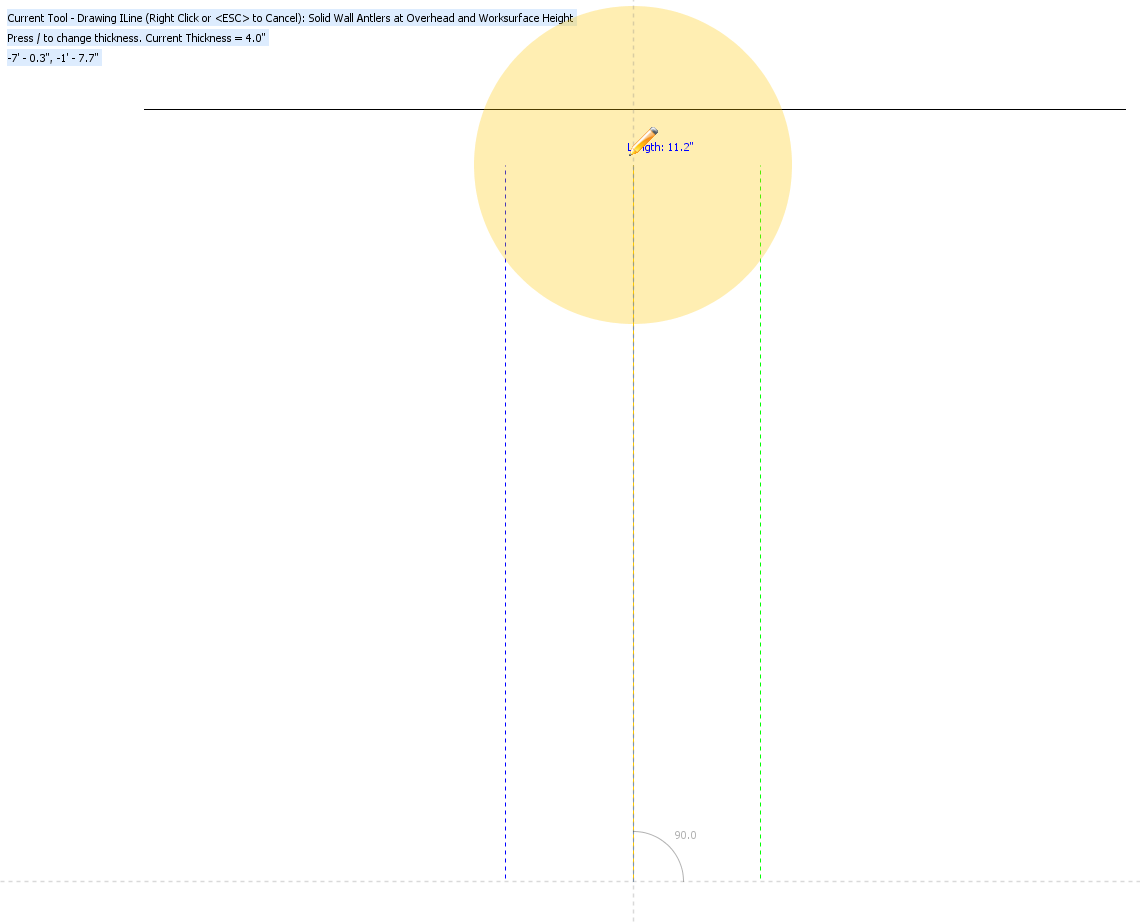
6.When you are finished, release your mouse button.
7.Right-click or press ESC to exit out of the drawing tool.
